In the year 2000 we’ll have flying cars!
Concept
The future. Or rather the future from the past.
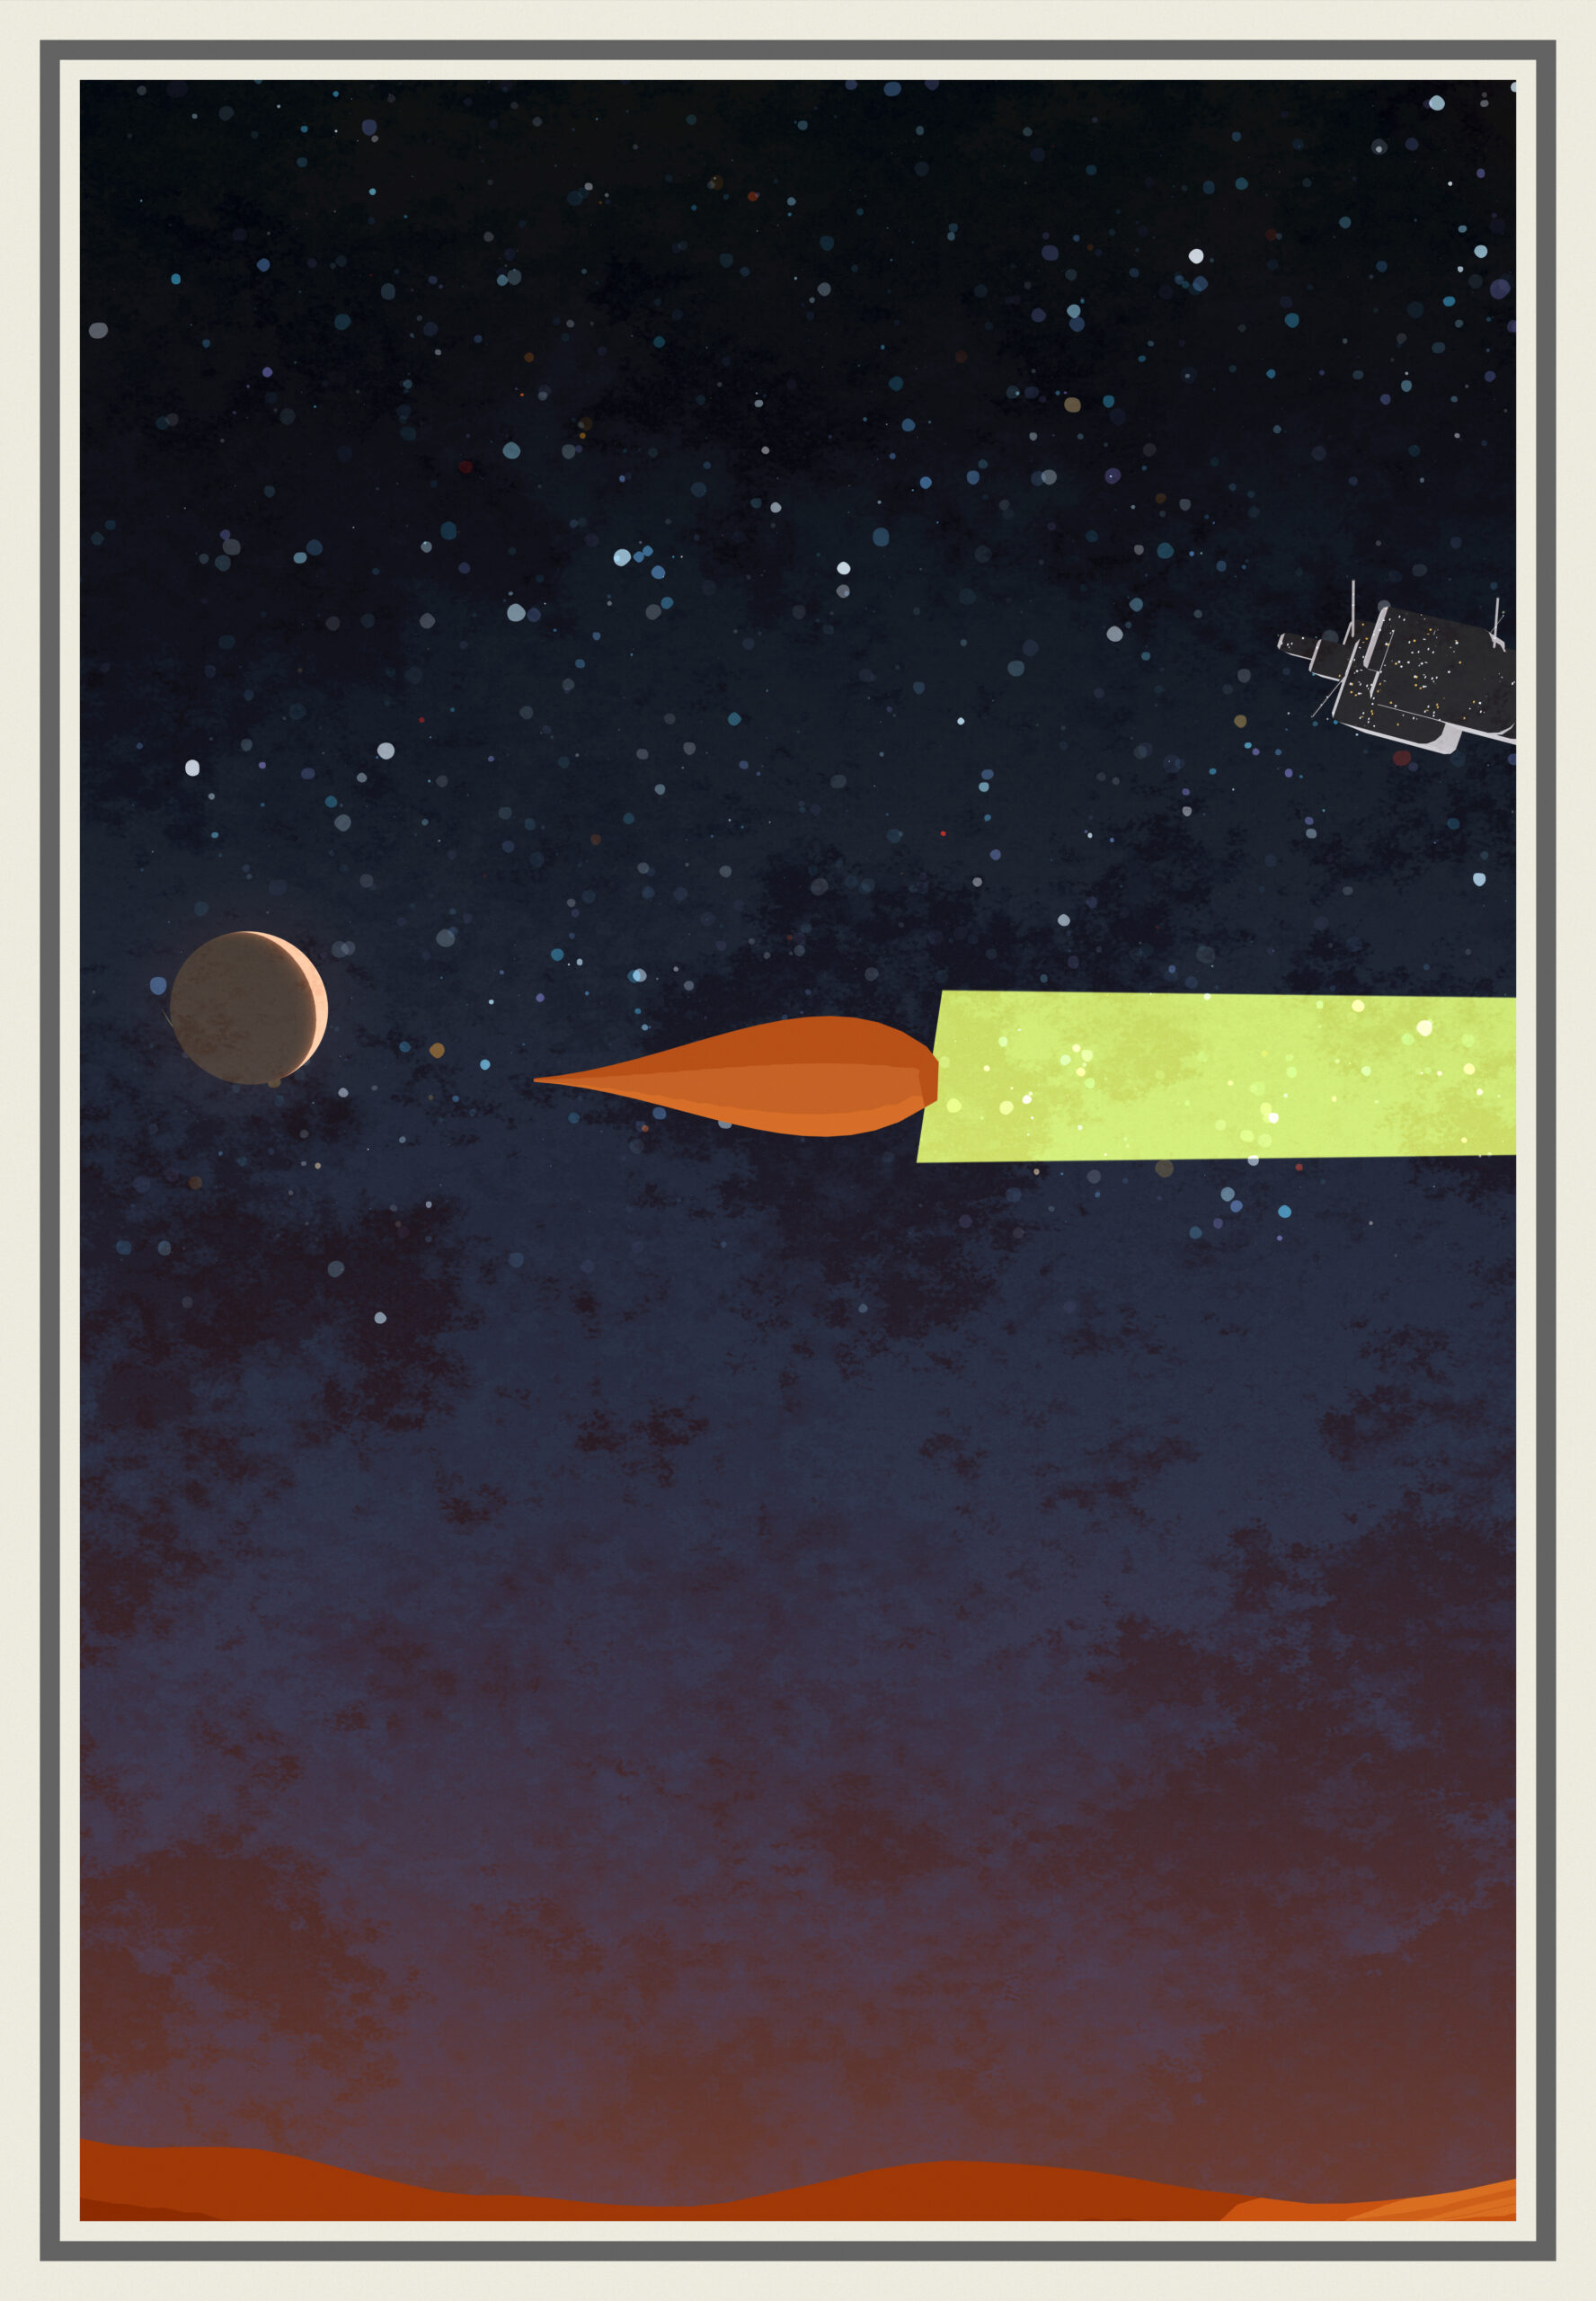
An attempt to create realtime 3d generative posters that could have their place in the Exoplanet Travel Bureau serie from NASA, the famous collection of posters in a Art Deco / Streamline moderne style about travelling to distant planets to have a good time, mainly this Trappist-1e :
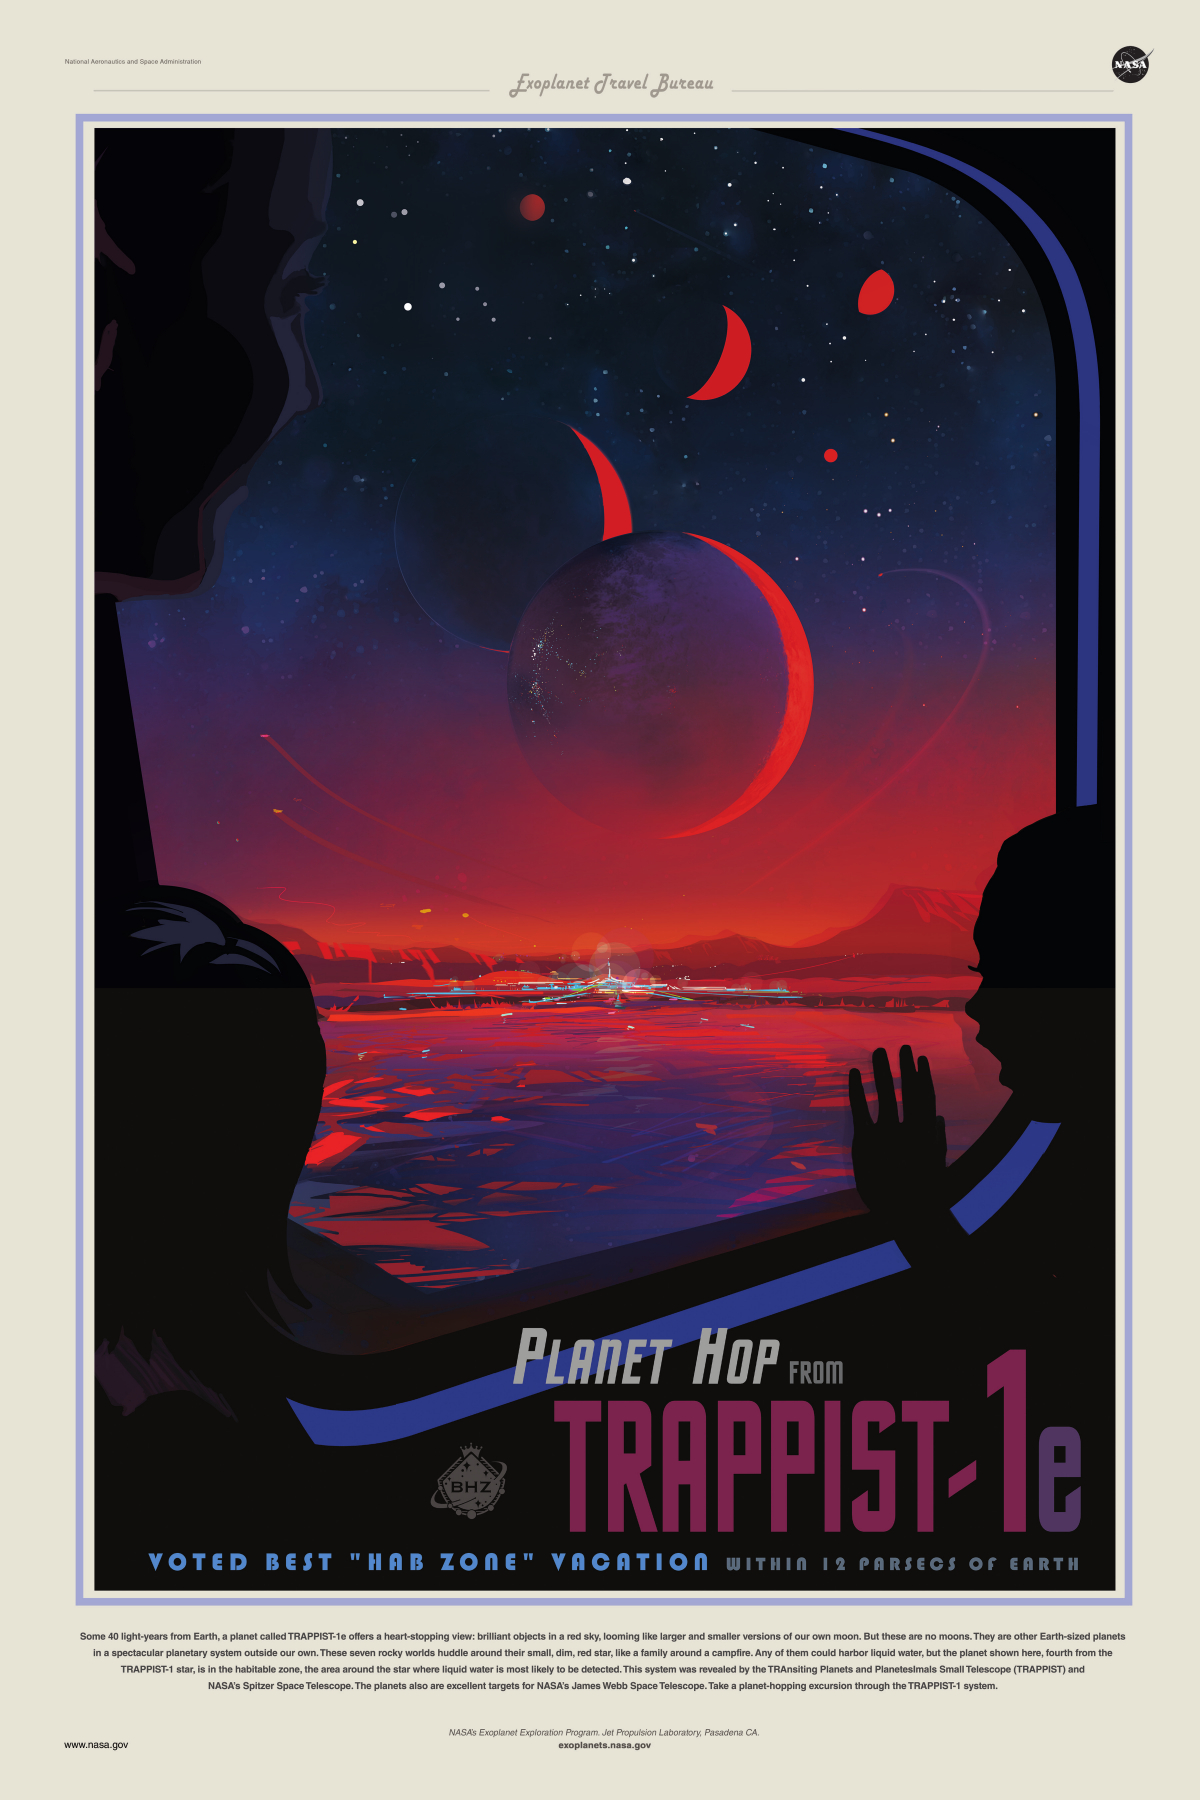
I was particulary fascinated by the alignment of these red crescents and the question :”Where’s the star?”. I also generally really like this style, the clear line and flat colors contrasting with more gradient background and the very strong colors all around.
My personal goals, after the surprising success of ProcGen Entomology :
- Keep working on emulating human technique with realtime 3d webgl and challenge myself
- Raise the bar on quality
The “poster” aspect was very important in terms of aspect ratio, but also scale : it’s ideally supposed to live on a wall at a certain size, and the level of detail follows that thought.
Generative space scenes are nothing new, so the style was paramount. I tried to stay very close to the feel of traditionnal illustration techniques while still leaving the random elements enough room to produce a variety of moods, flow and feel.
The original plan was to also have the characters and the typographic work, but that ended up falling out of scope. Just the dynamic typography would be a heavy project in itself. I did some test with character / IK rigs, but I felt that it would require a whole 3d avatar system to be generative enough. So the project got refocused a bit on just the space scene, but with probably more variety that I imagined when starting.
Still, I ended quite close to what I had in mind. The challenge ended up being more artistic than technical. I spent a lot of time fine tuning everything by watching outputs after outputs. The thing generate in like half a second and I spent hours just pressing F5, tightening this, expanding that. Even while writing this I’m tuning things constantly.
The main themes I wanted to evoke were future, travel, adventure, progress and hope.
Composition
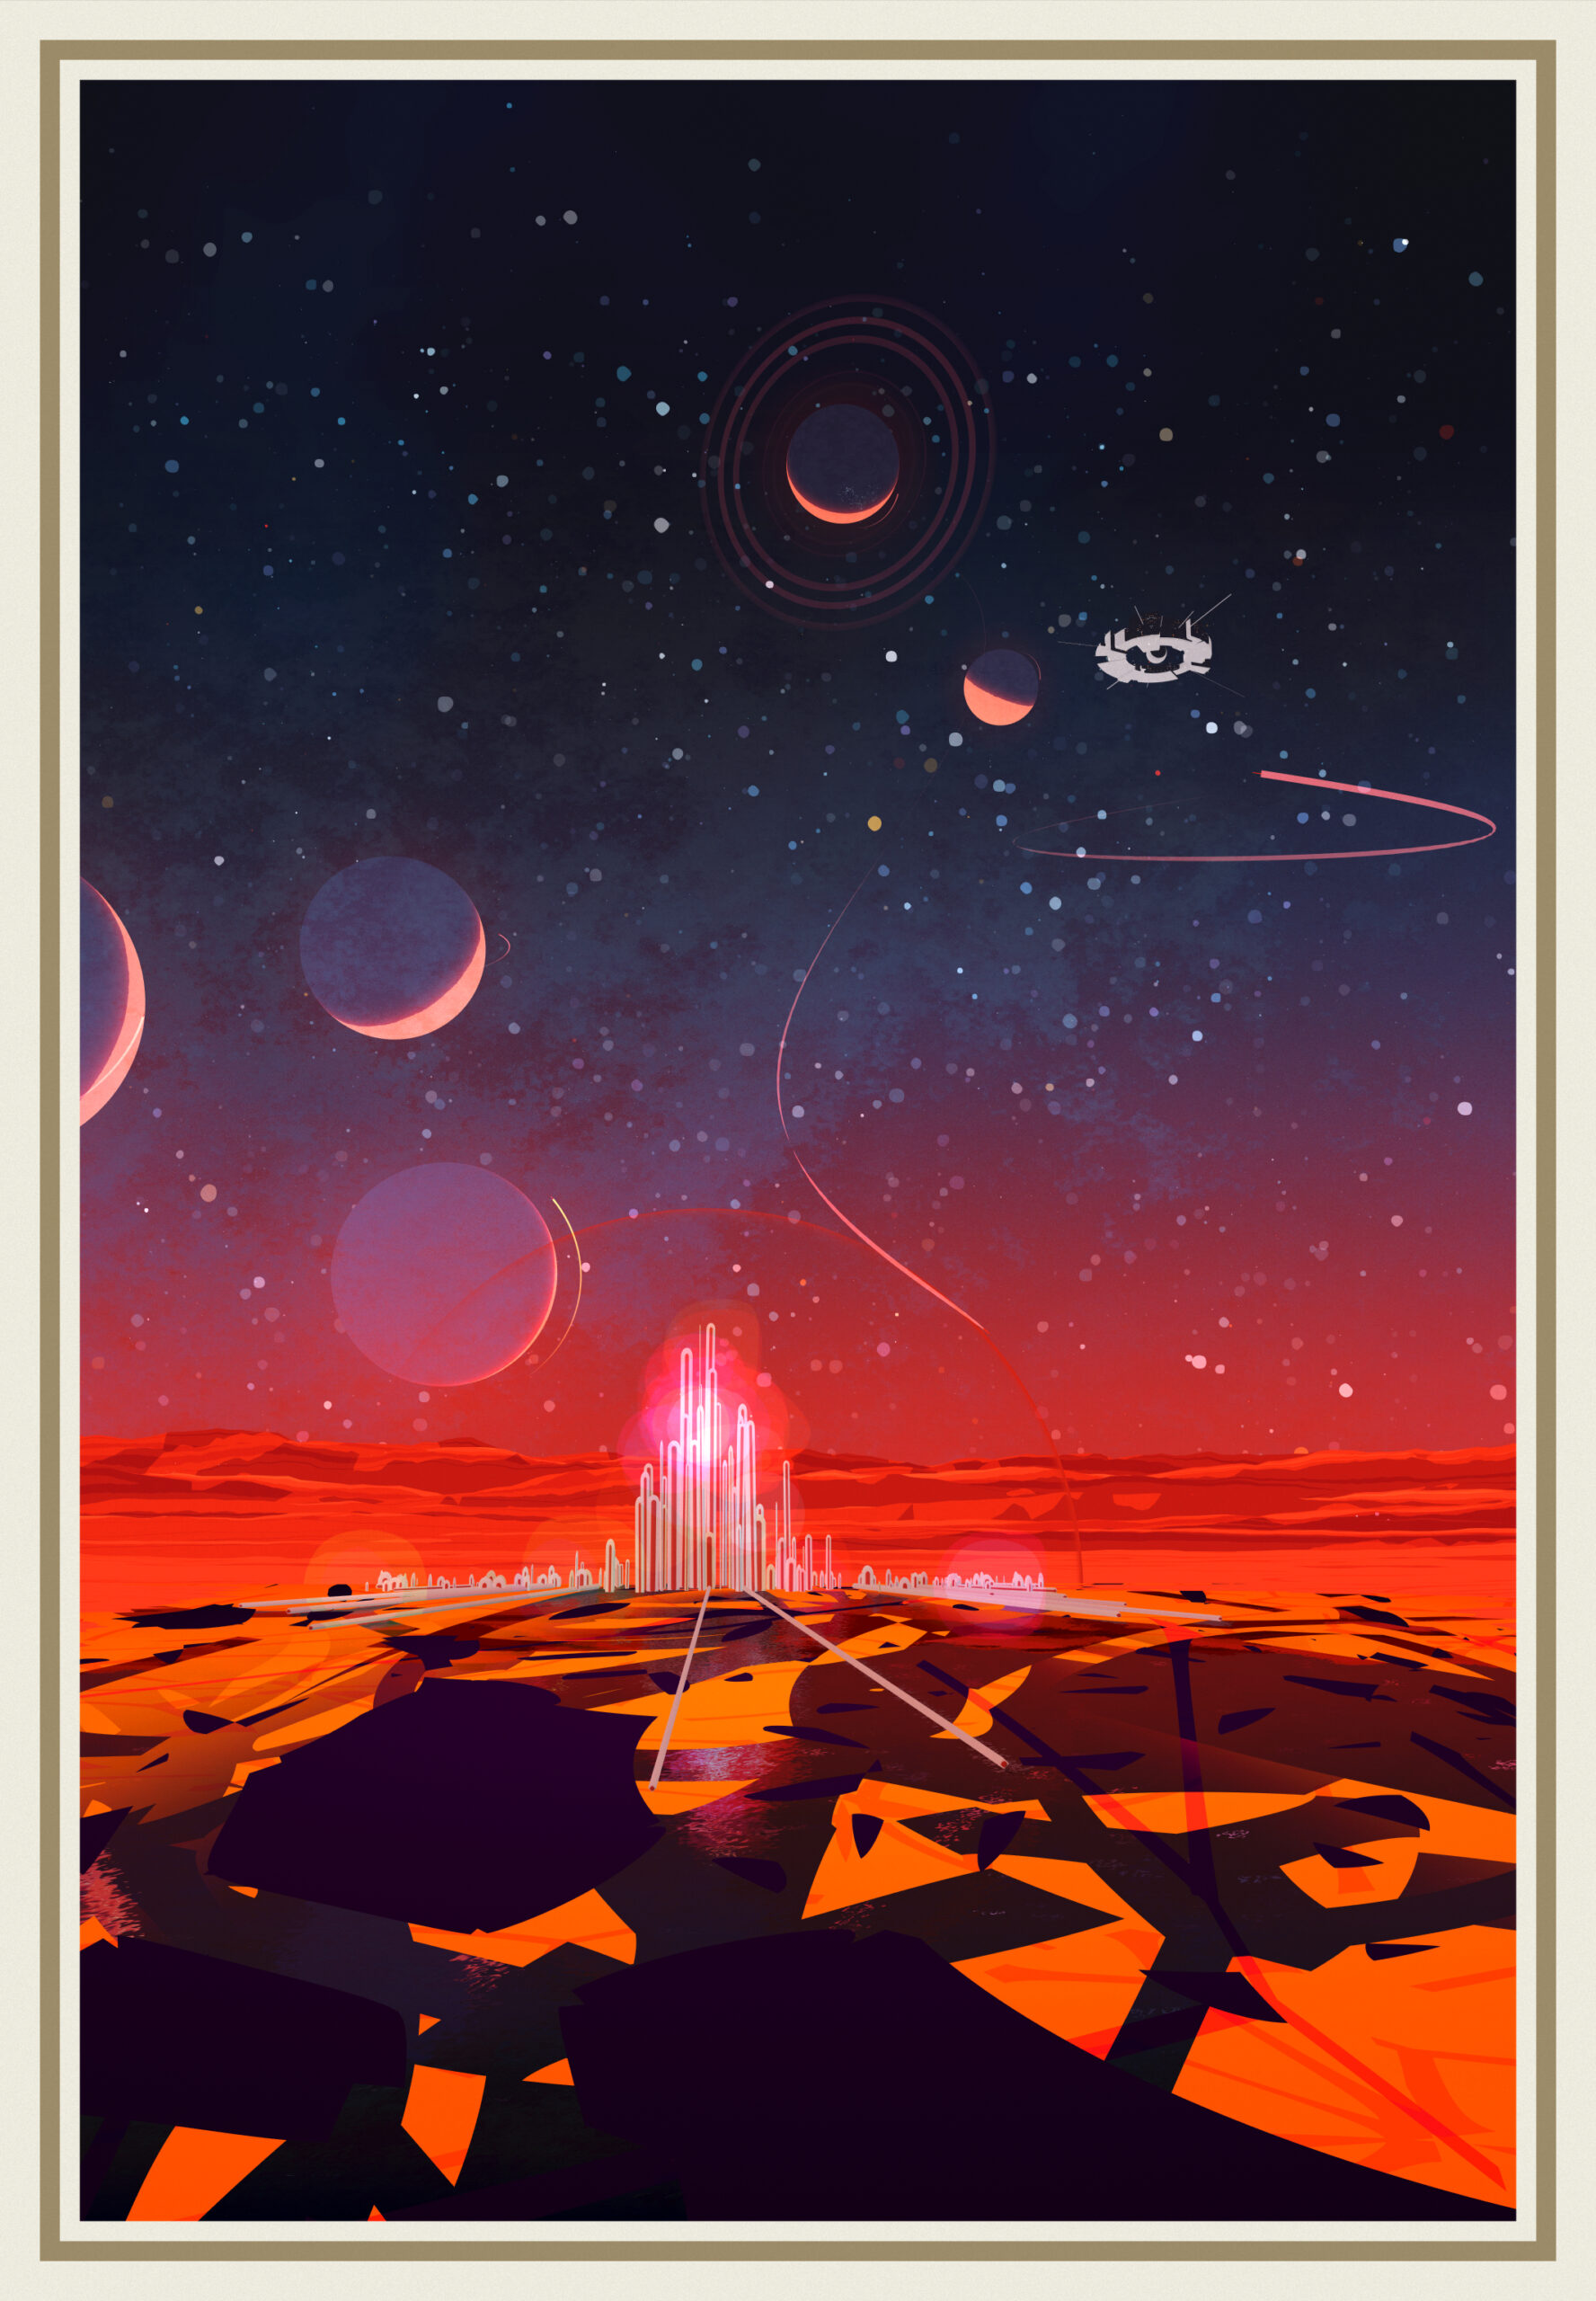
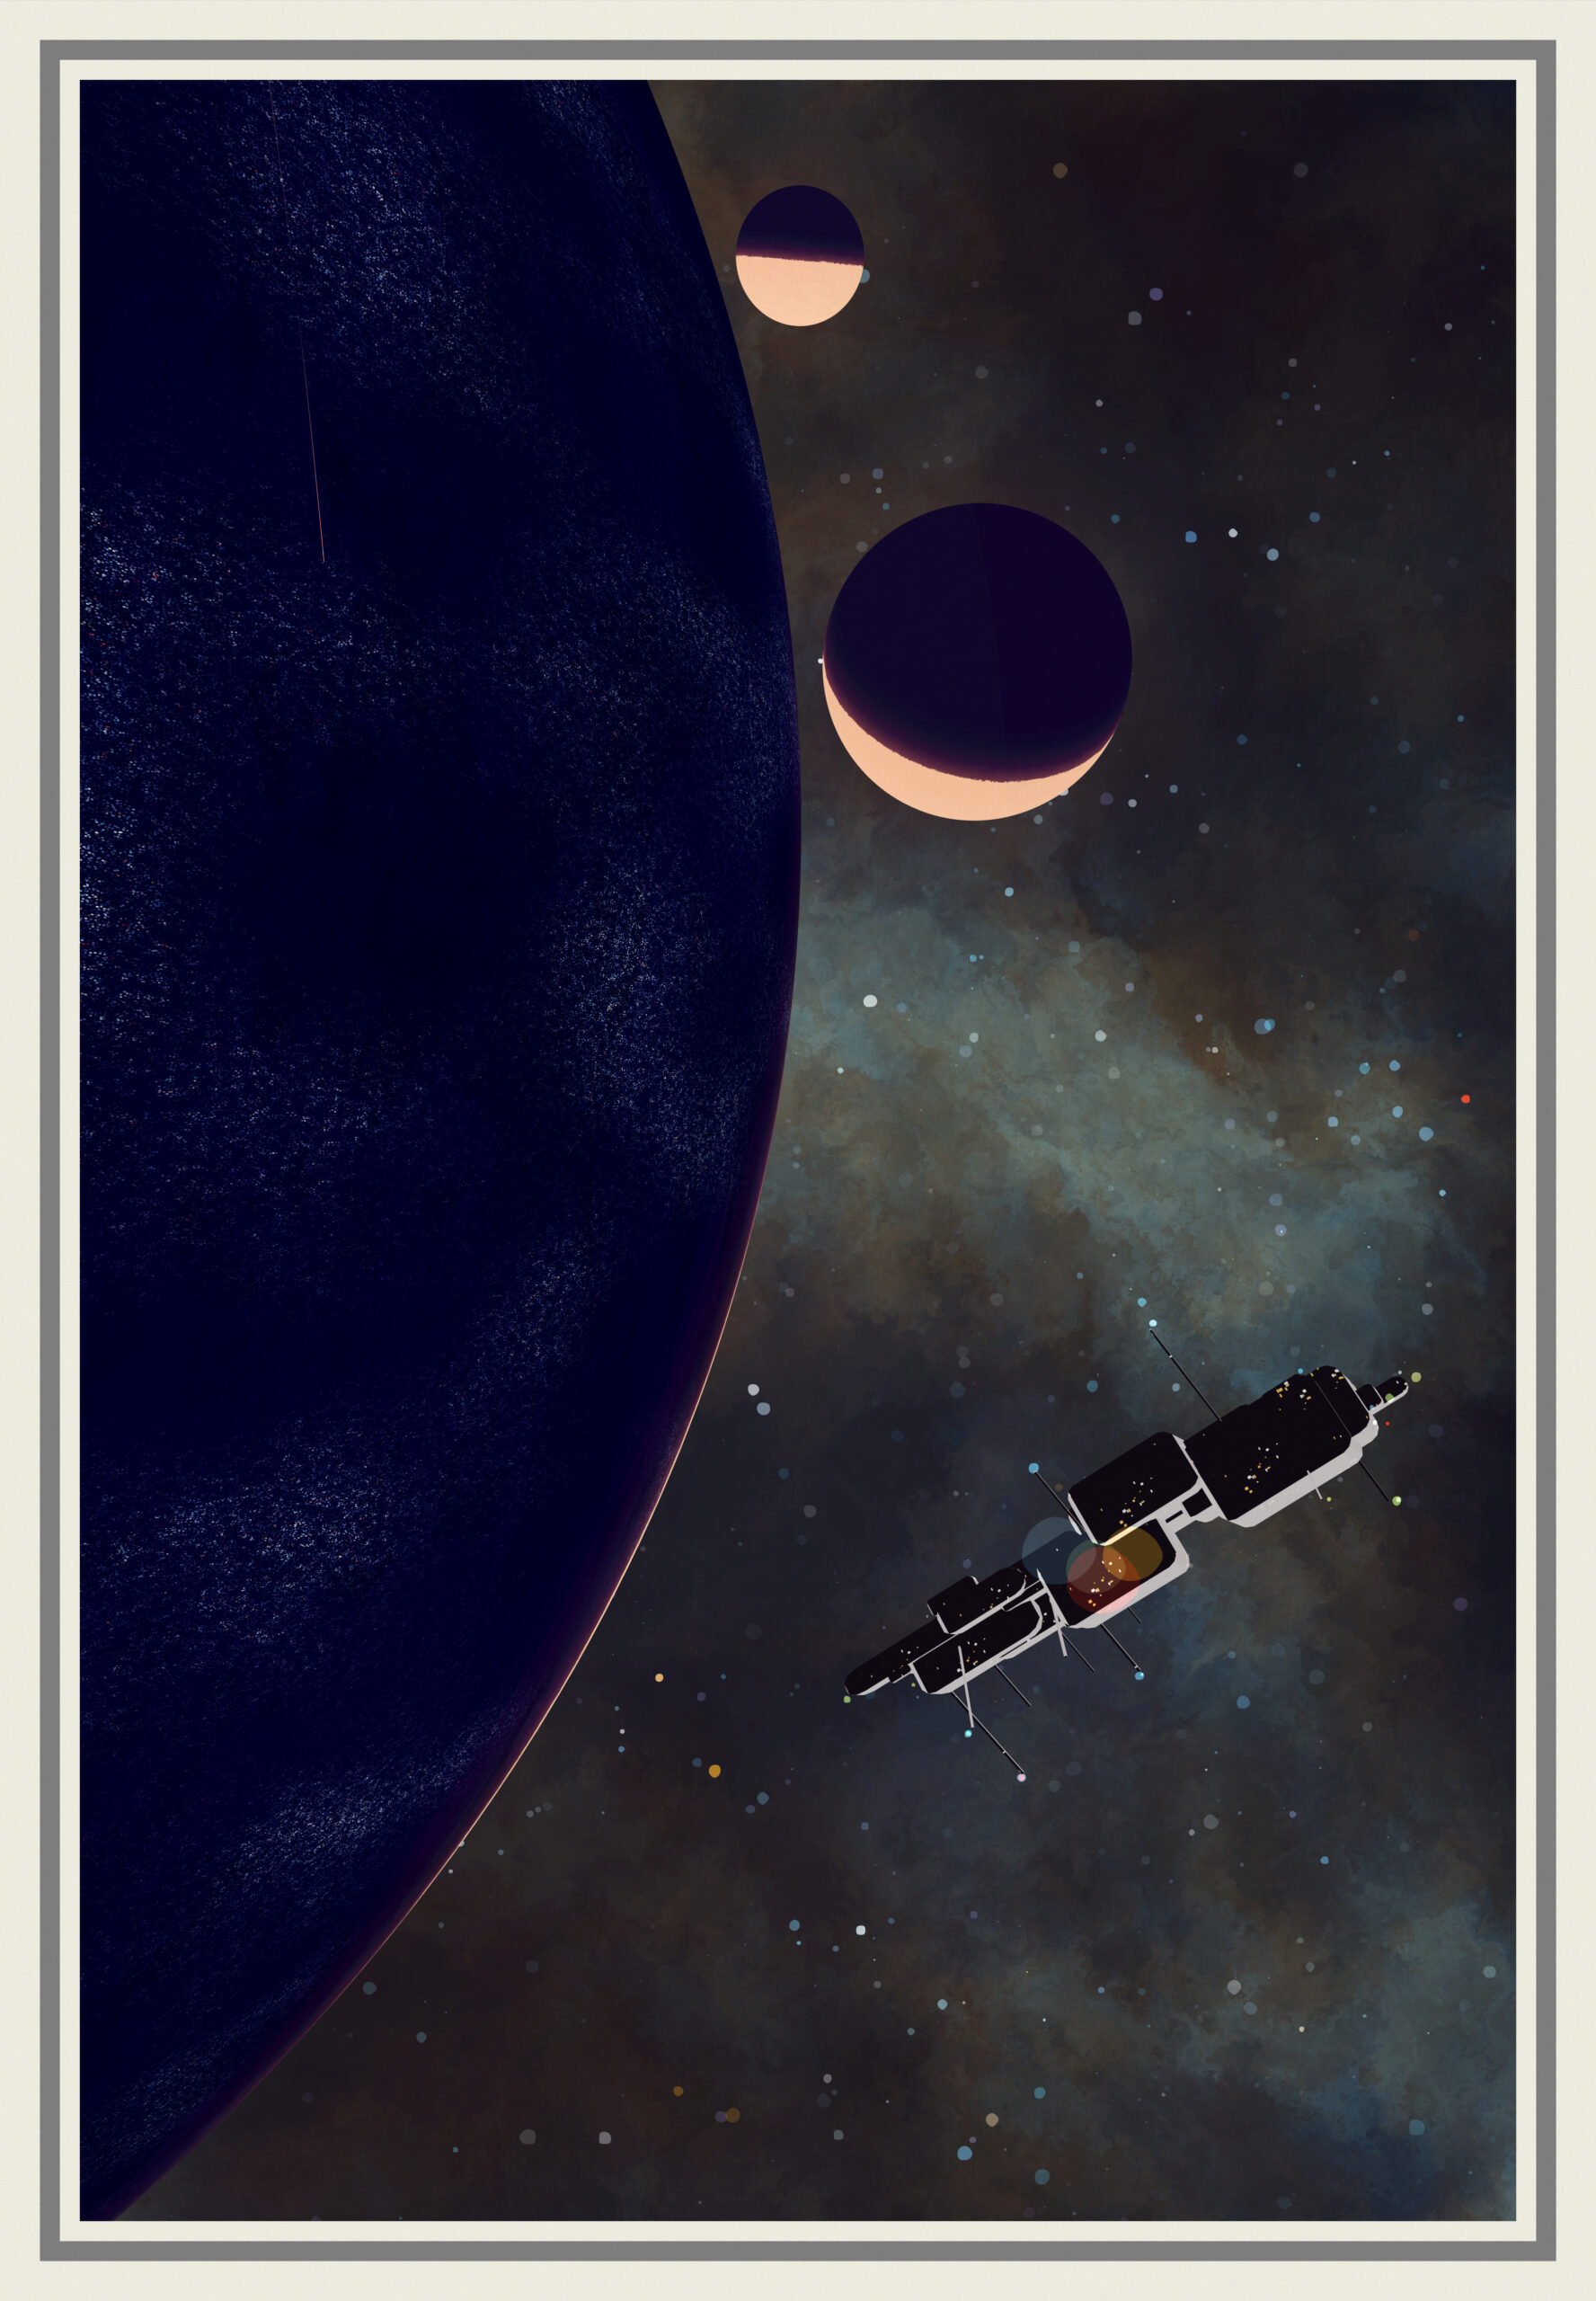
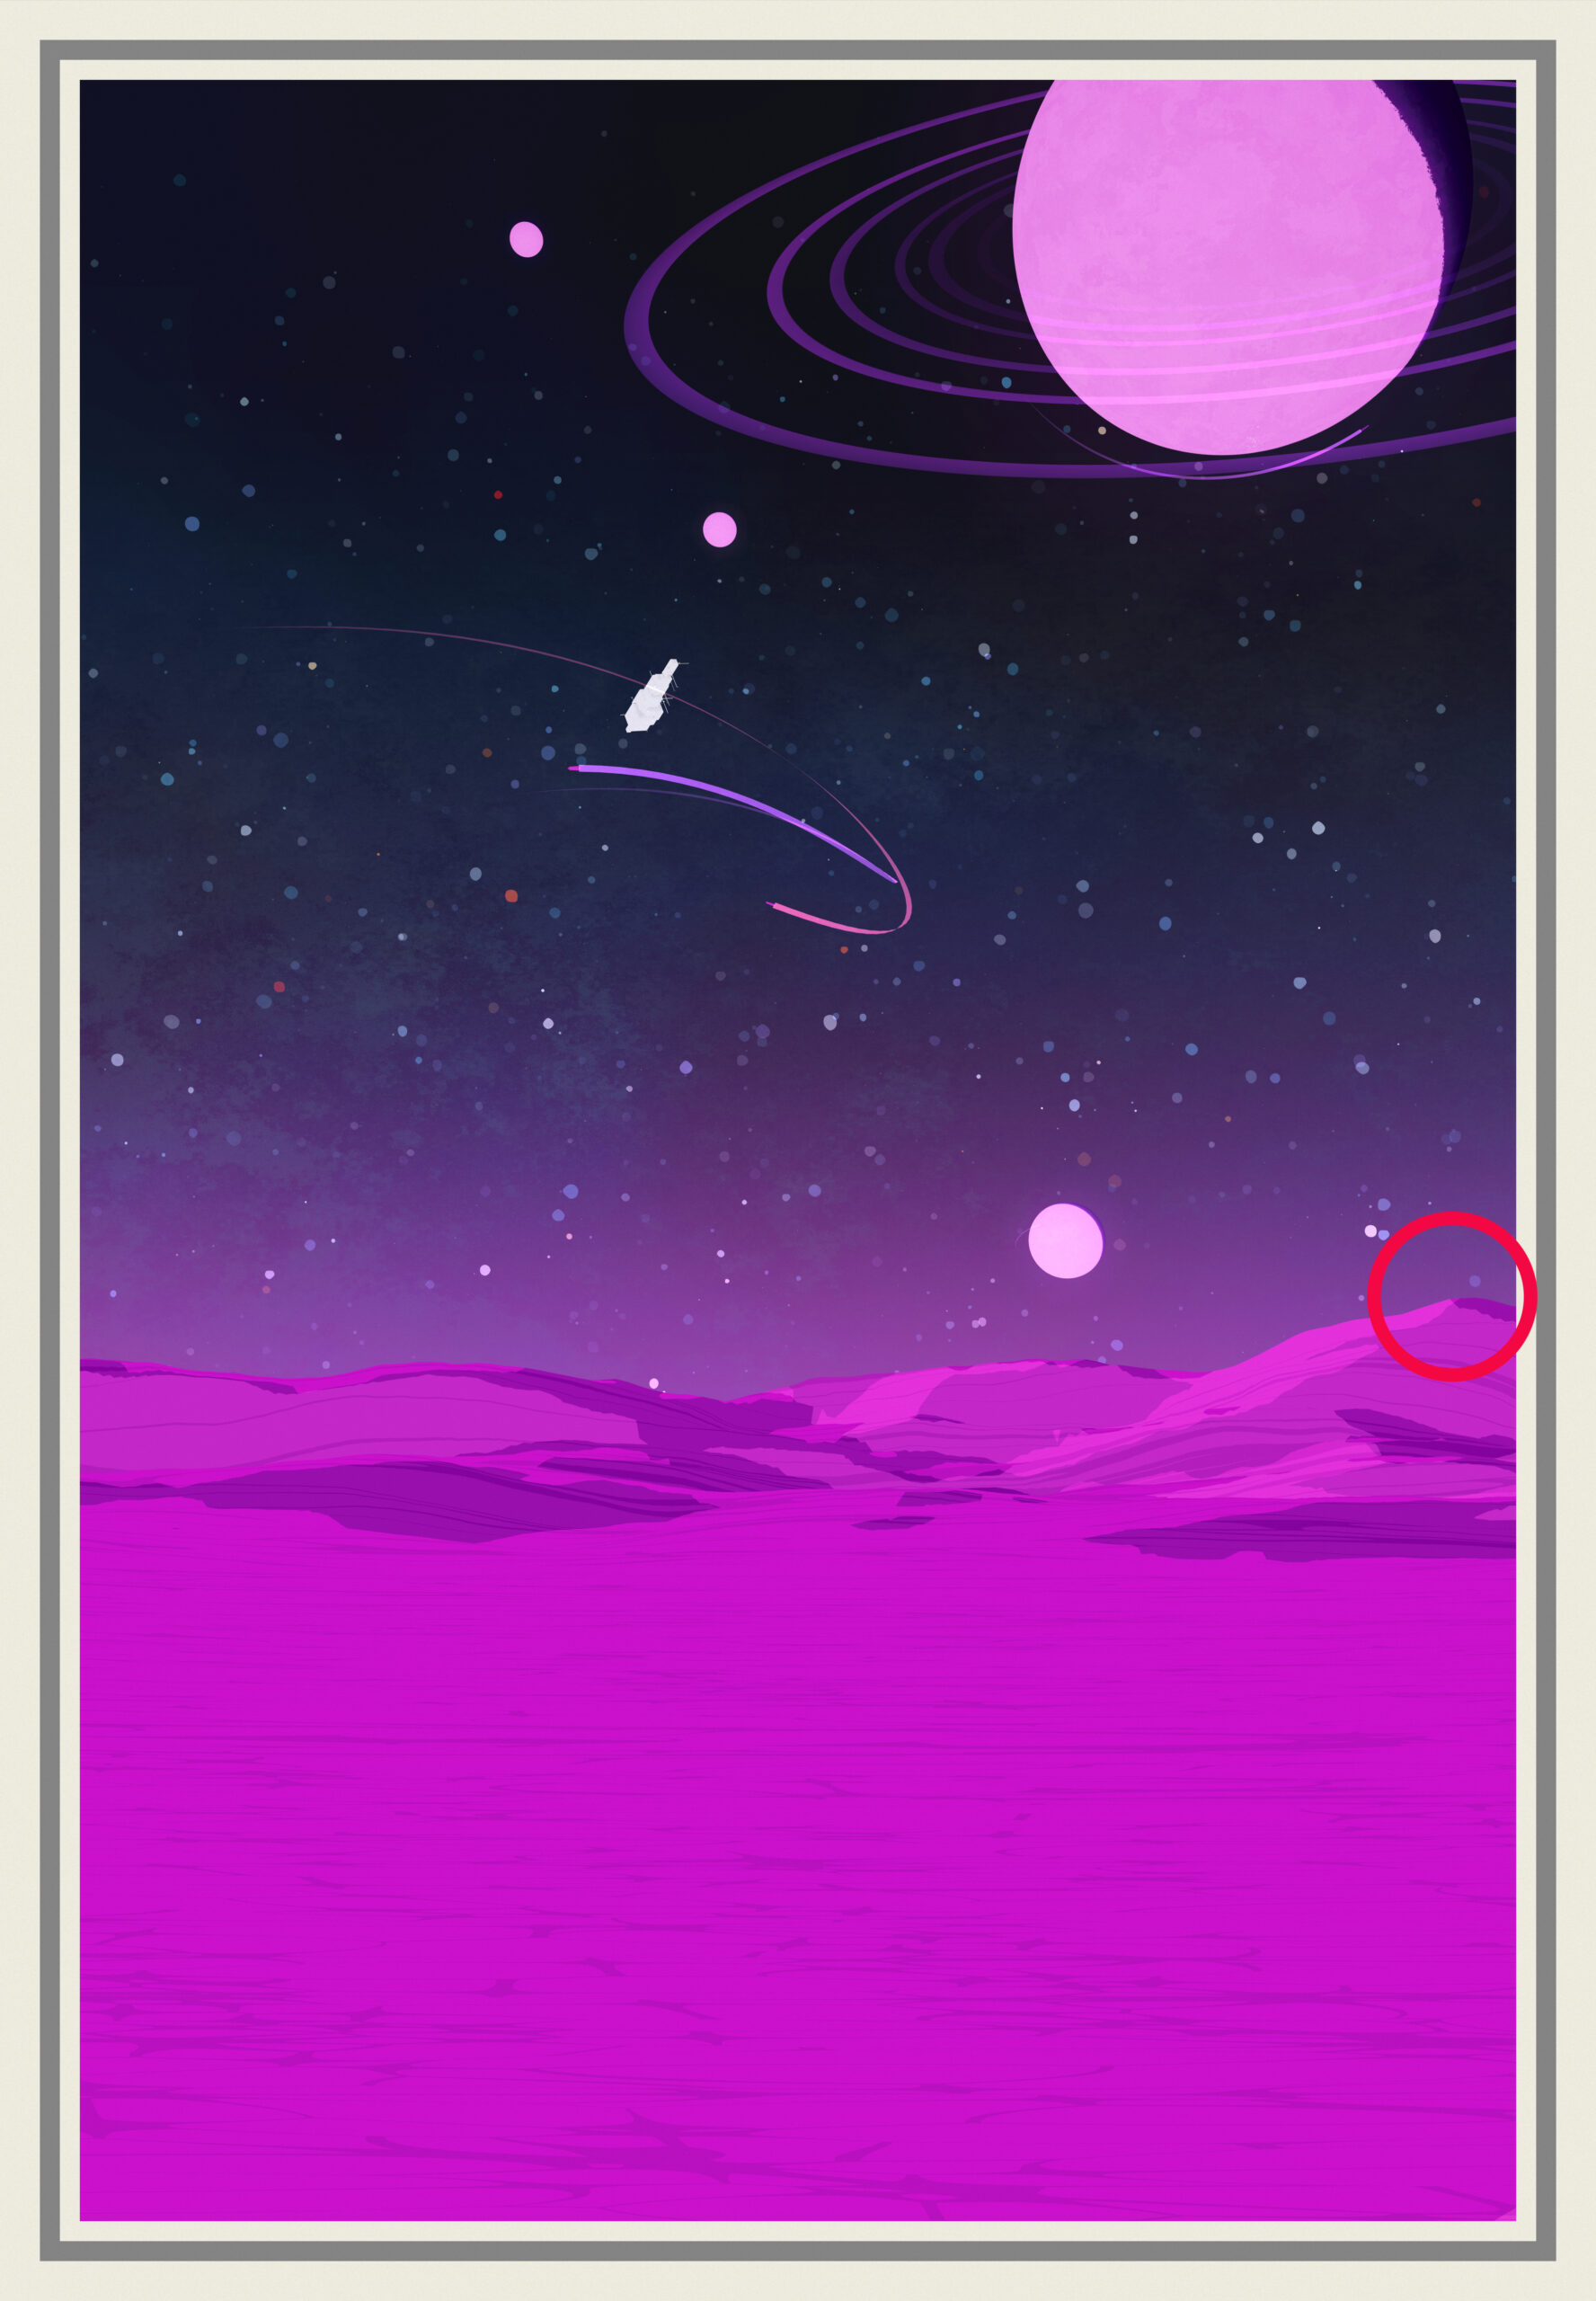
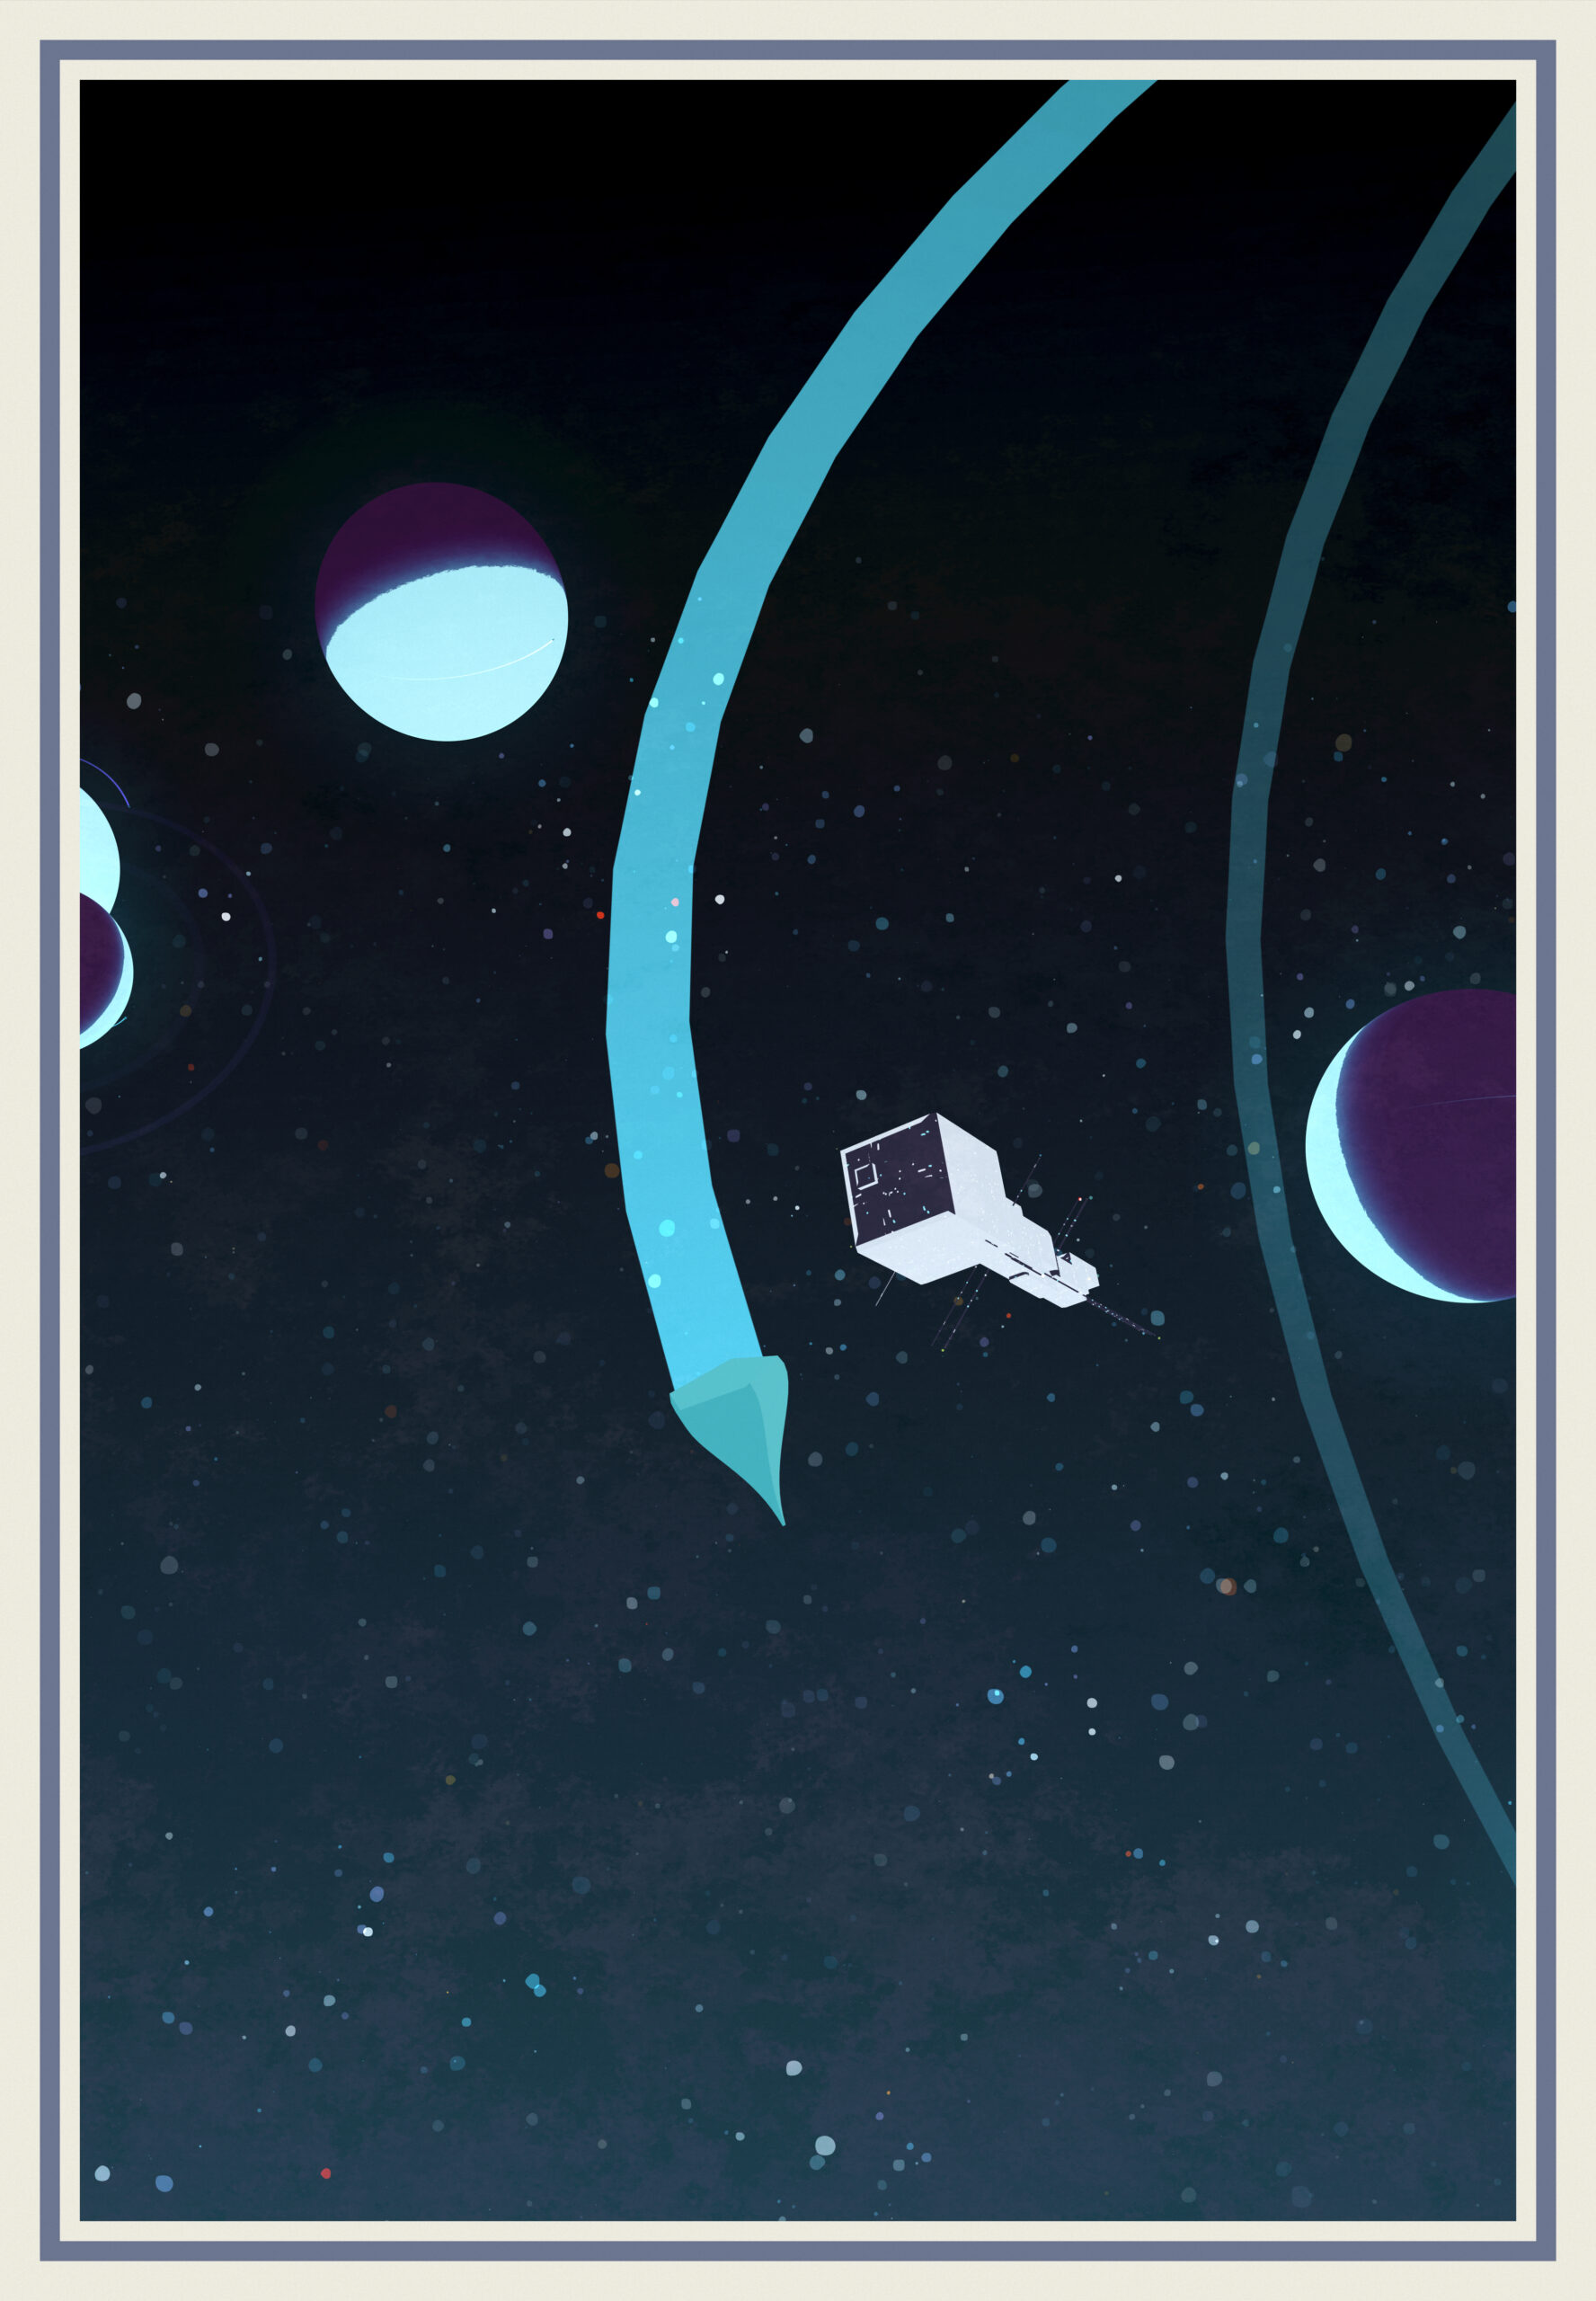
I always imagined two variants to the concept : one where the point of view is outside a planet, arriving. The other being on the planet, with a city in the distance. Both share the theme of arriving somewhere, and share many graphical elements, mainly the background, with stars and planets.
The point here is not realism. The scales are completly arbitrary, the light doesn’t make sense and the colors are extreme.
I really wanted to work with flat colors (you might have seen my side project We’re not gonna take it) and clear lines and smooth dynamic curves. They’re present in most elements of the compositions, with heavy use of cel-shading hard thresholding.
I also wanted to keep working in realtime 3D, for the fast iteration possible with realtime and the options 3D offers in terms on lighting and space. The output is a full 3d scene where every element is produced by various algorithms involving the random number generator.
The way I did things is probably a bit weird, but here’s a breakdown of most elements on screen :
Lights
The main light come from a random point set somewhere beetween the planets. The scale and position don’t make physical sense at all. The goal is to produce patterns on the spheres.
The color of this light is one of the main features defining the mood of the output. All the hue values are included, although with the green/turquoise range is compressed a bit. There’s also some range to the saturation and luminance.
For the surface variant, another spotlight is placed as to covers only what is on the surface and not the planets. Same color as the main one, but the placement is either on the left or right of the camera to produce the patterns on the moutains.
An colored ambient base supports the rest. Random too, but limited to very dark blues , purple, red, some oranges. The green stuff didn’t work or clashed too much with the main.
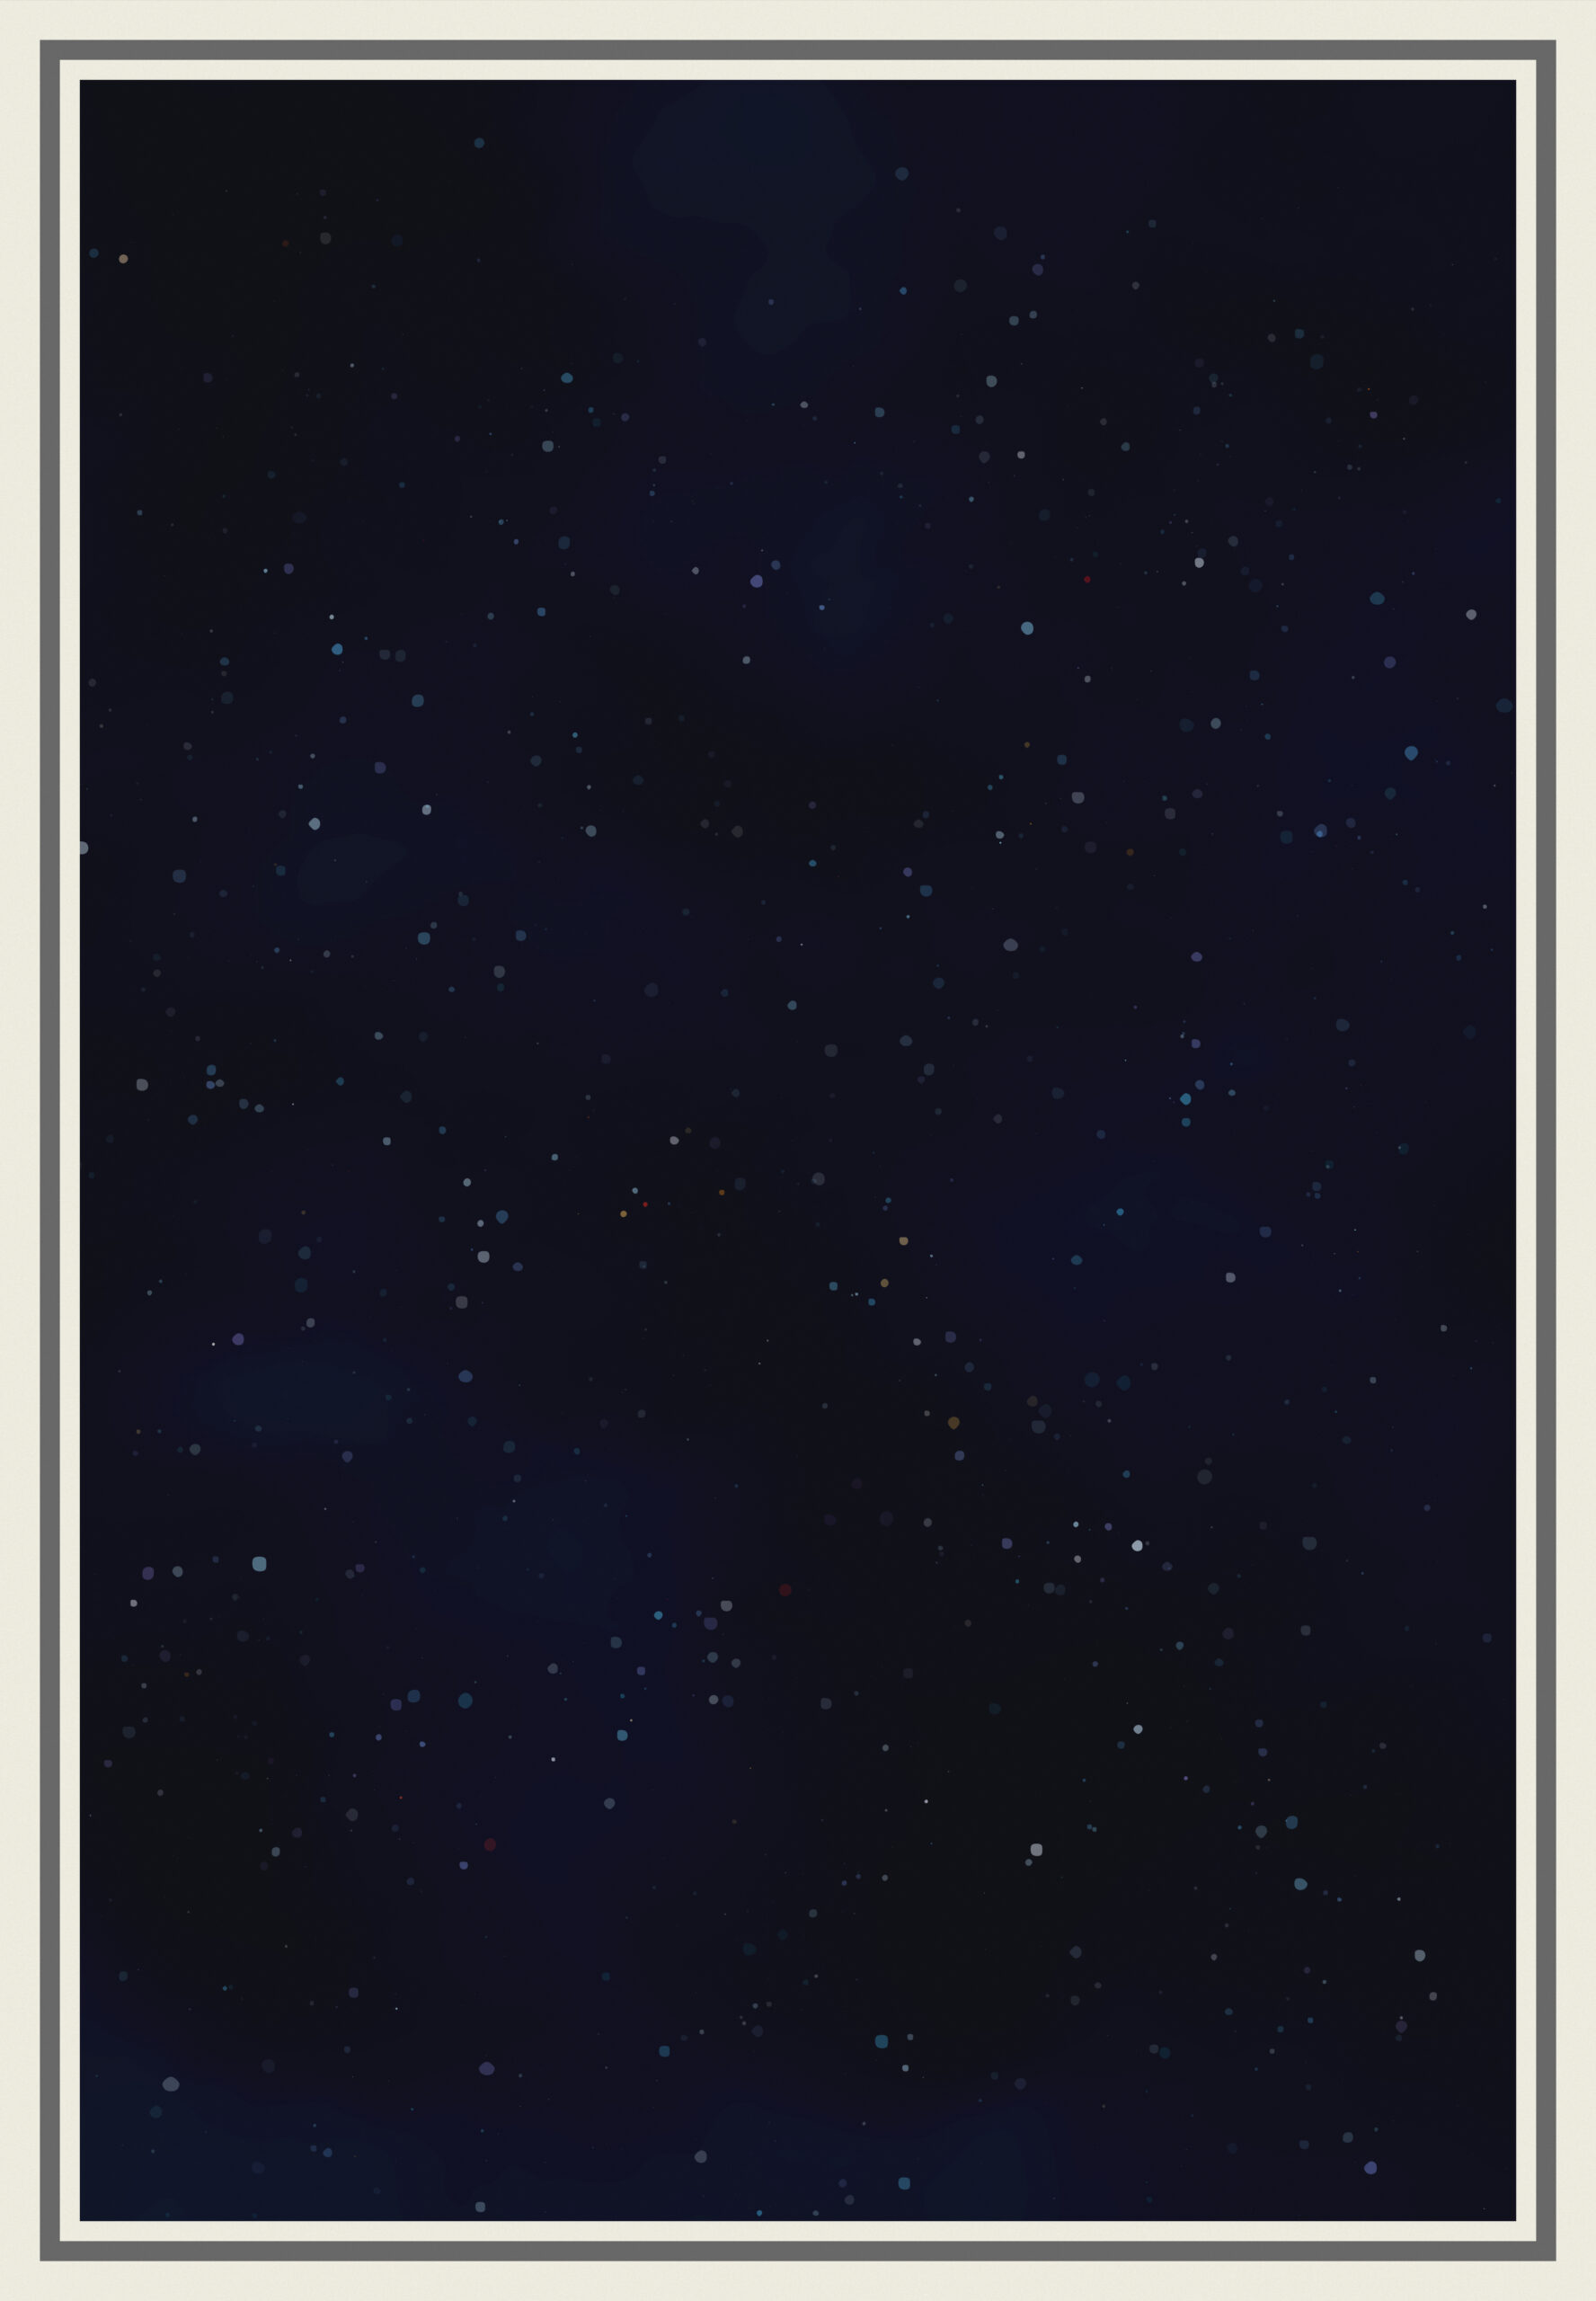
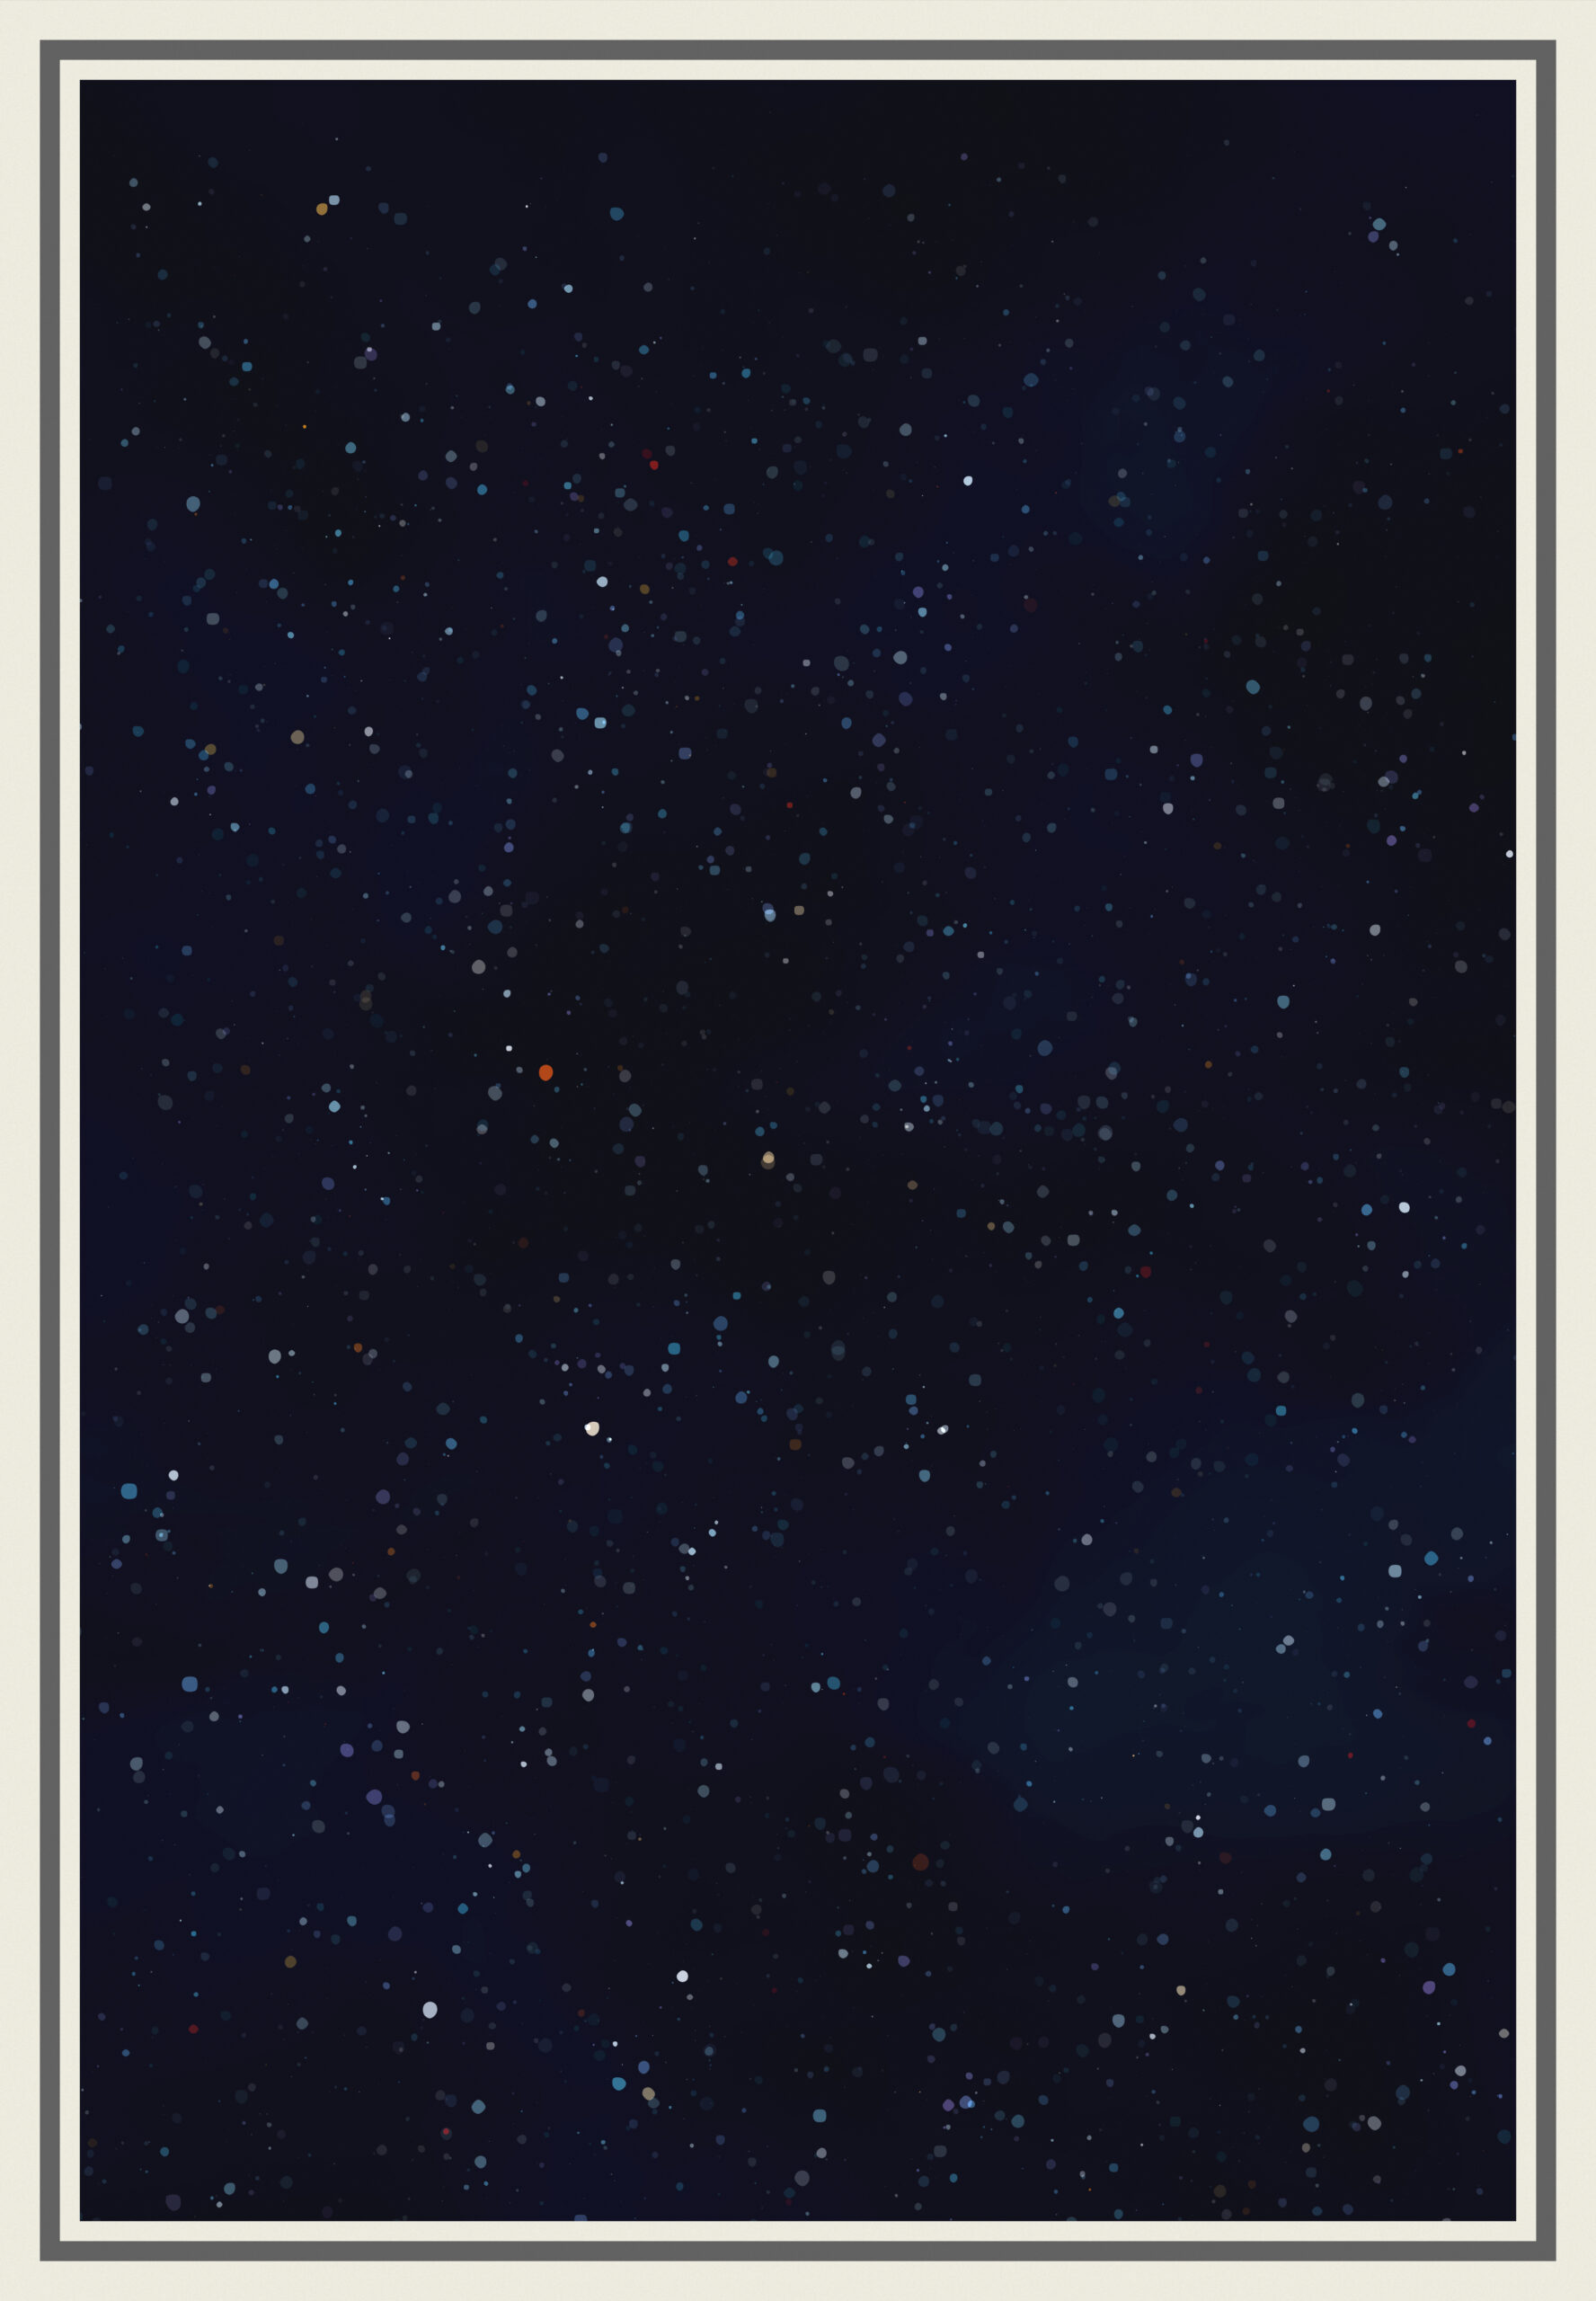
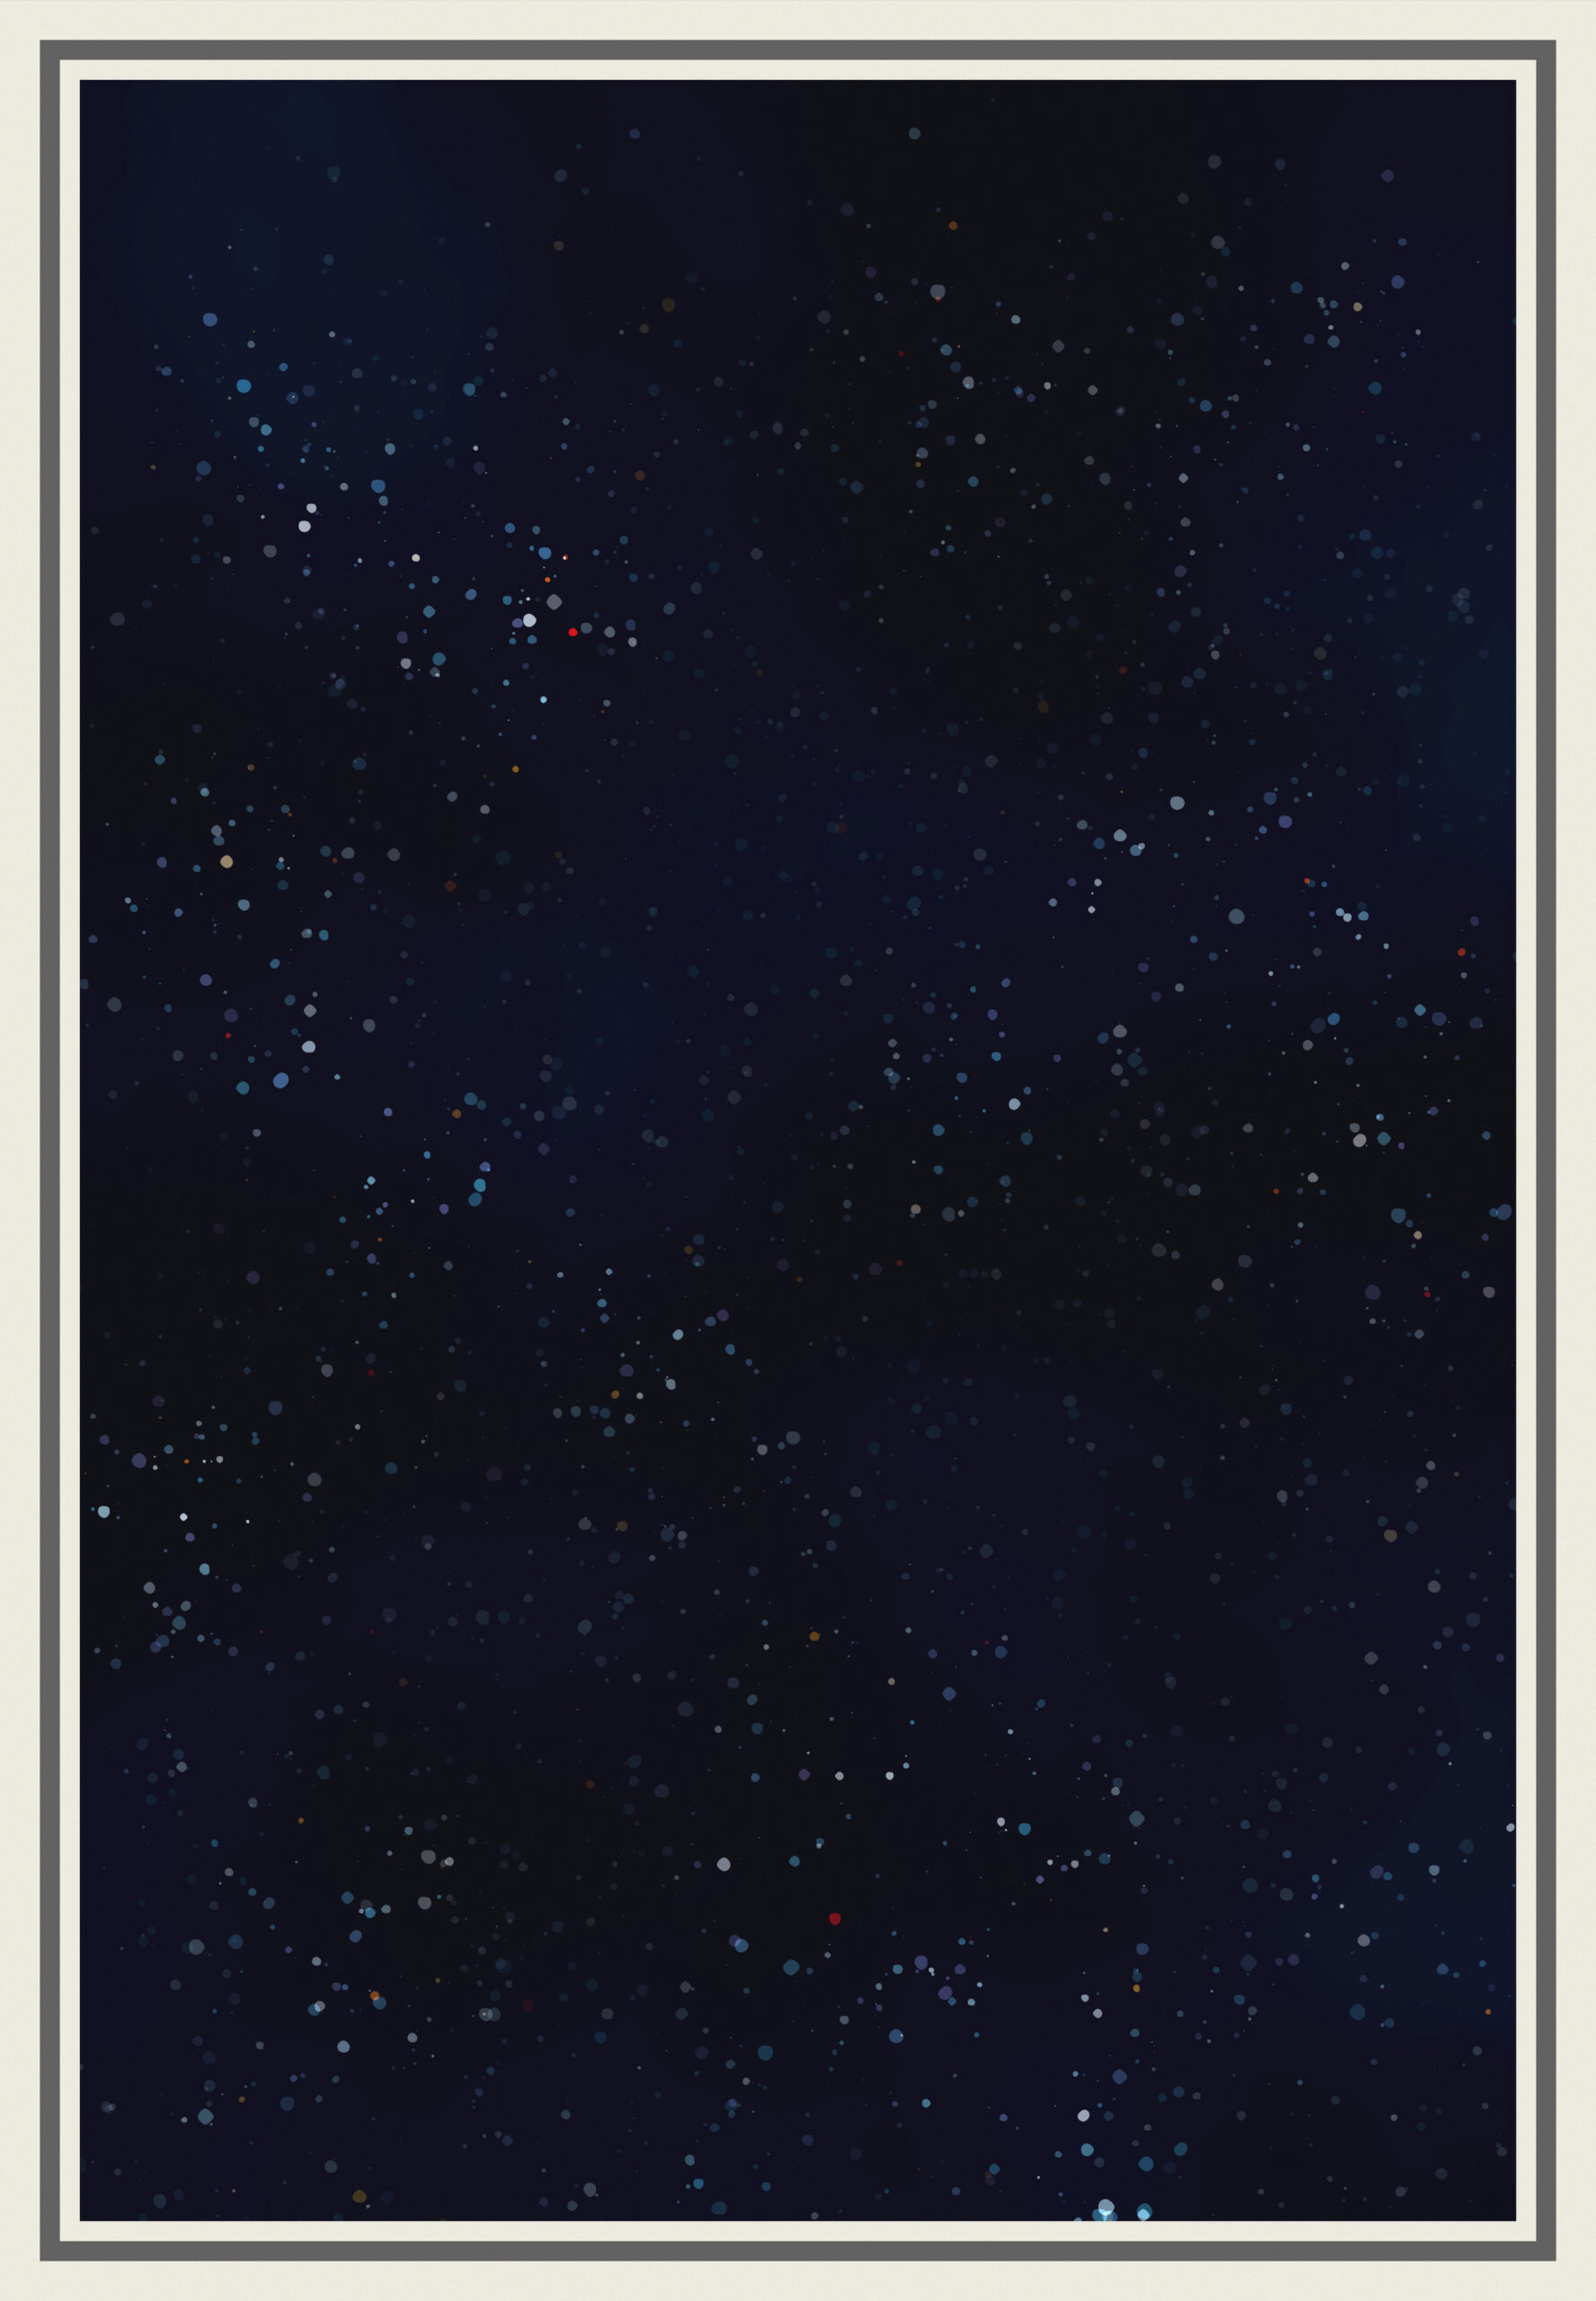
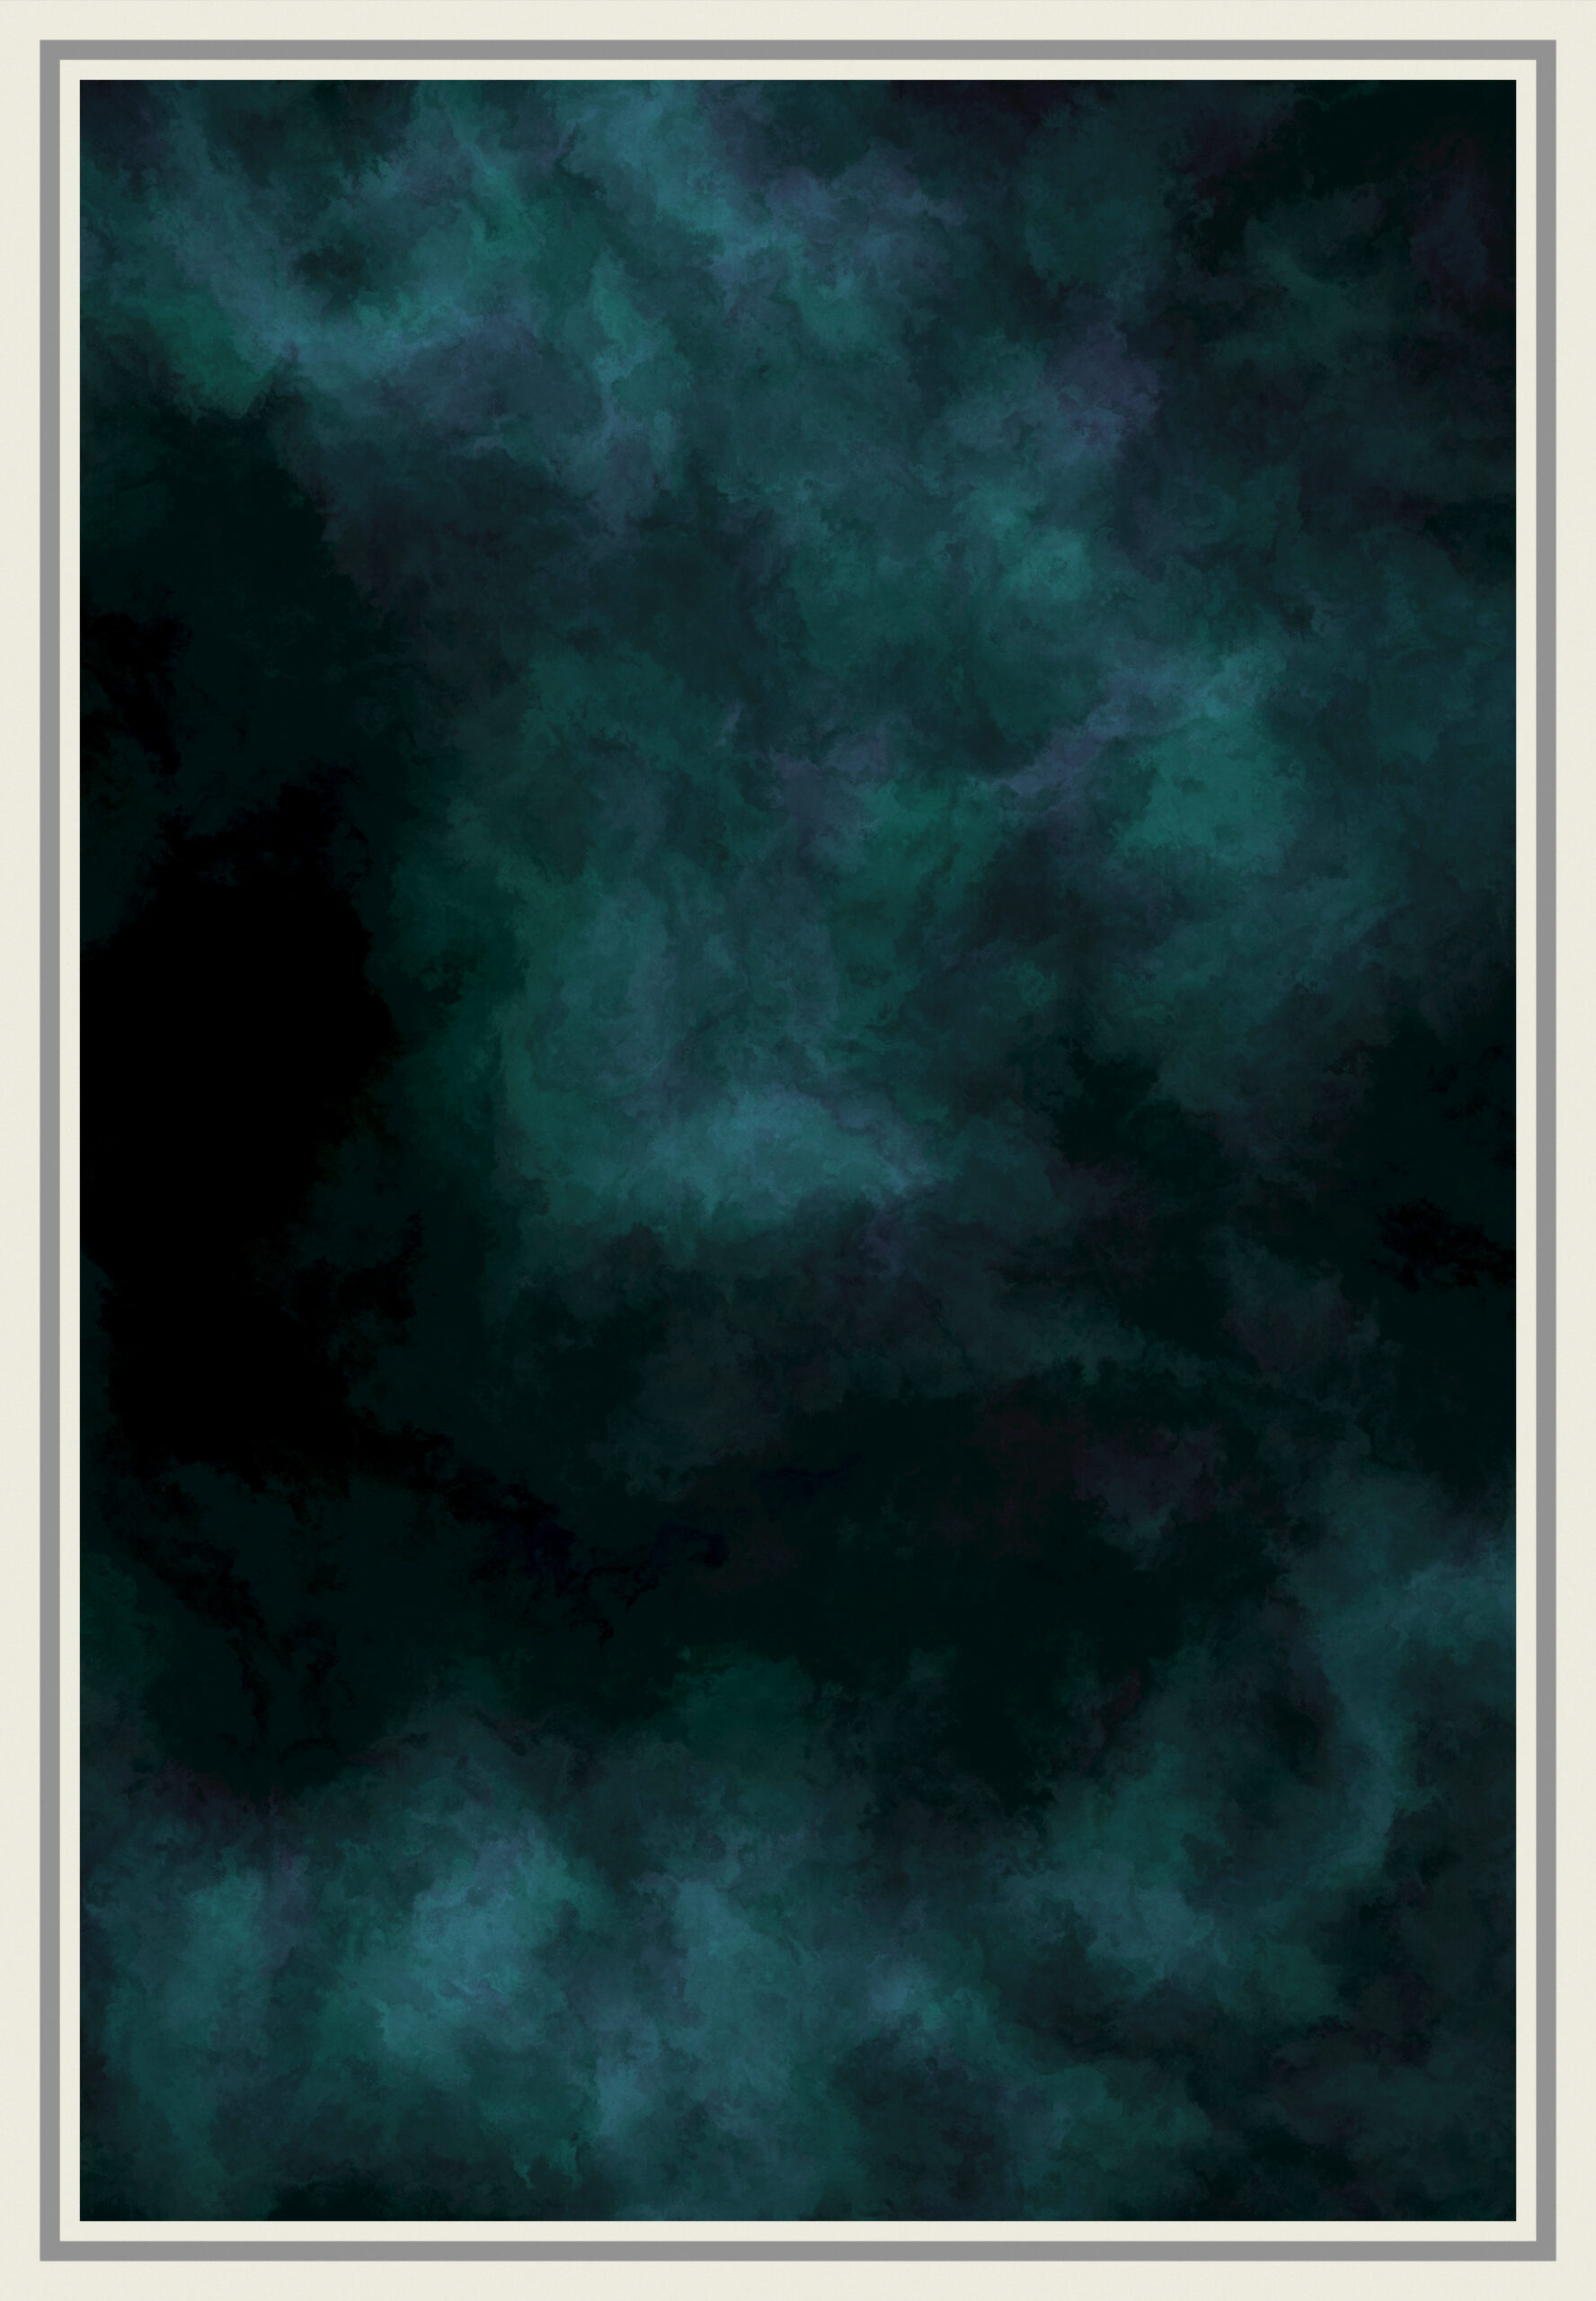
Background

A sphere mapped with a warped noise colored with 3 shades of deep blue. The camera is place inside the sphere.

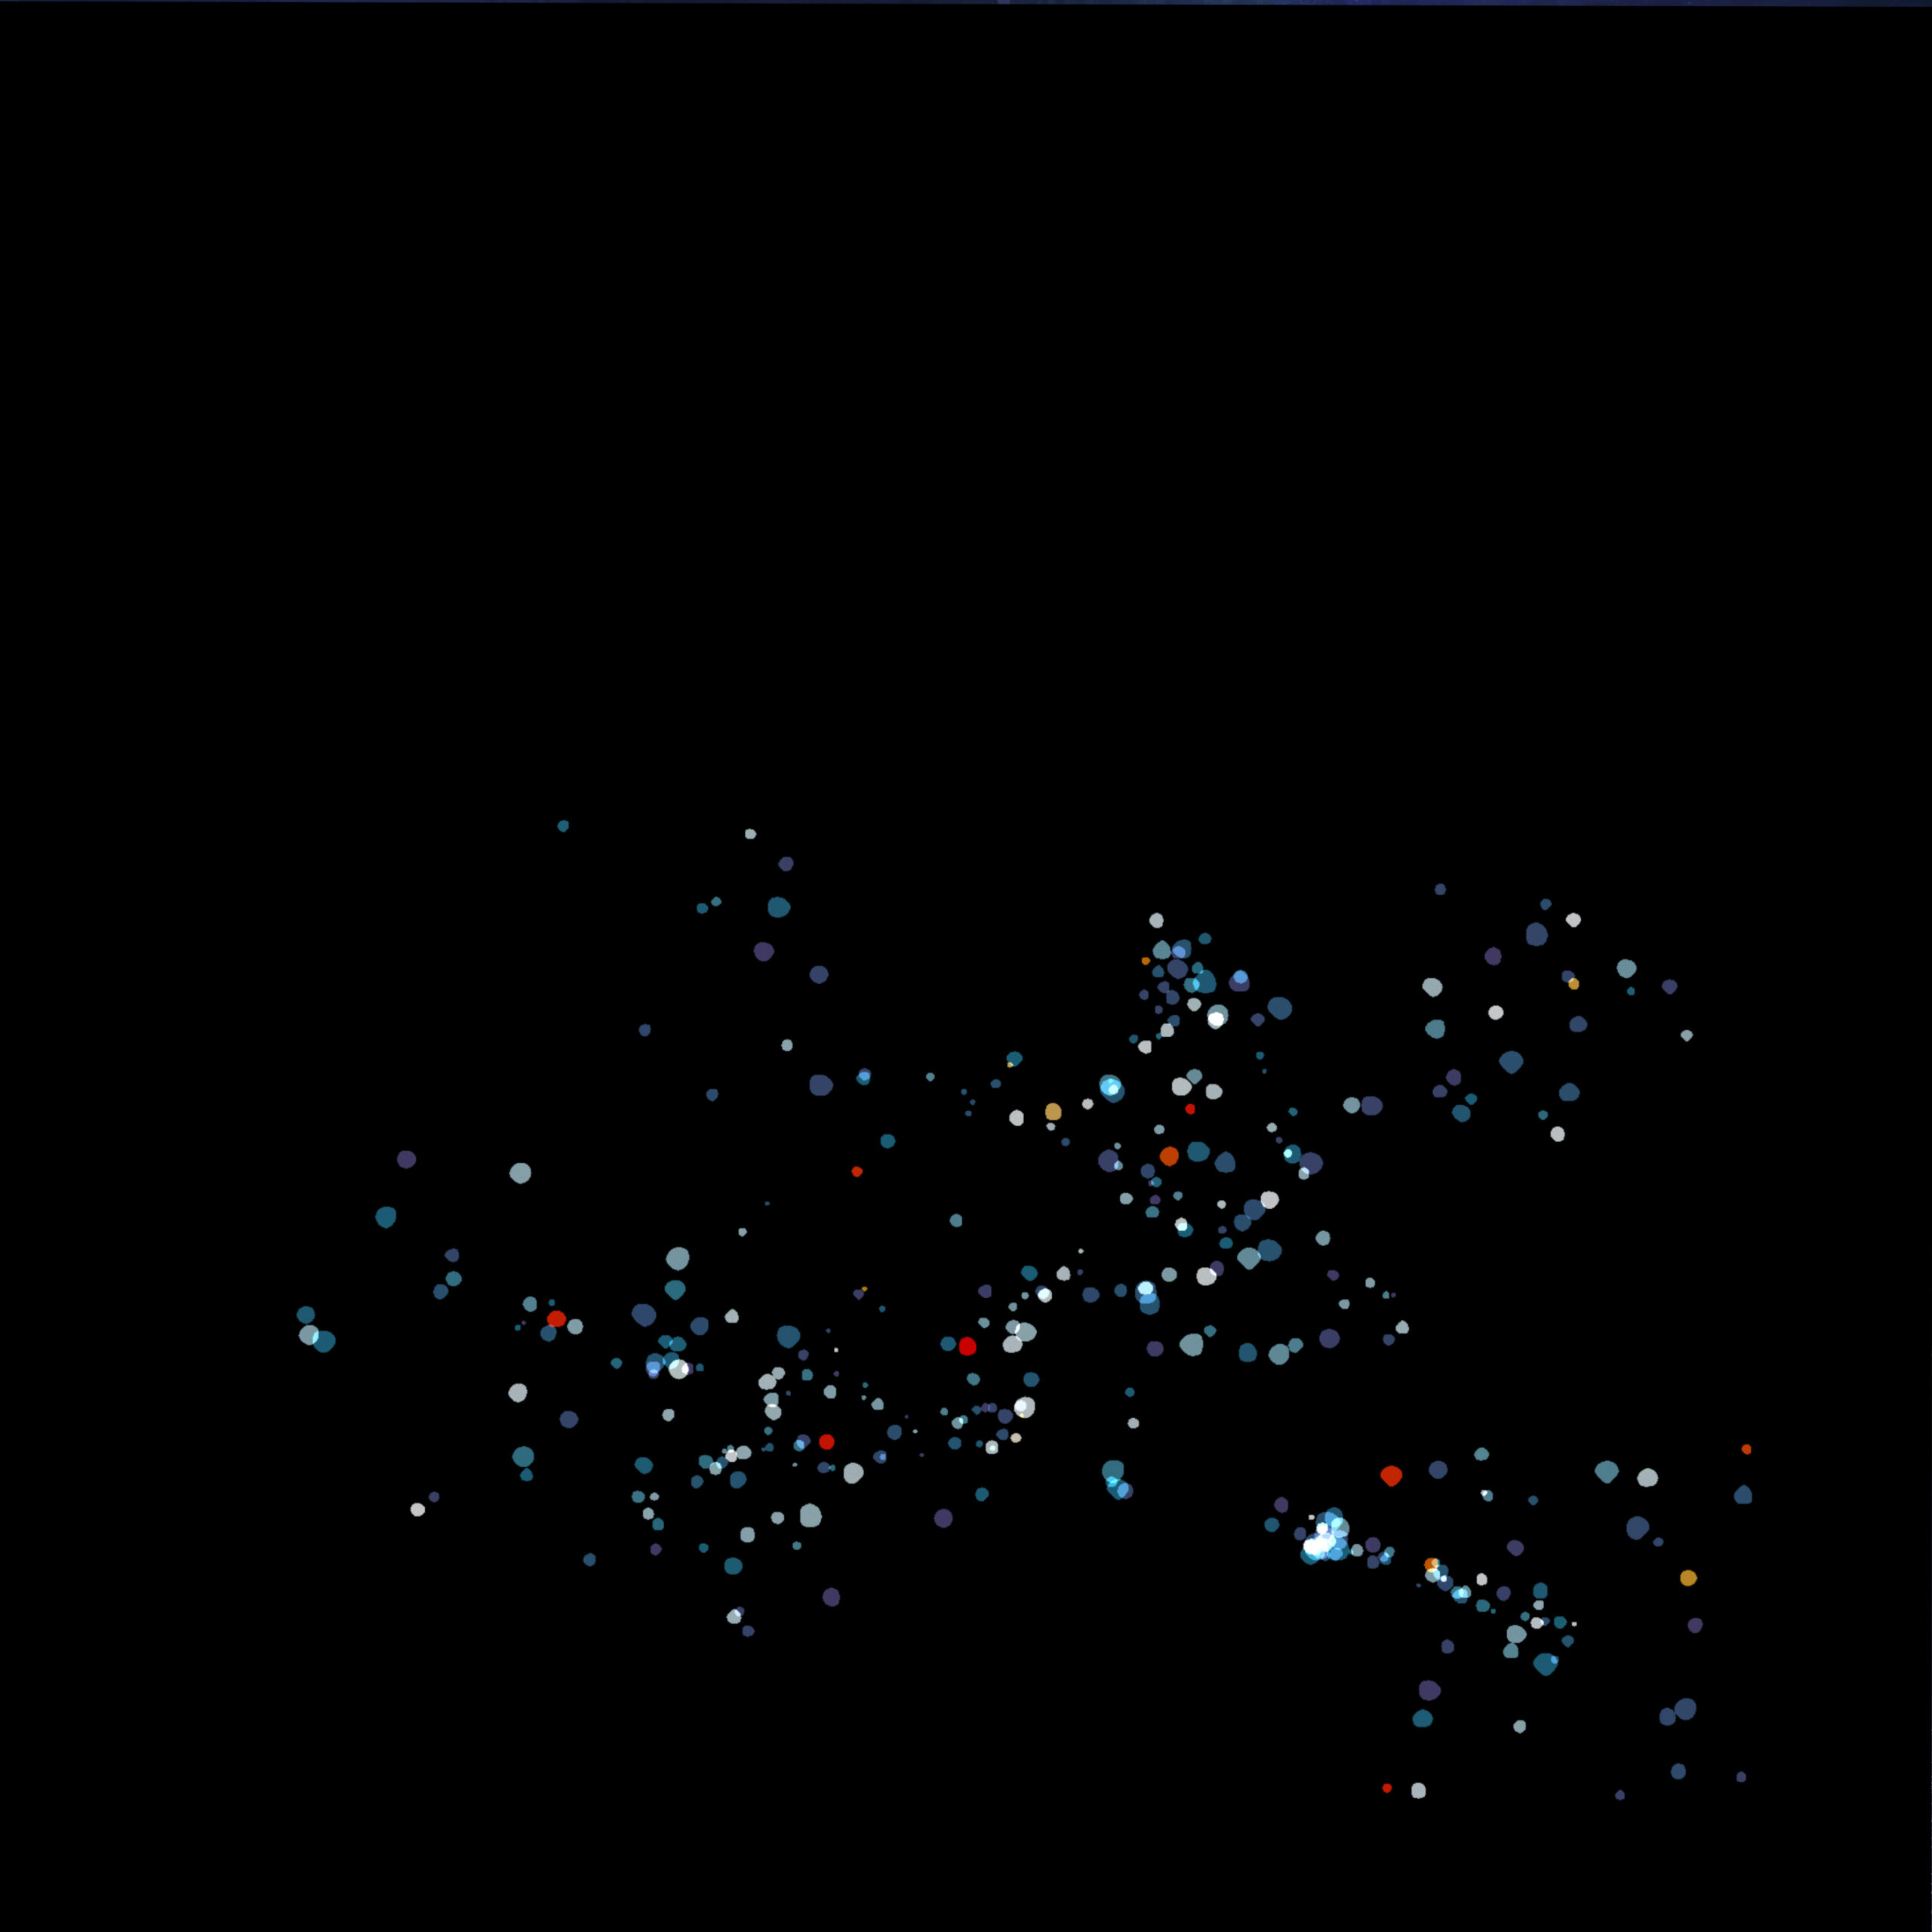
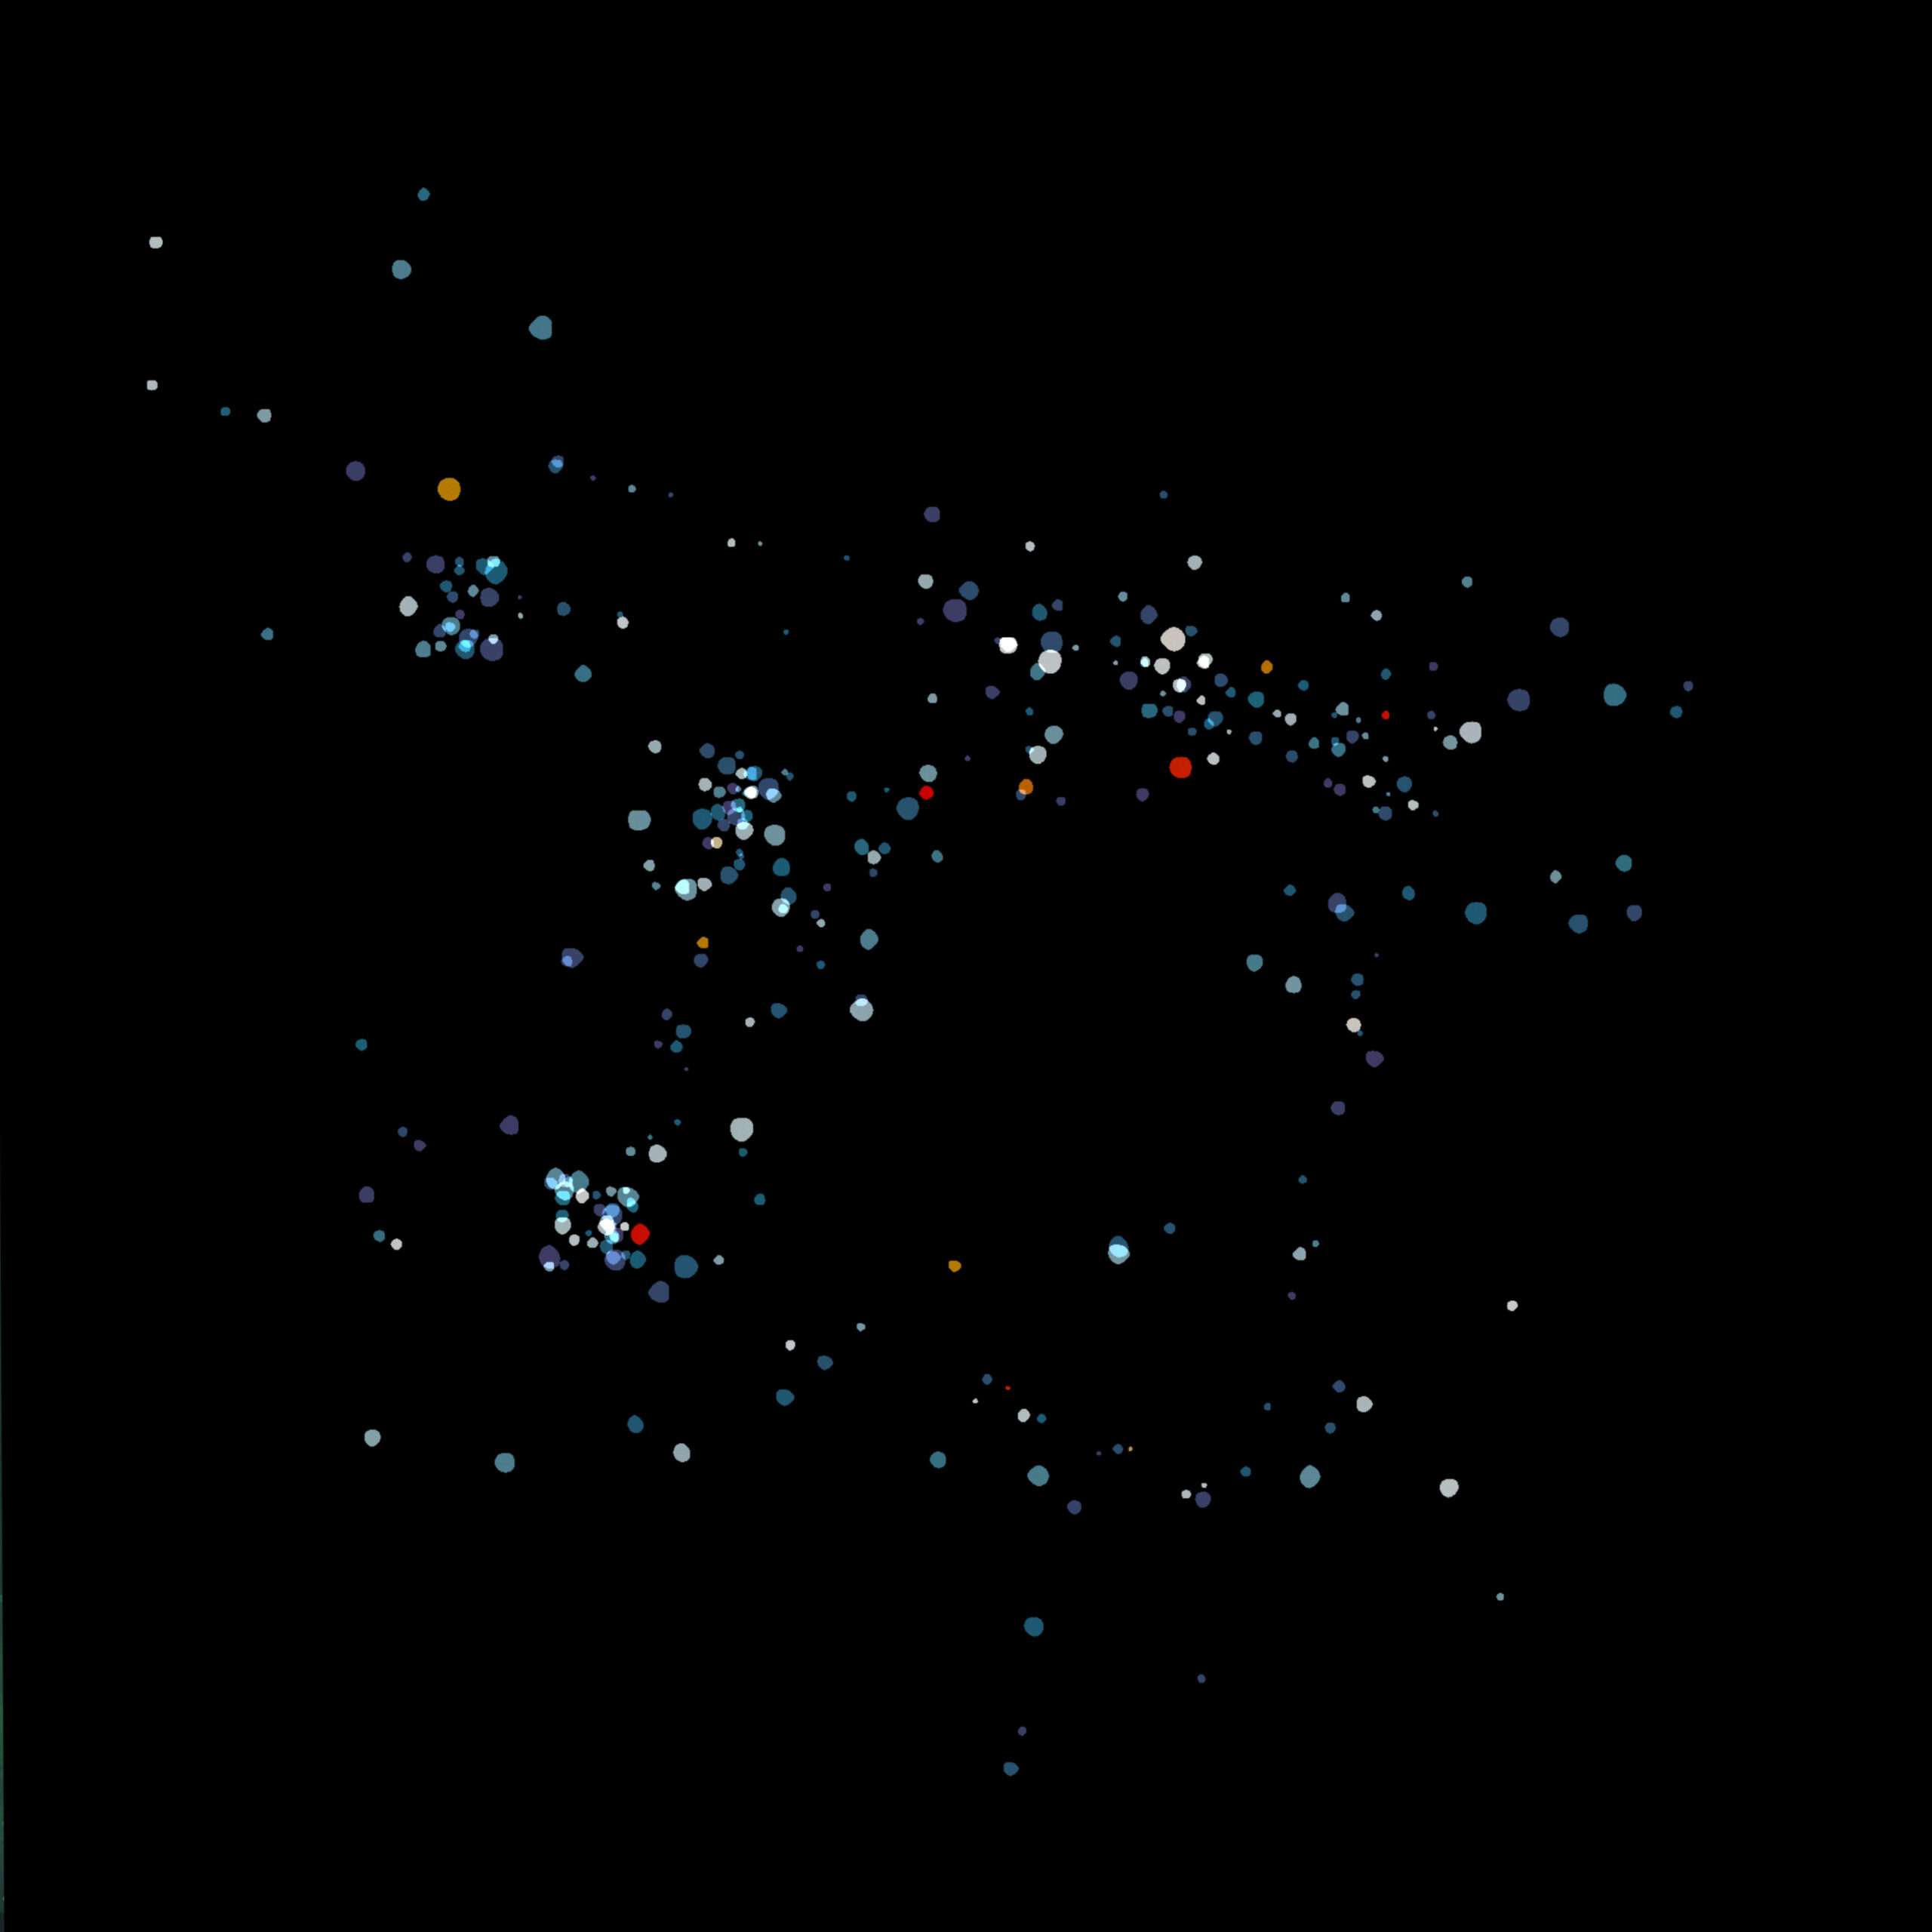
Star Dots
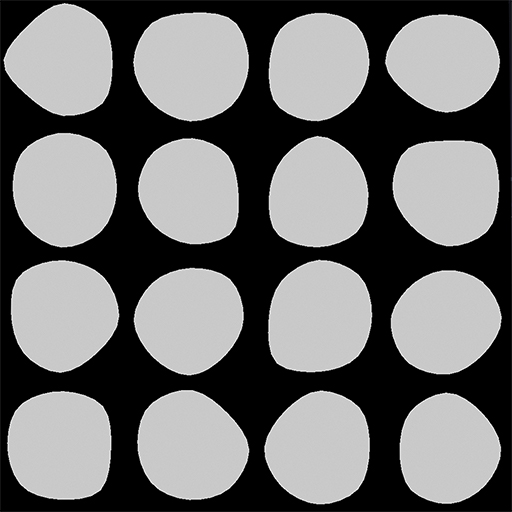
To achieve a more natural look, a set of 16 round-ish shapes are generated per seed (rather than using a circle) and drawn unto a texture. This texture will be repeatedly used throughout the project everytime I need dots.
For the stars, a particle system is generated. Each particle is attribute a color picked randomly from a fixed gradient and a position in the texture.

A lot of blue, with occasional hot colors.
The particles are then scattered randomly in 3D in the frustrum of the camera. Their size and opacity are controlled by a parametric perlin noise to produce some constellations by varying the distributions.
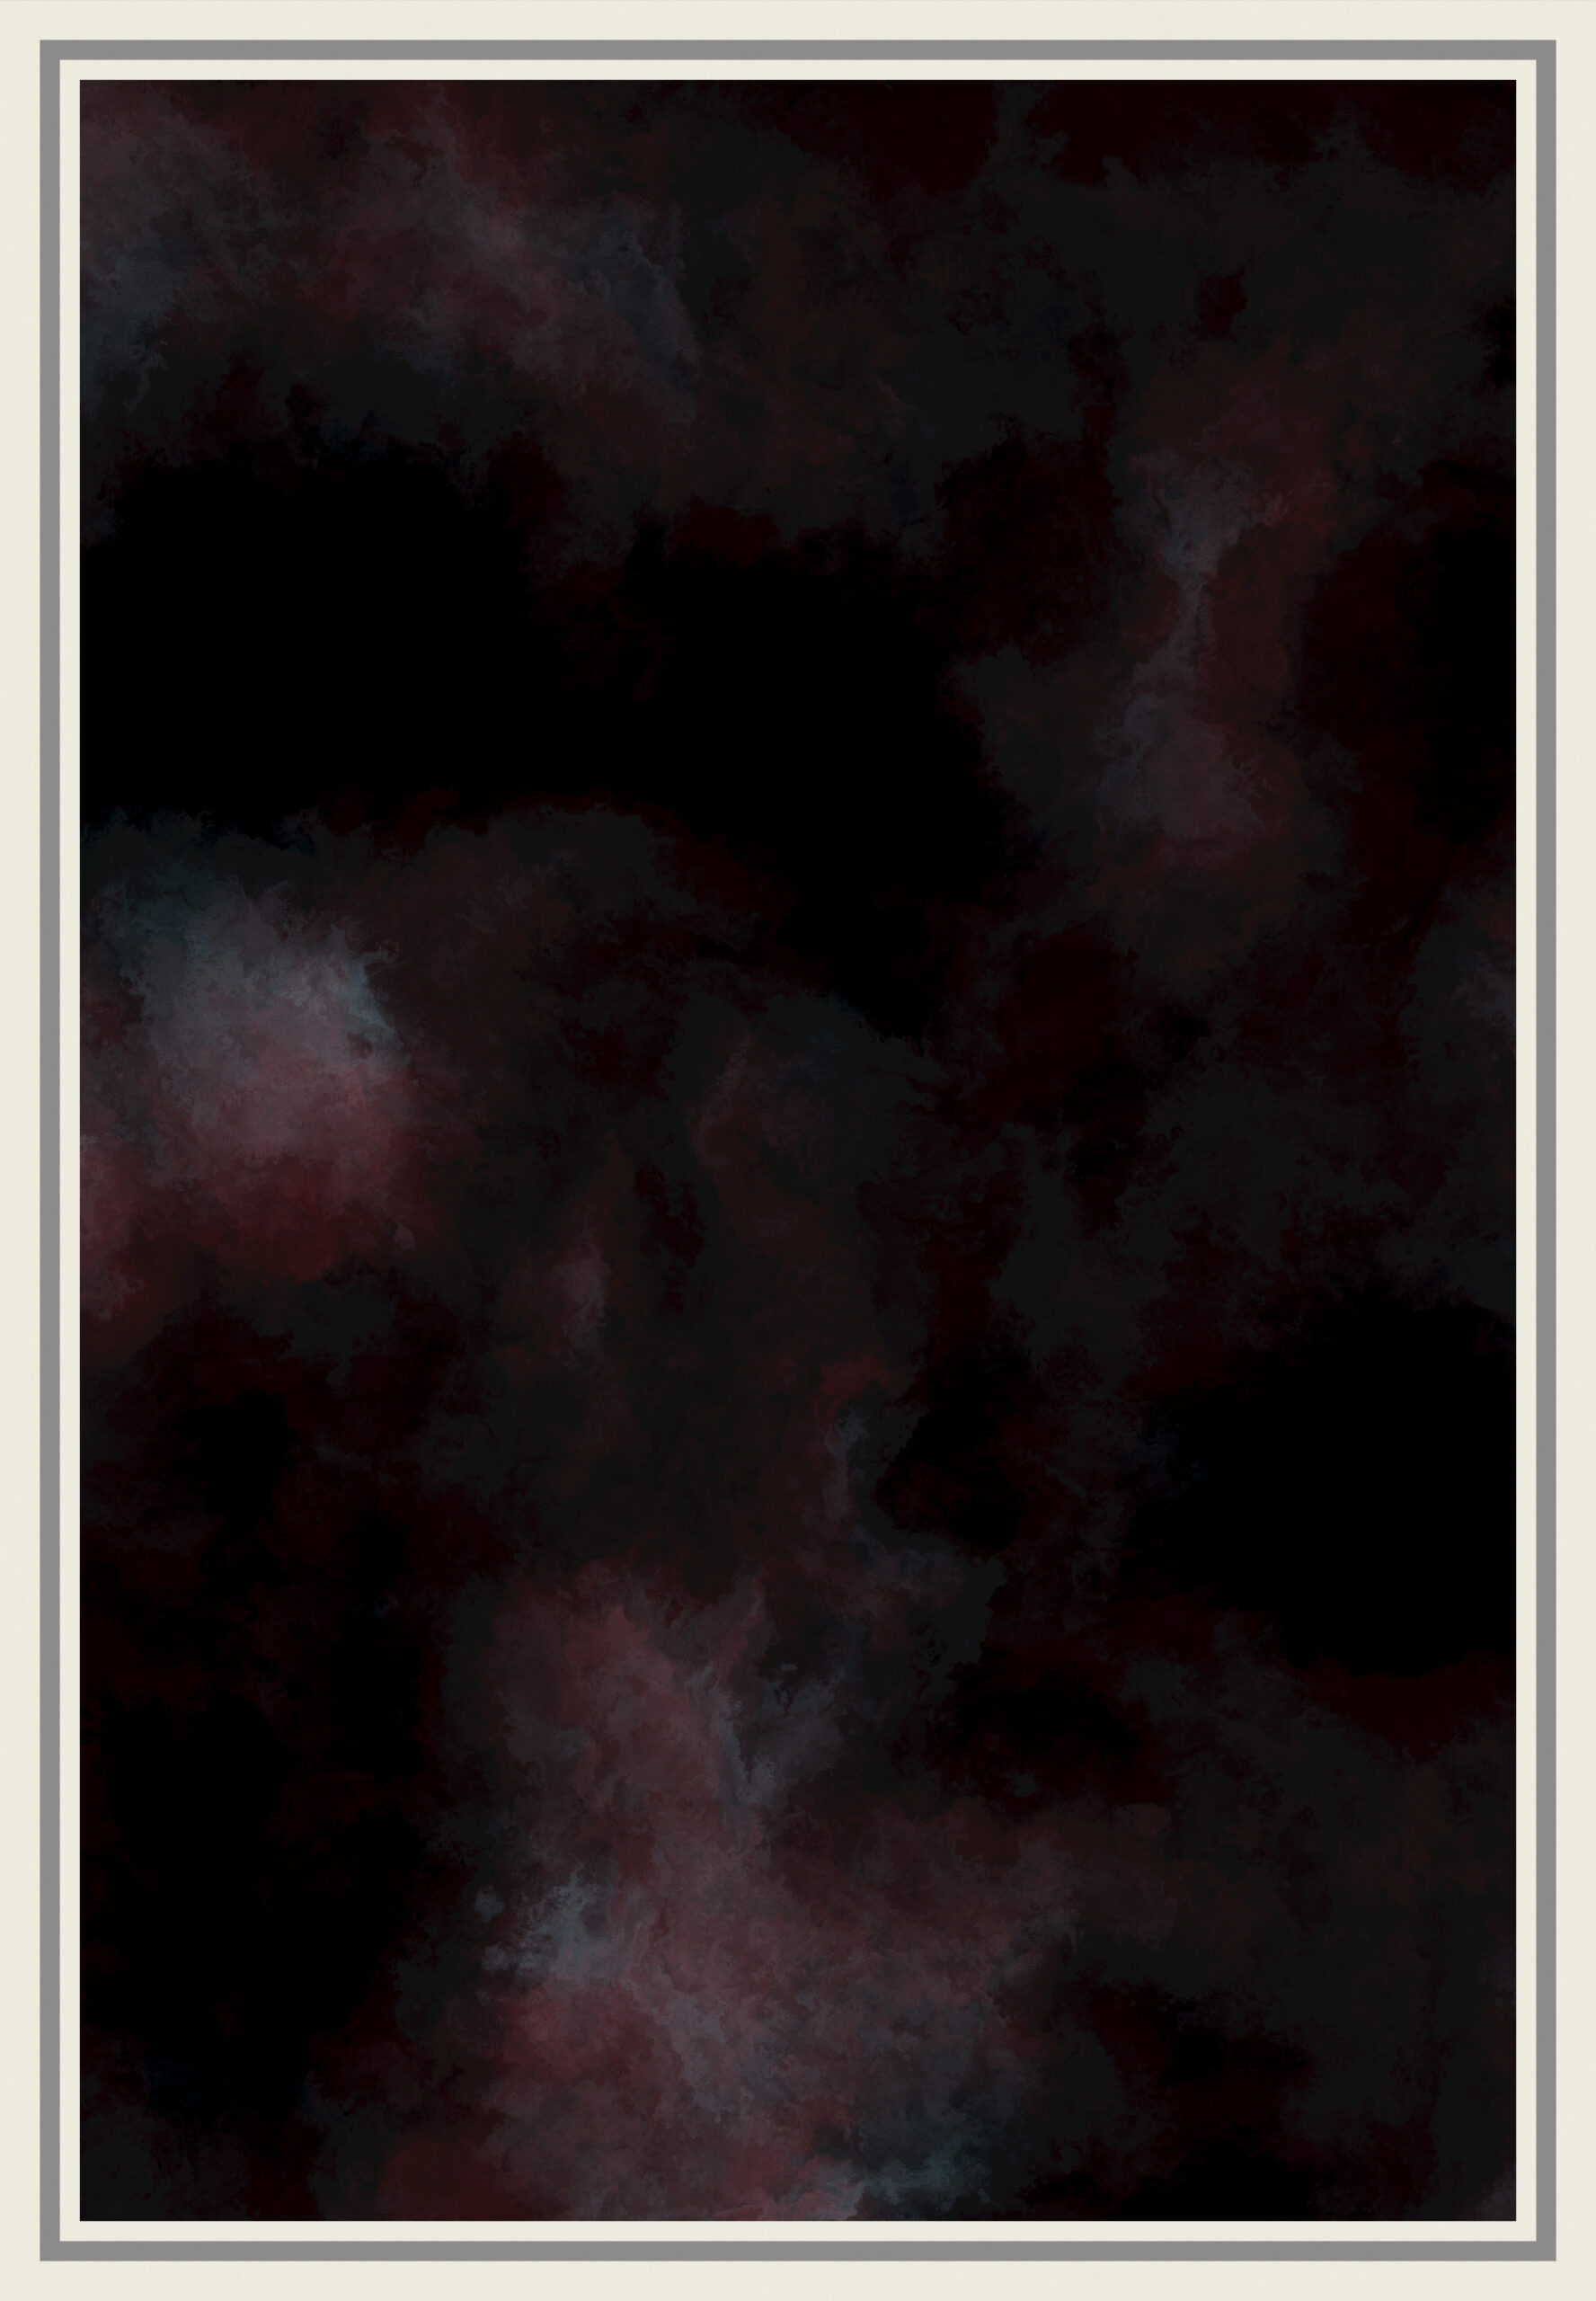
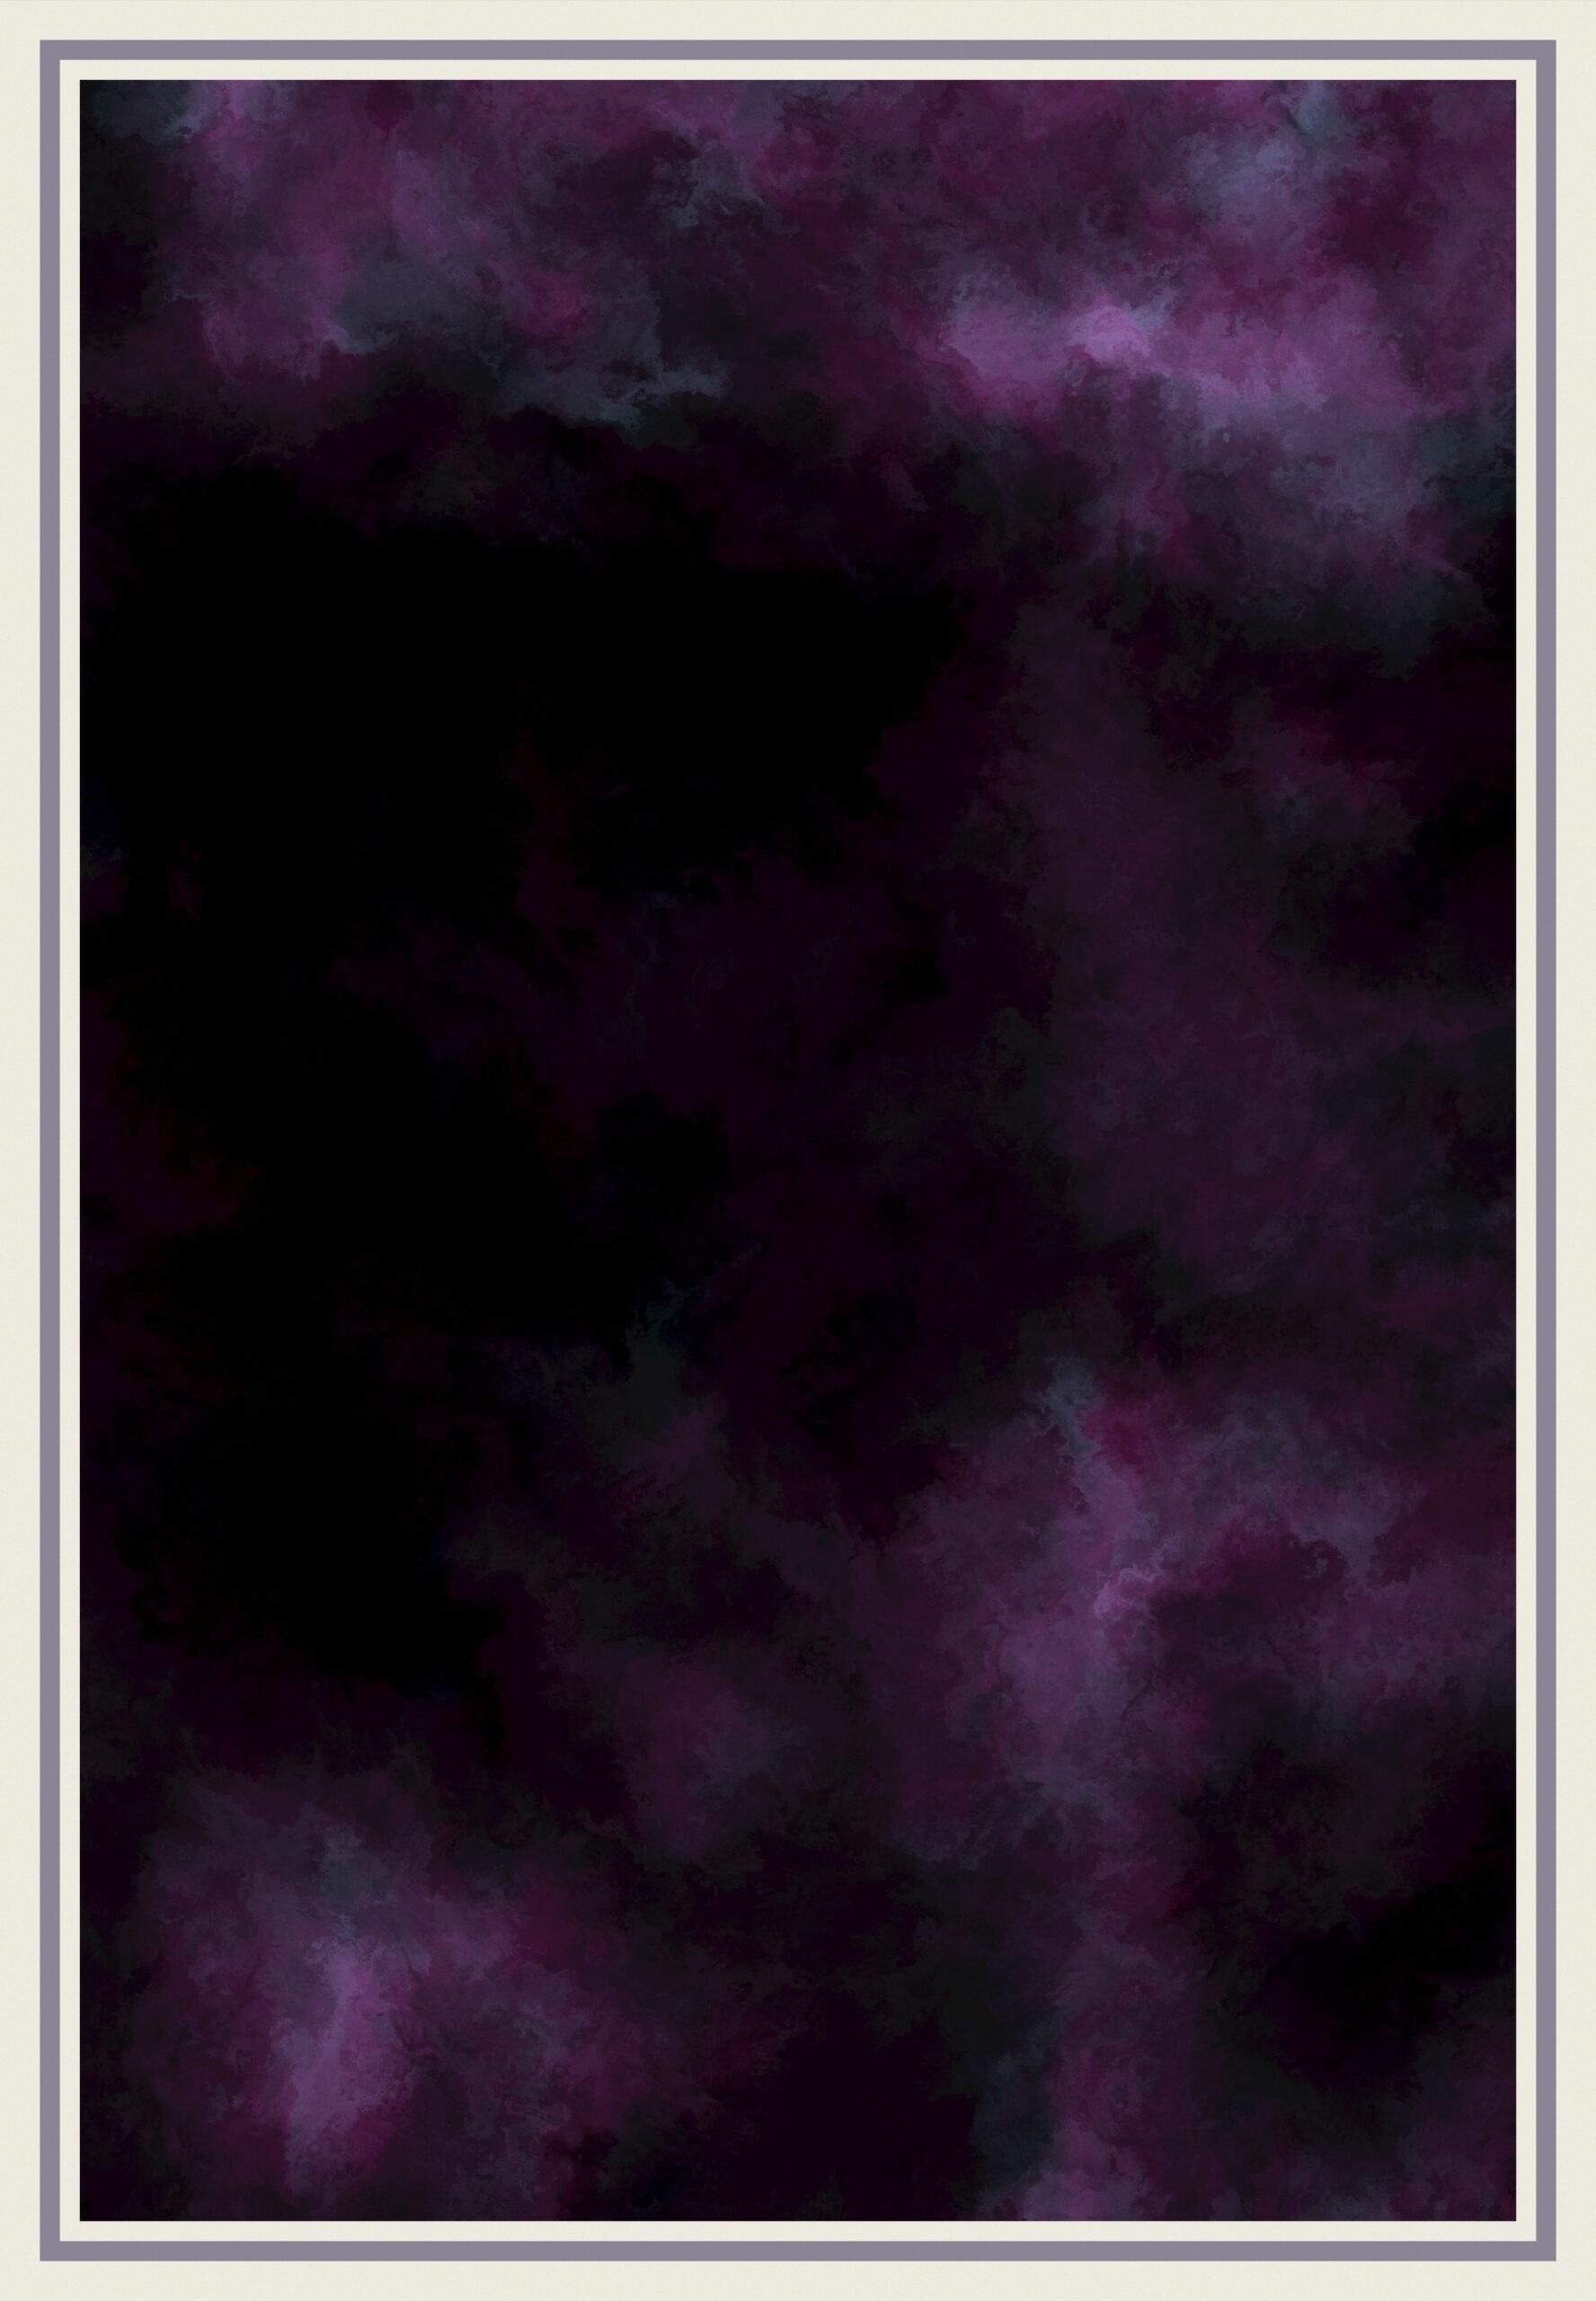
Nebula
Created to reinforce the outer space view, so only present there. Drawn on a plane placed between the background and the star dots.
Another classic warped noise, with its value stretched thin for a layering effect. It is colored with the main light color and a color chosen randomly from the same gradient as the star dots. This insures consistency, while also allowing to produce some nice contrasts on occasion.
The parameters for the noise are pretty lax, sometimes producing very subtle nebalas, while other times the nebula nearly becoming the central feature.
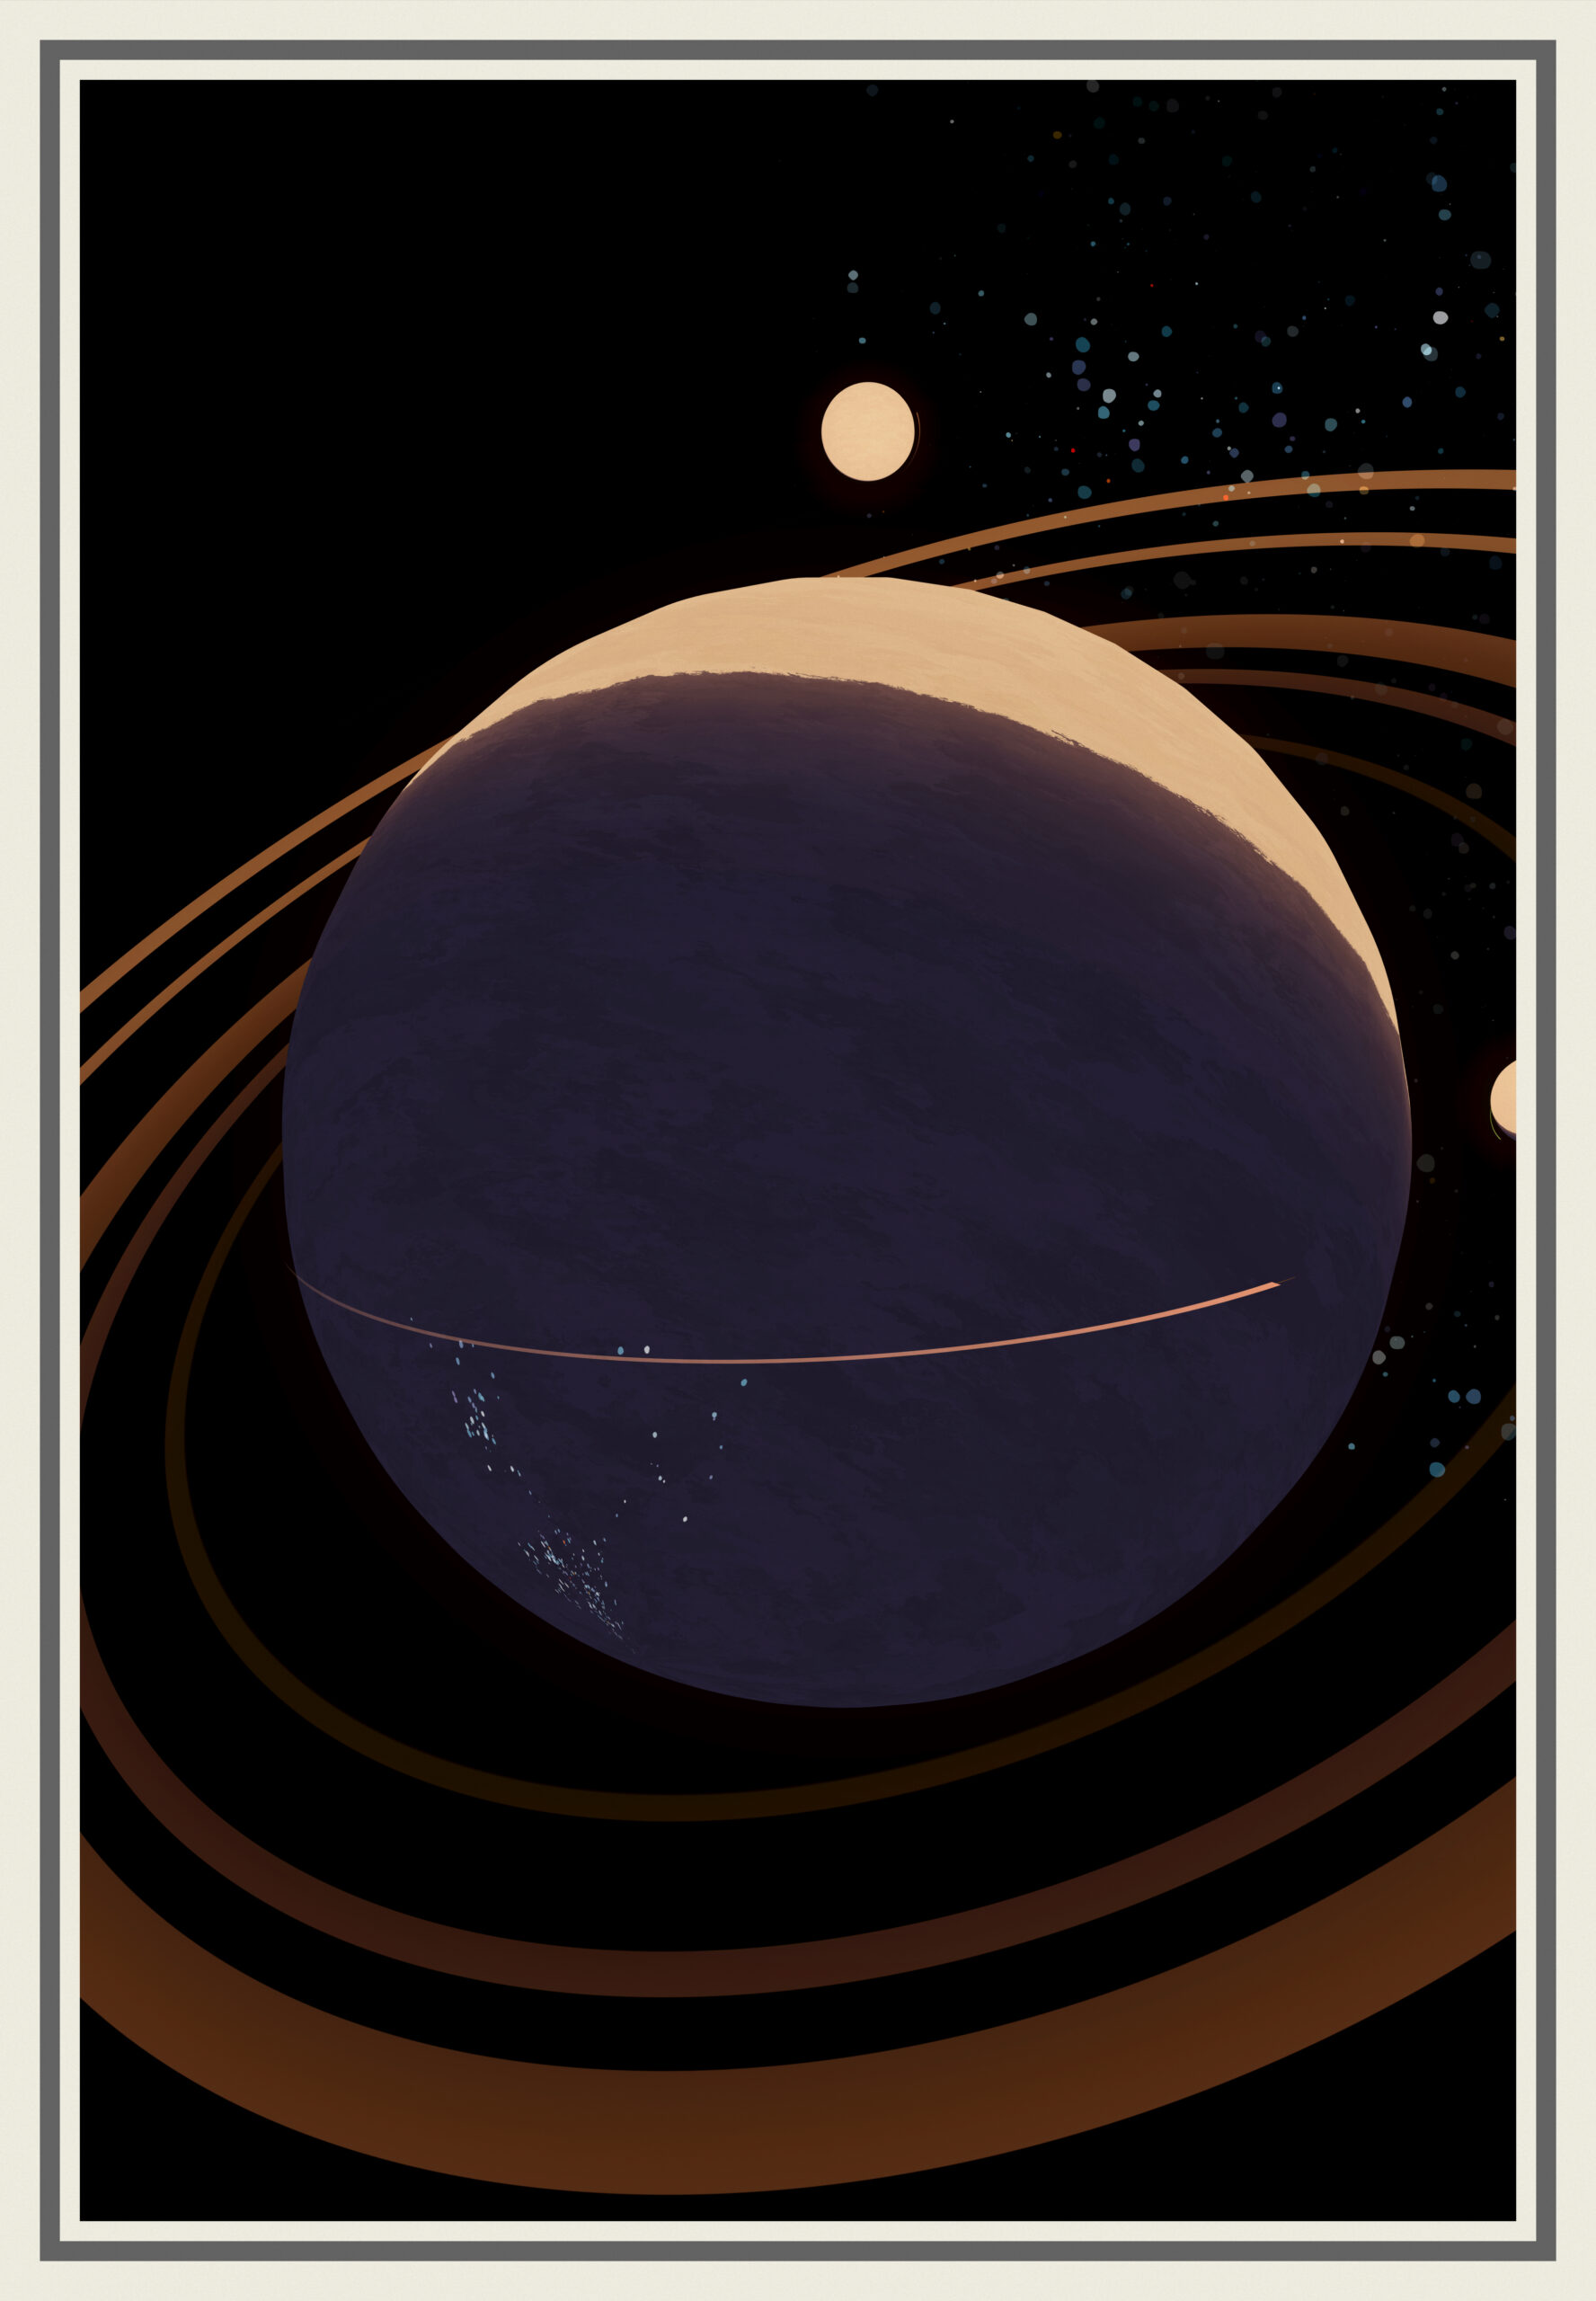
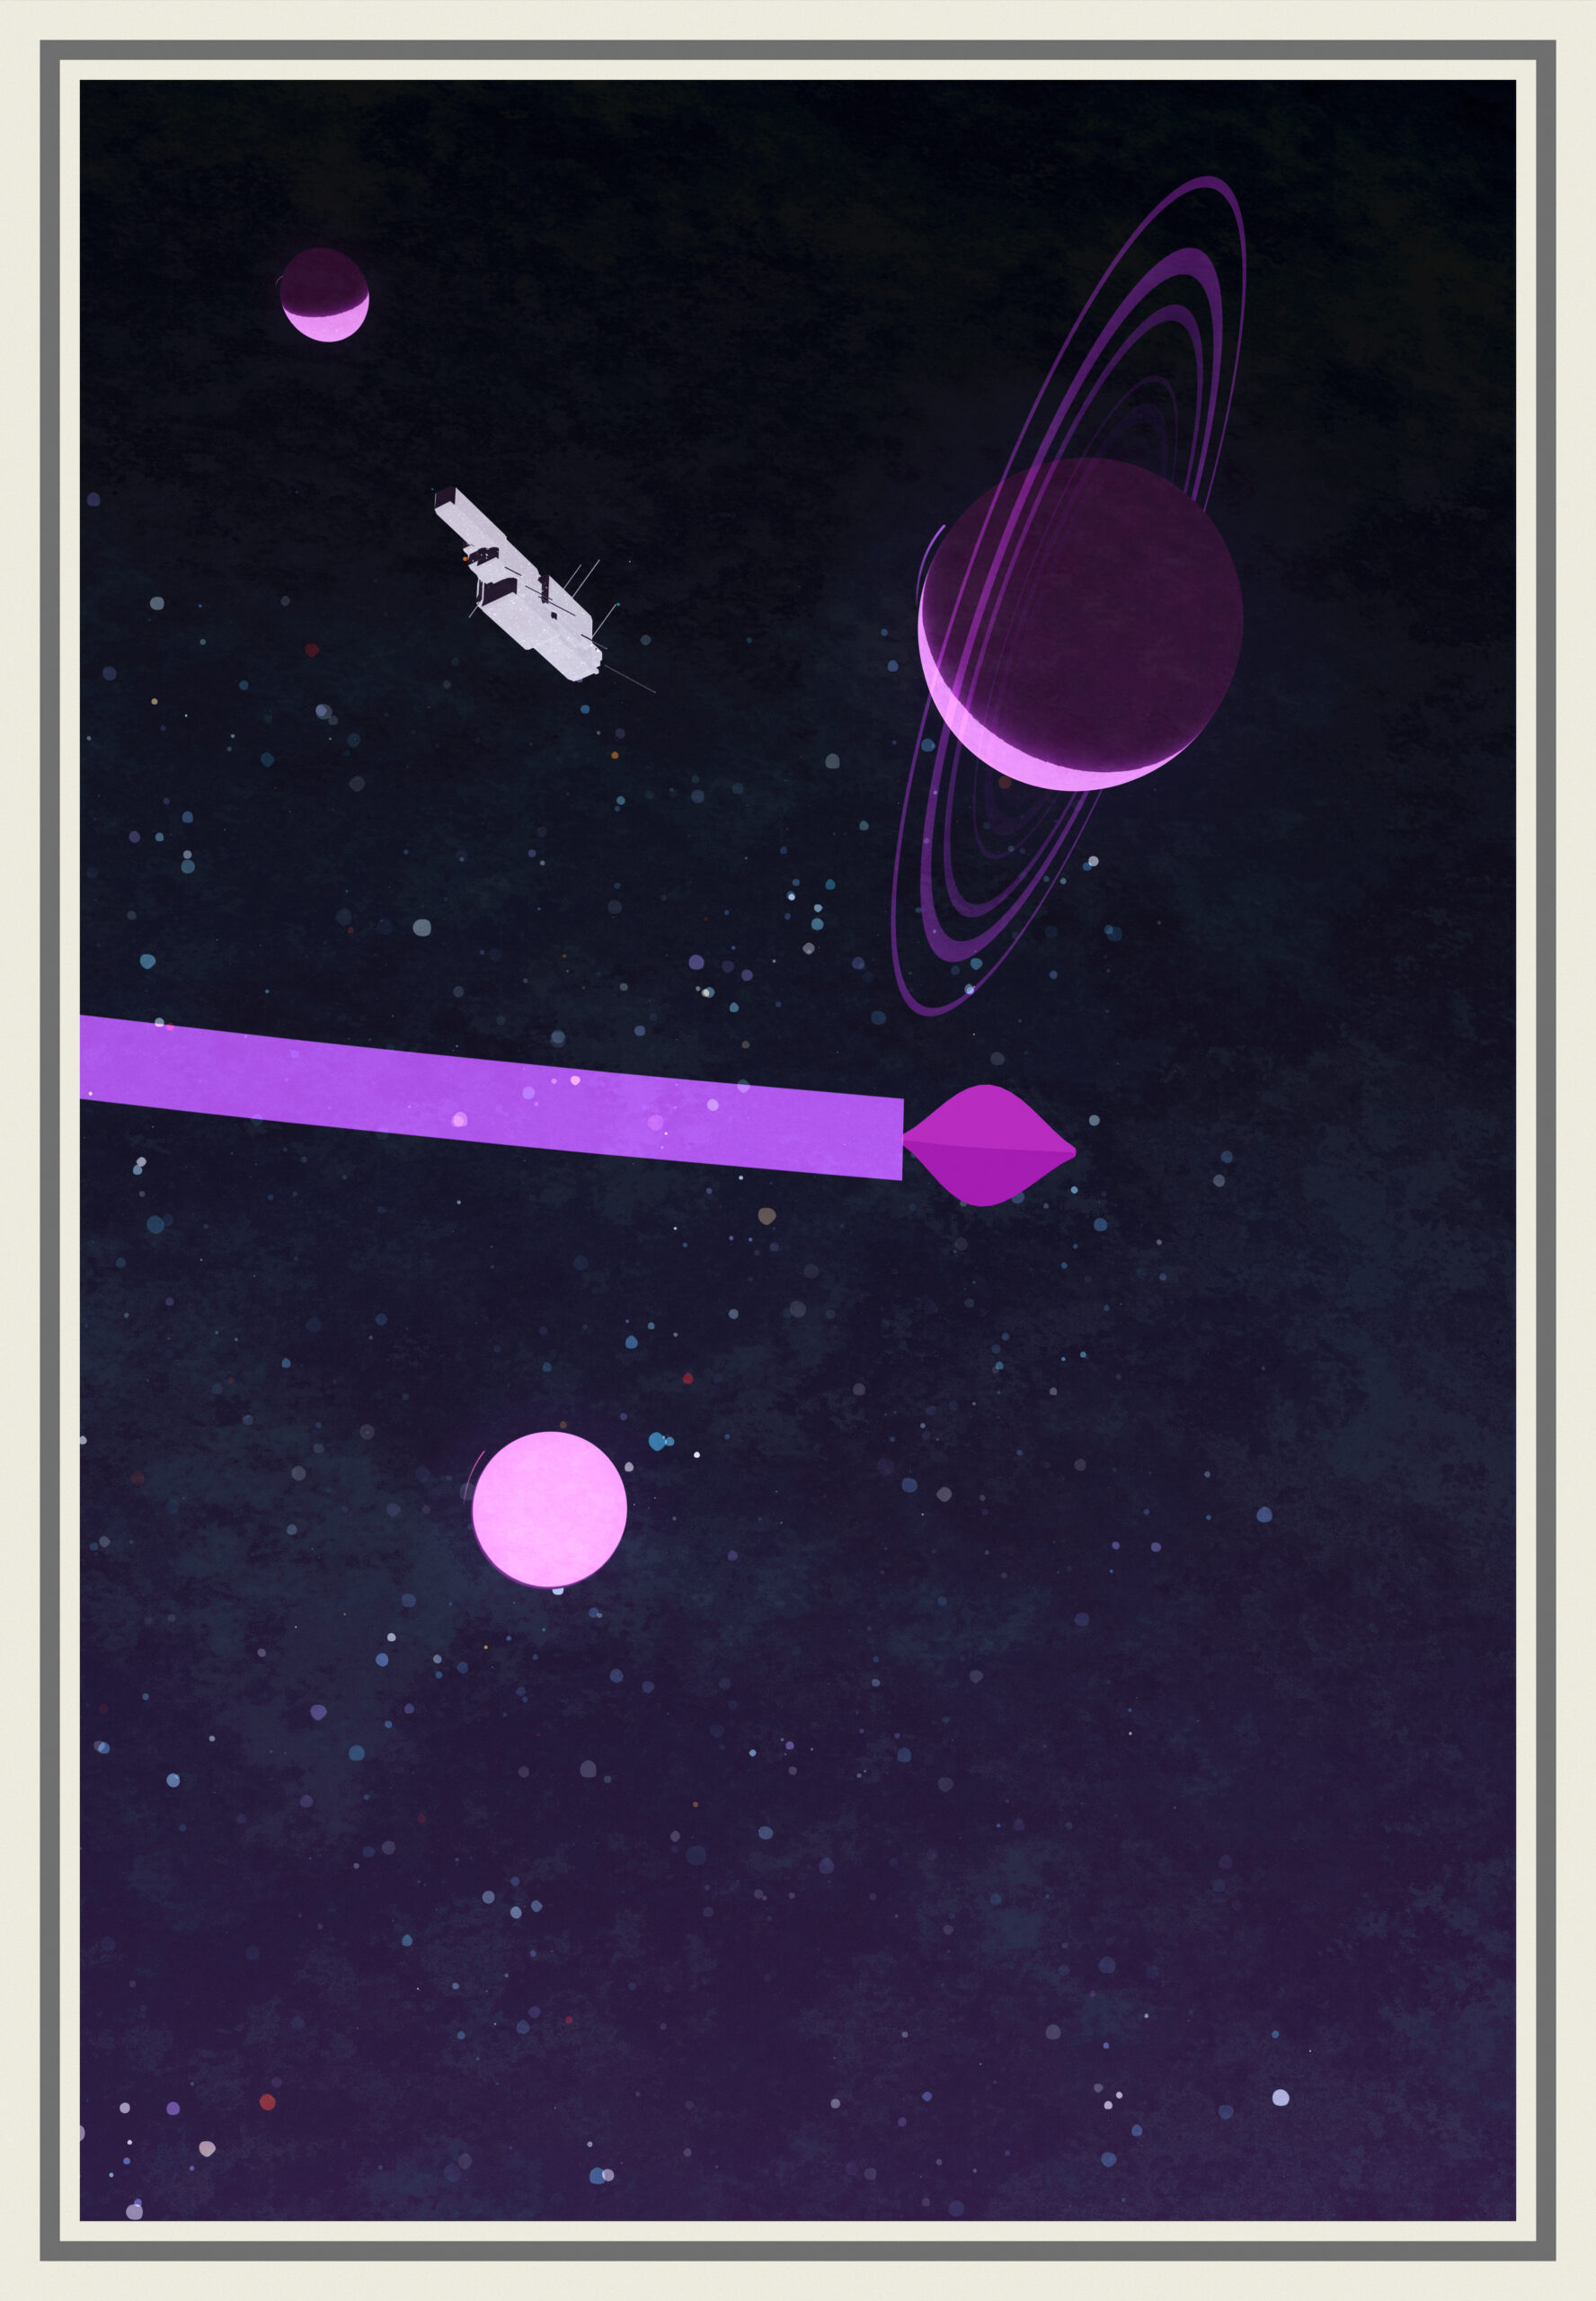
Back Planets
Maybe the main feature, or at least the thing I wanted to test the most when starting the project : the interaction beetween randomly placed sphere around a light and the crescents ( of light or dark ) produced with a harsh cel-shading.
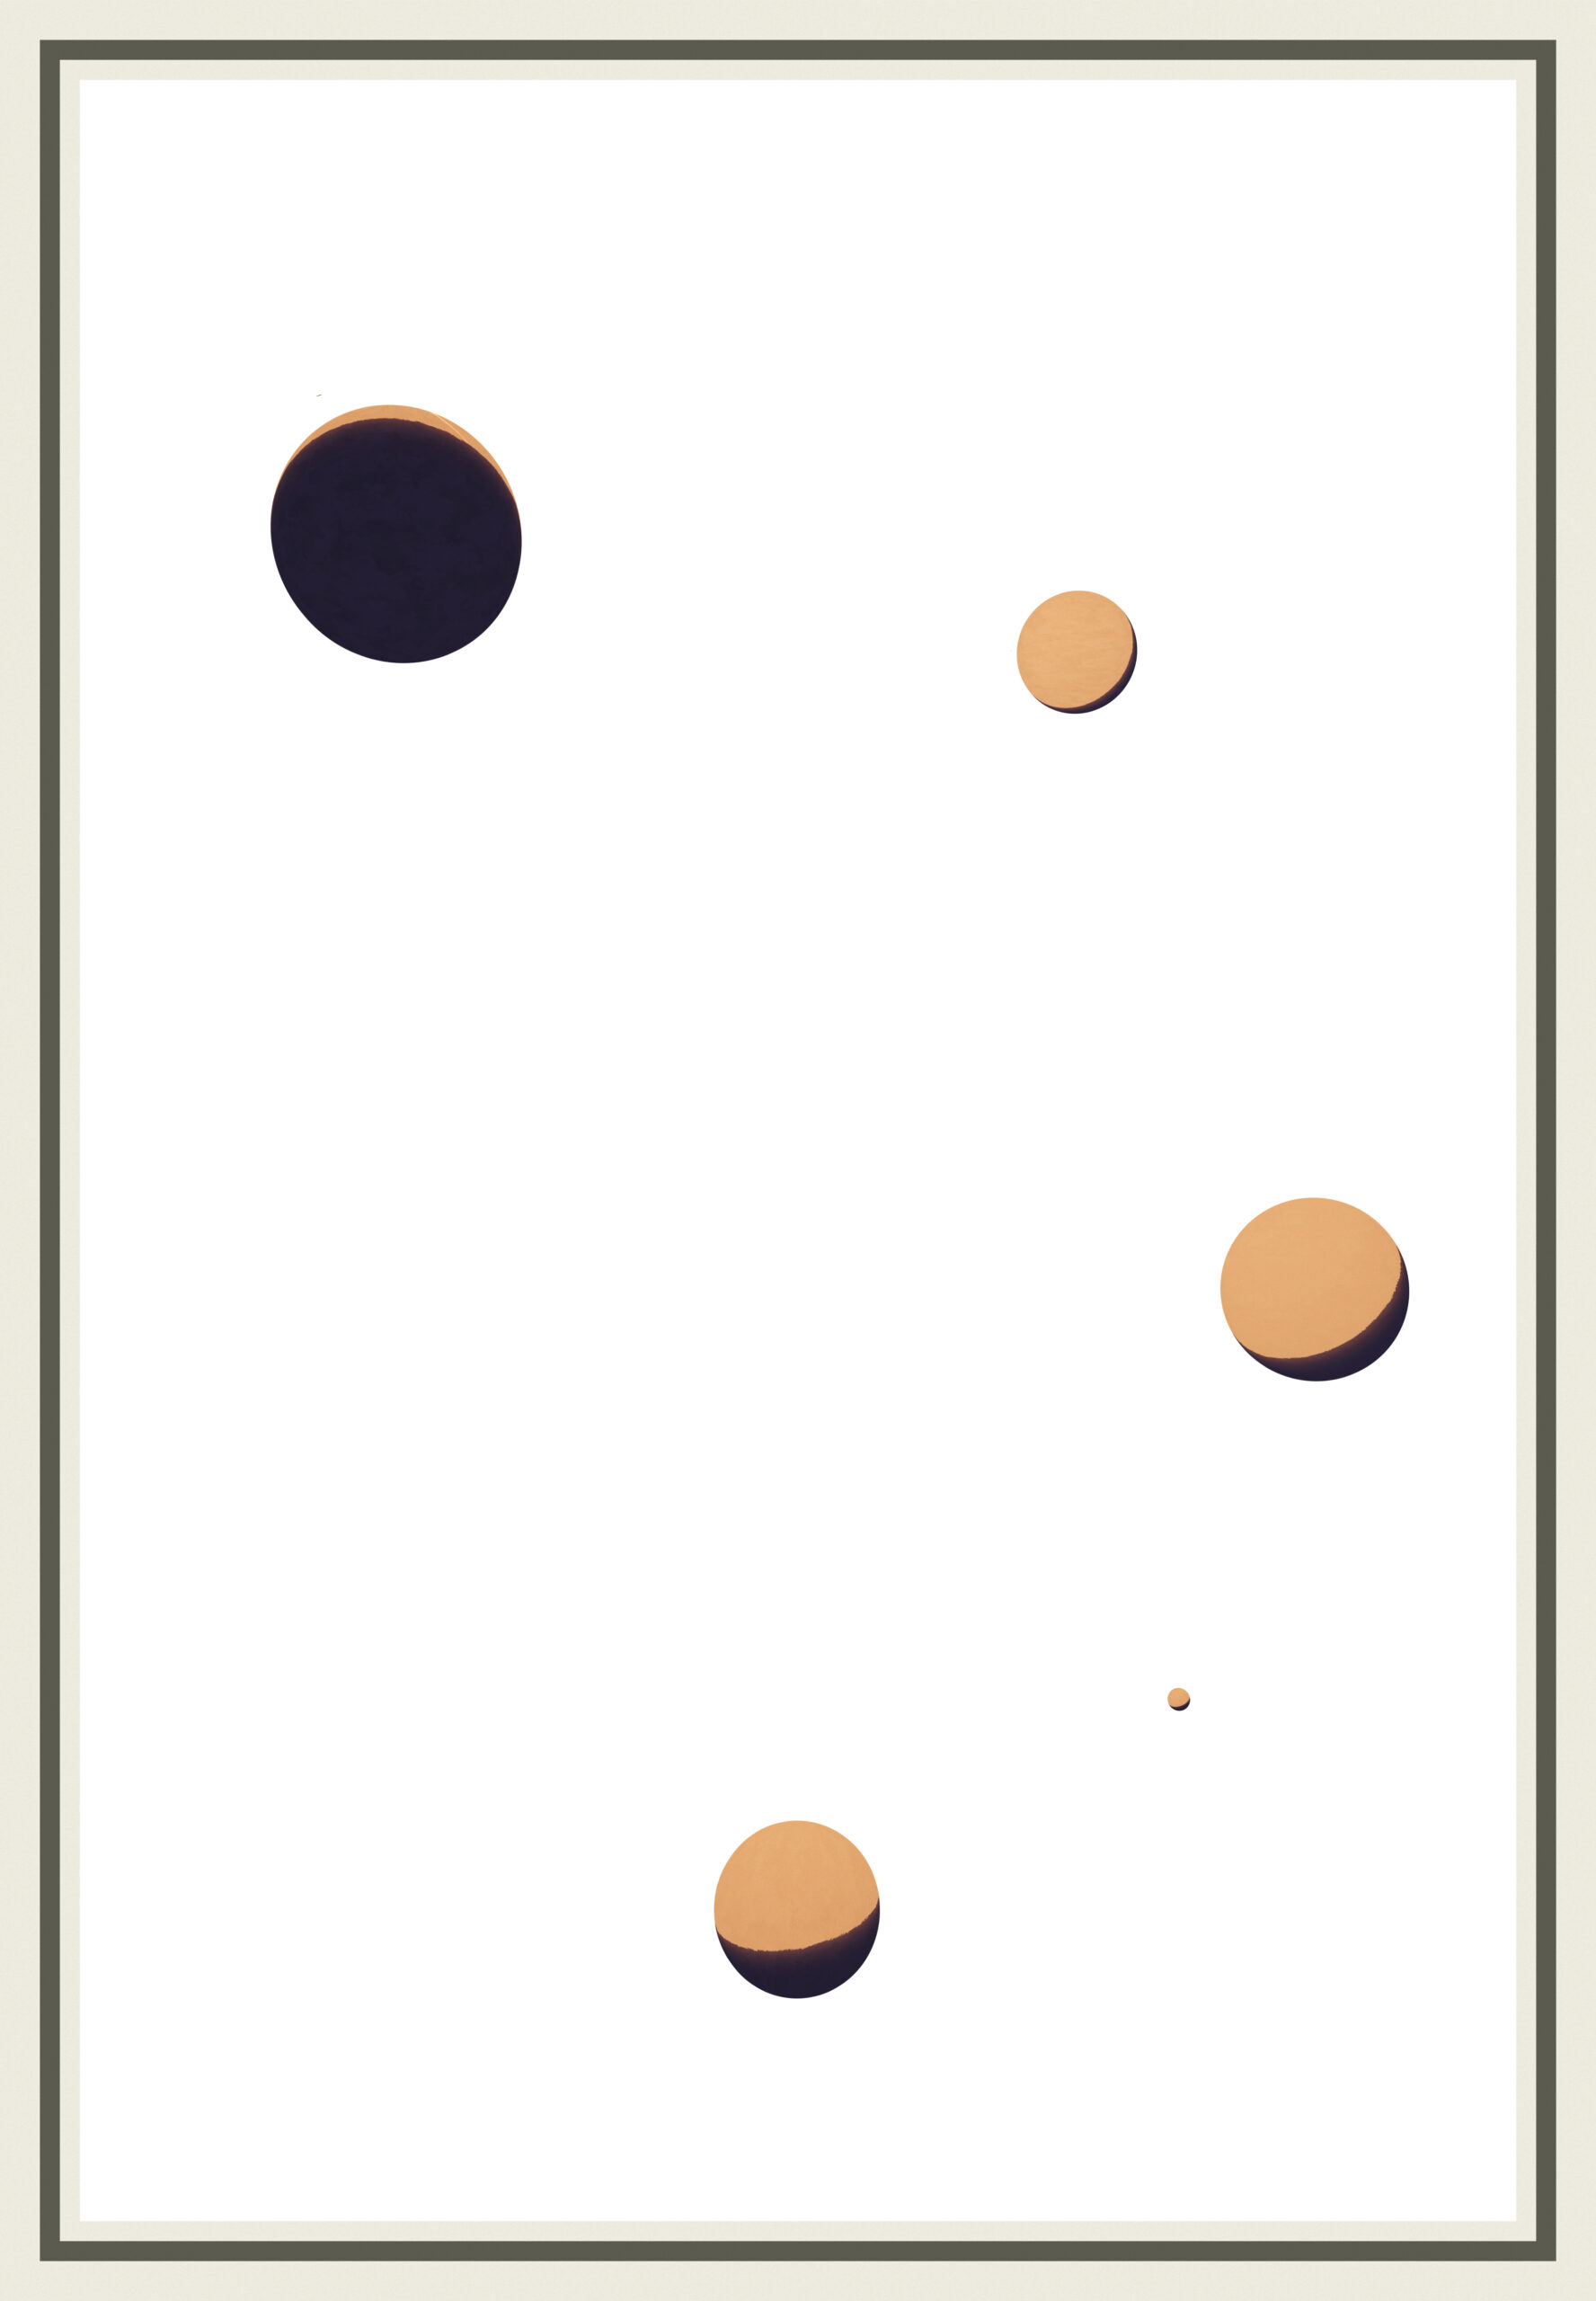
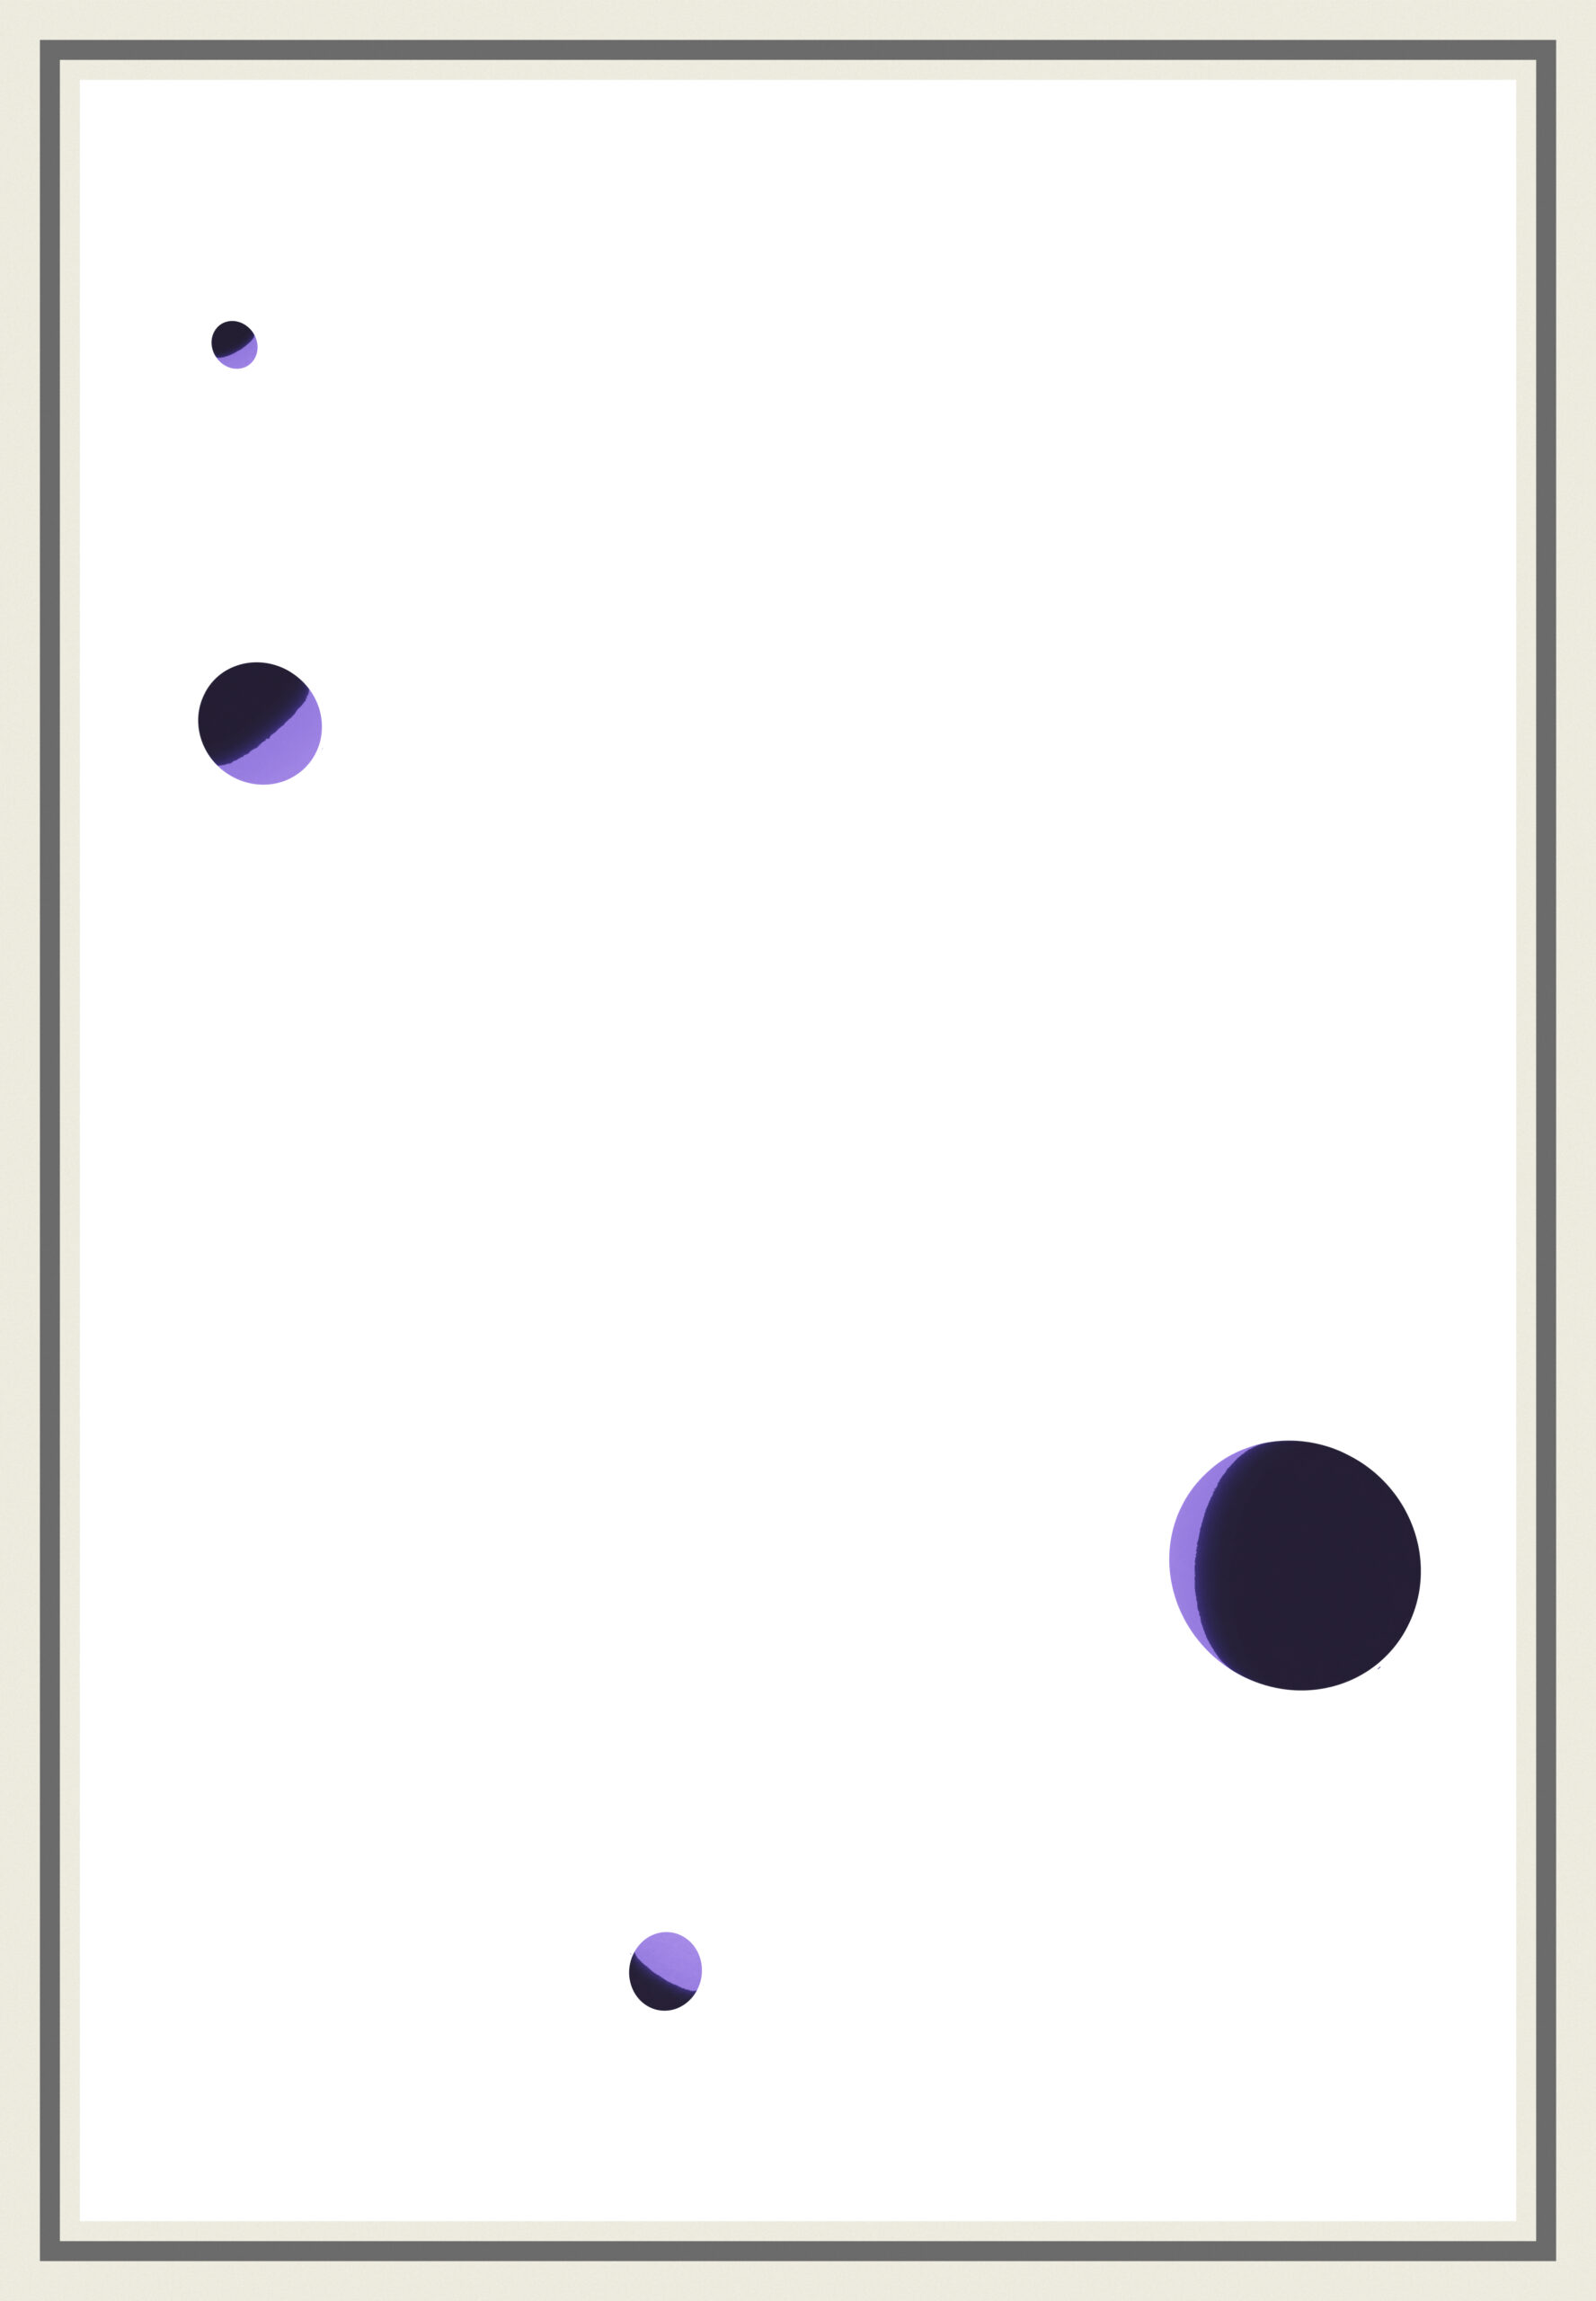

So 5 or 6 spheres of random size are generated and placed at regular intervals from the camera so as to have a good chance to be in the camera’s frustrum, but not 100%.
I tried to apply deformations to the sphere to see if I could also get an asteroid look, but the loss of the crescents made me decide otherwise.
The shader generate yet another cloudy noise to simulate a surface/atmosphere wich is slightly animated. It also shift the fragments normals to produce the jagged border between light and dark along the derivatives of the main noise. The details/visibility of the noise is artificially reduced for the planets past the first two from the camera to emphasize the crescent aspect.
The cel shading is nearly two tones, with a very subtle gradient near the border and along the dark part.
The back planets have optional cities and rings.
For the cities, I start by generating a texture reusing the star dots and colors. In a 2D square, i pick a few points, generate a bunch of dots around those, then randomly pair some of those points and generate more dots loosely between those. Simulates well enough some urban centers connected by future highways. This texture is fed to the planet shader wich displays it somewhere on the surface.

Only one planet can have a city and only the first two starting from the one closest to the camera can have it.
The rings have a 80% chance to appear on the first planet. Made of a simple plane oriented randomly and shaded simply by a threshold on a noise. Looks clean, produces some more curves, sometimes interact in interesting manner with the planets or the surface stuff.

Each planet get a little flyer orbiting around it at a random angle. They also have a very faint atmosphere in the shape of plane shaded with a circular gradient, always facing the camera. It’s barely visible but it’s there (I had to check, I coded that some time ago now).
The planets are very slowly rocking back and forth.
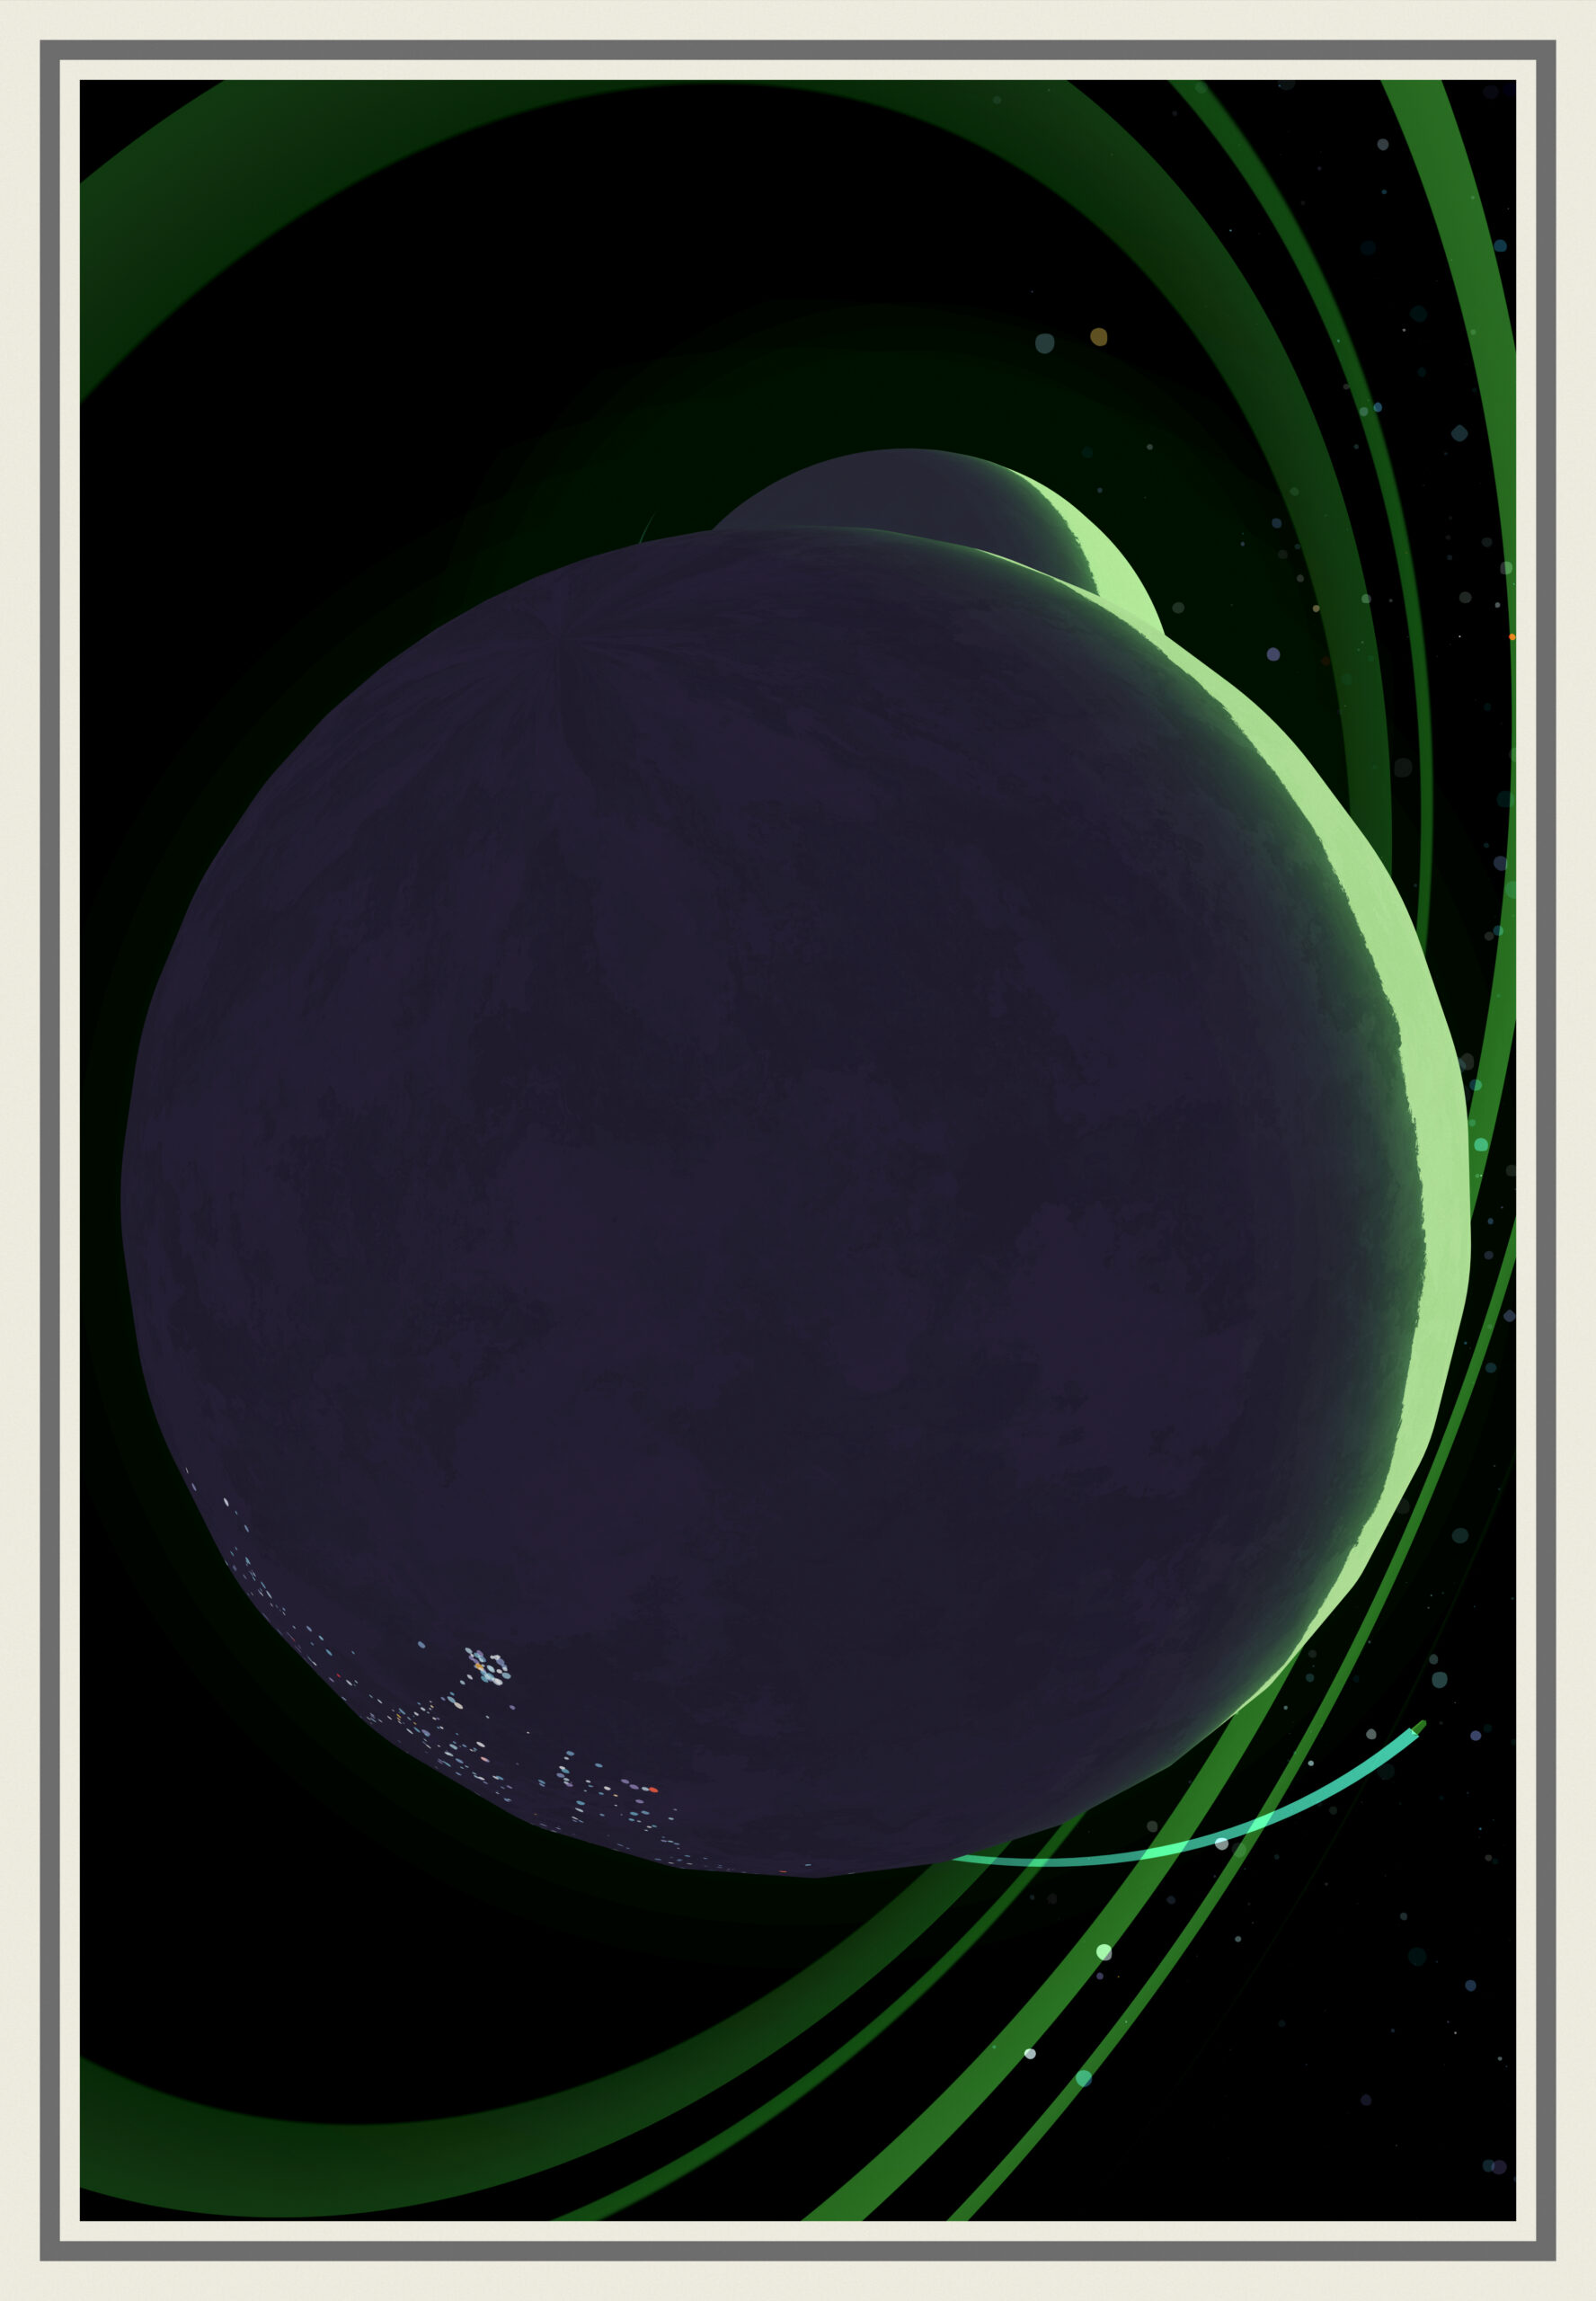
Front Planet
For the outer space variant, a “big” planet is placed close to the camera to intersect with at least two borders. Very similar to the other planets, but with more detail :
The geometry is different and can be slightly deformed.
The shader generates some urban patterns with a masked worley noise, still using the colors from the stars. The cloudy noise is more detailed. The cel-shading ramp is different too.
No rings on this one. The atmosphere layer is there, but doesn’t always face the camera.
Between 0 and 100 very small flyers are added on the surface to produce some curves and simulate some kind of future planes.
Spaceship
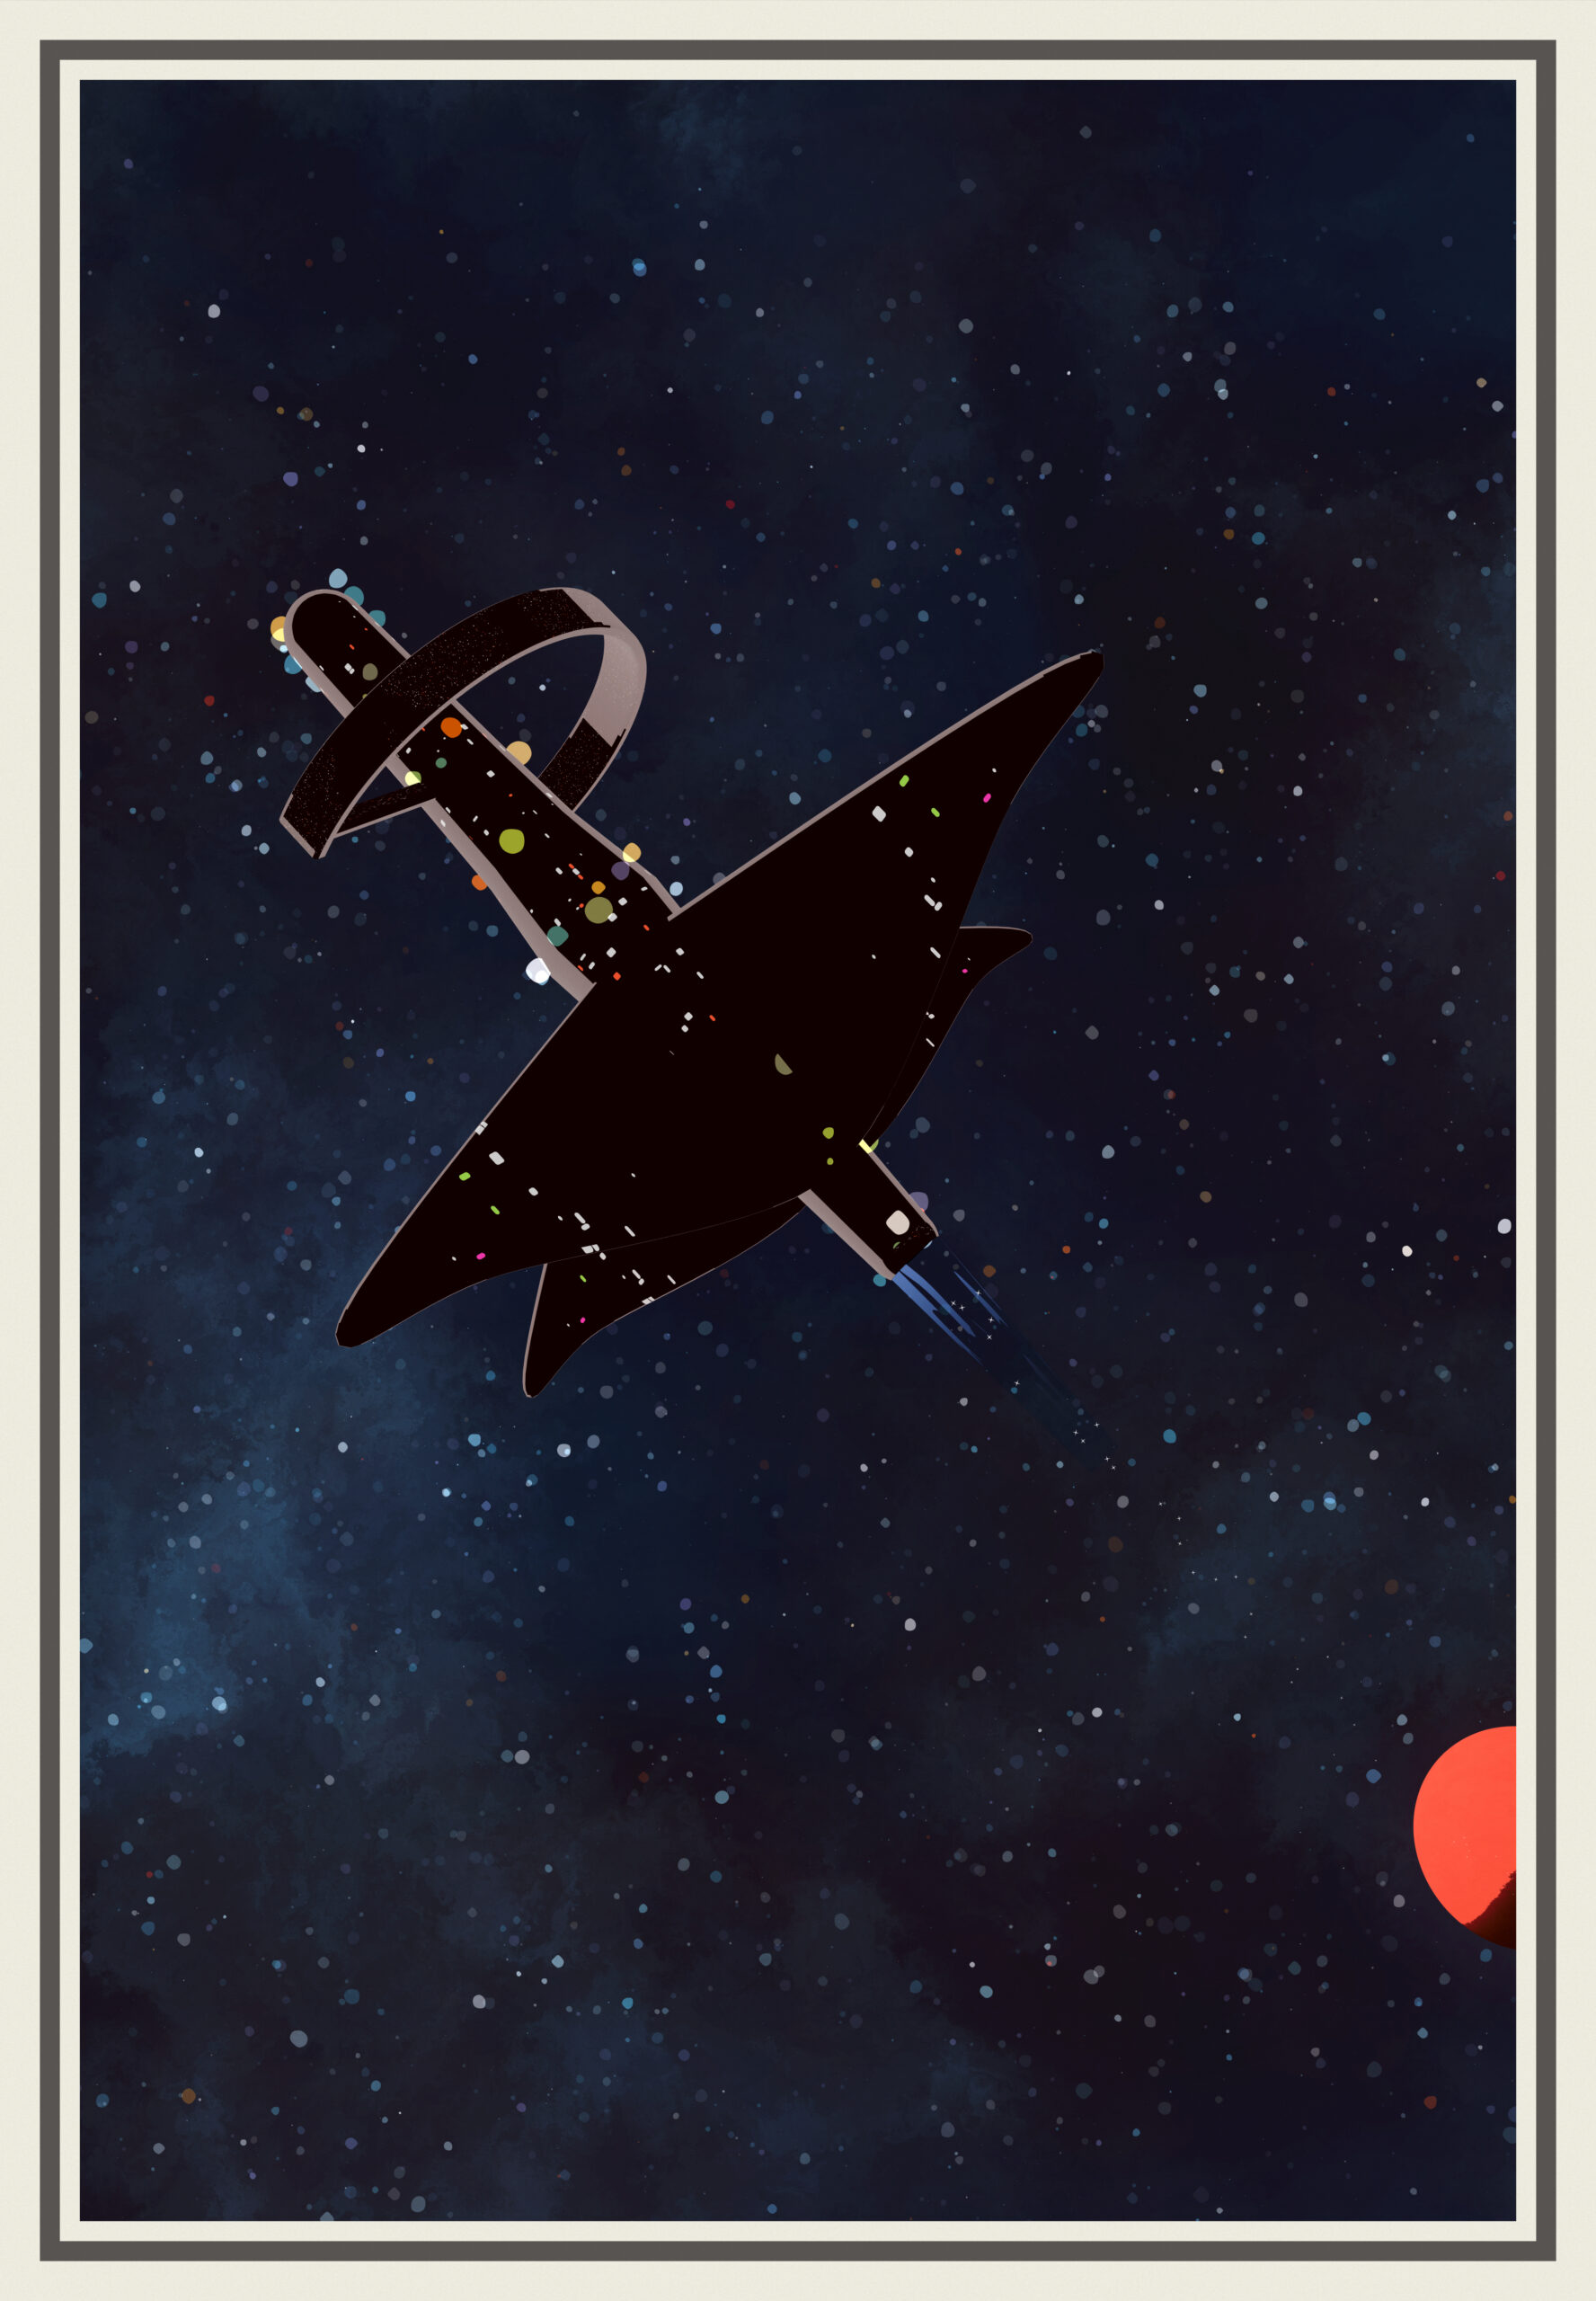
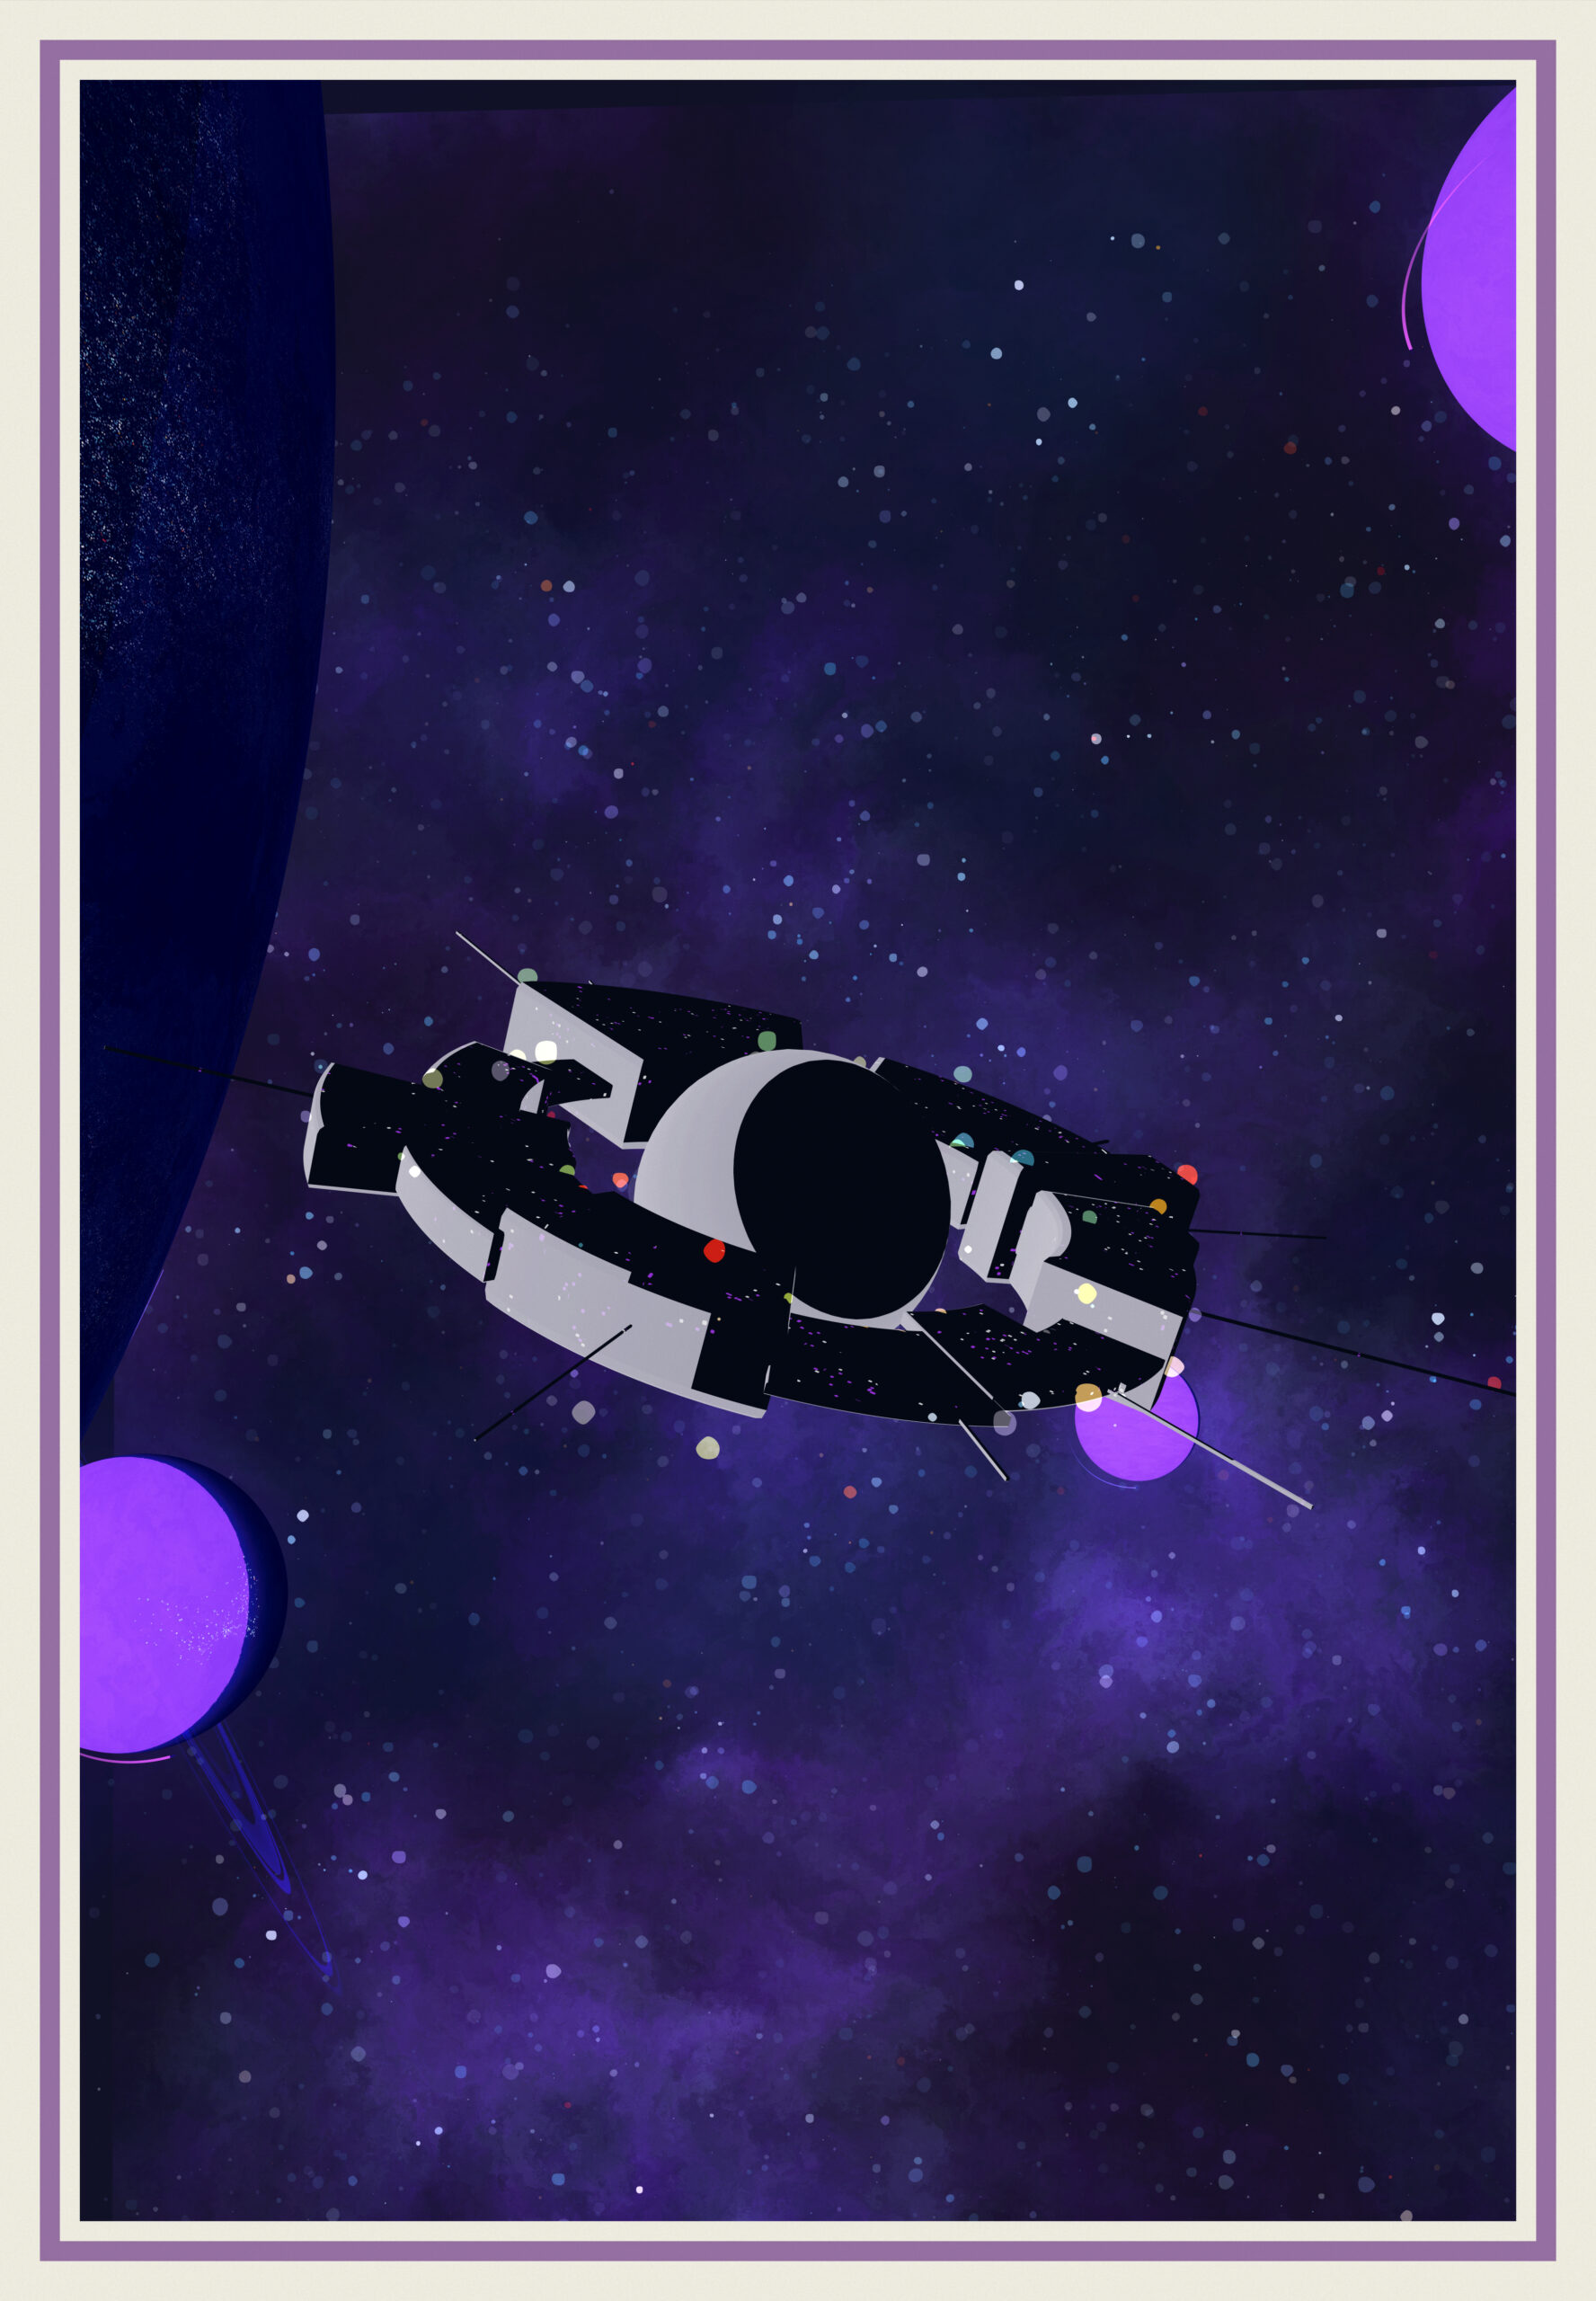
To balance the big planet, I created several procedures to build spaceships/spacestations. Using mostly stacks of simple primitives, i tried to evoke classic si-fi designs. One is created for each seed. In the outer space variant, it’s one of the foci. In the other variant, it’s just a small background element.
All the procedures share the same shader. The lighting is event flatter than the planet, and the colour of the light is extremely desaturated to produce greys and blacks. The intent is to contrast the man-made stuff with the natural environement (same with the cities on the surface) by introducing those desatured tones and breaking the otherwise often very saturated composition.
The shader also creates some very small aligned but randomly sized rounded rectangle along the UVs to represent lights/windows/add details. The rectangle are individually colored either white or a fully saturated version of the main light color. They are masked by another noise to vary the distribution and allow for a range of expression. The variations in scale of this noise and the nature of the UVs (flat surface or curves) can make the details show up in unexpected ways.
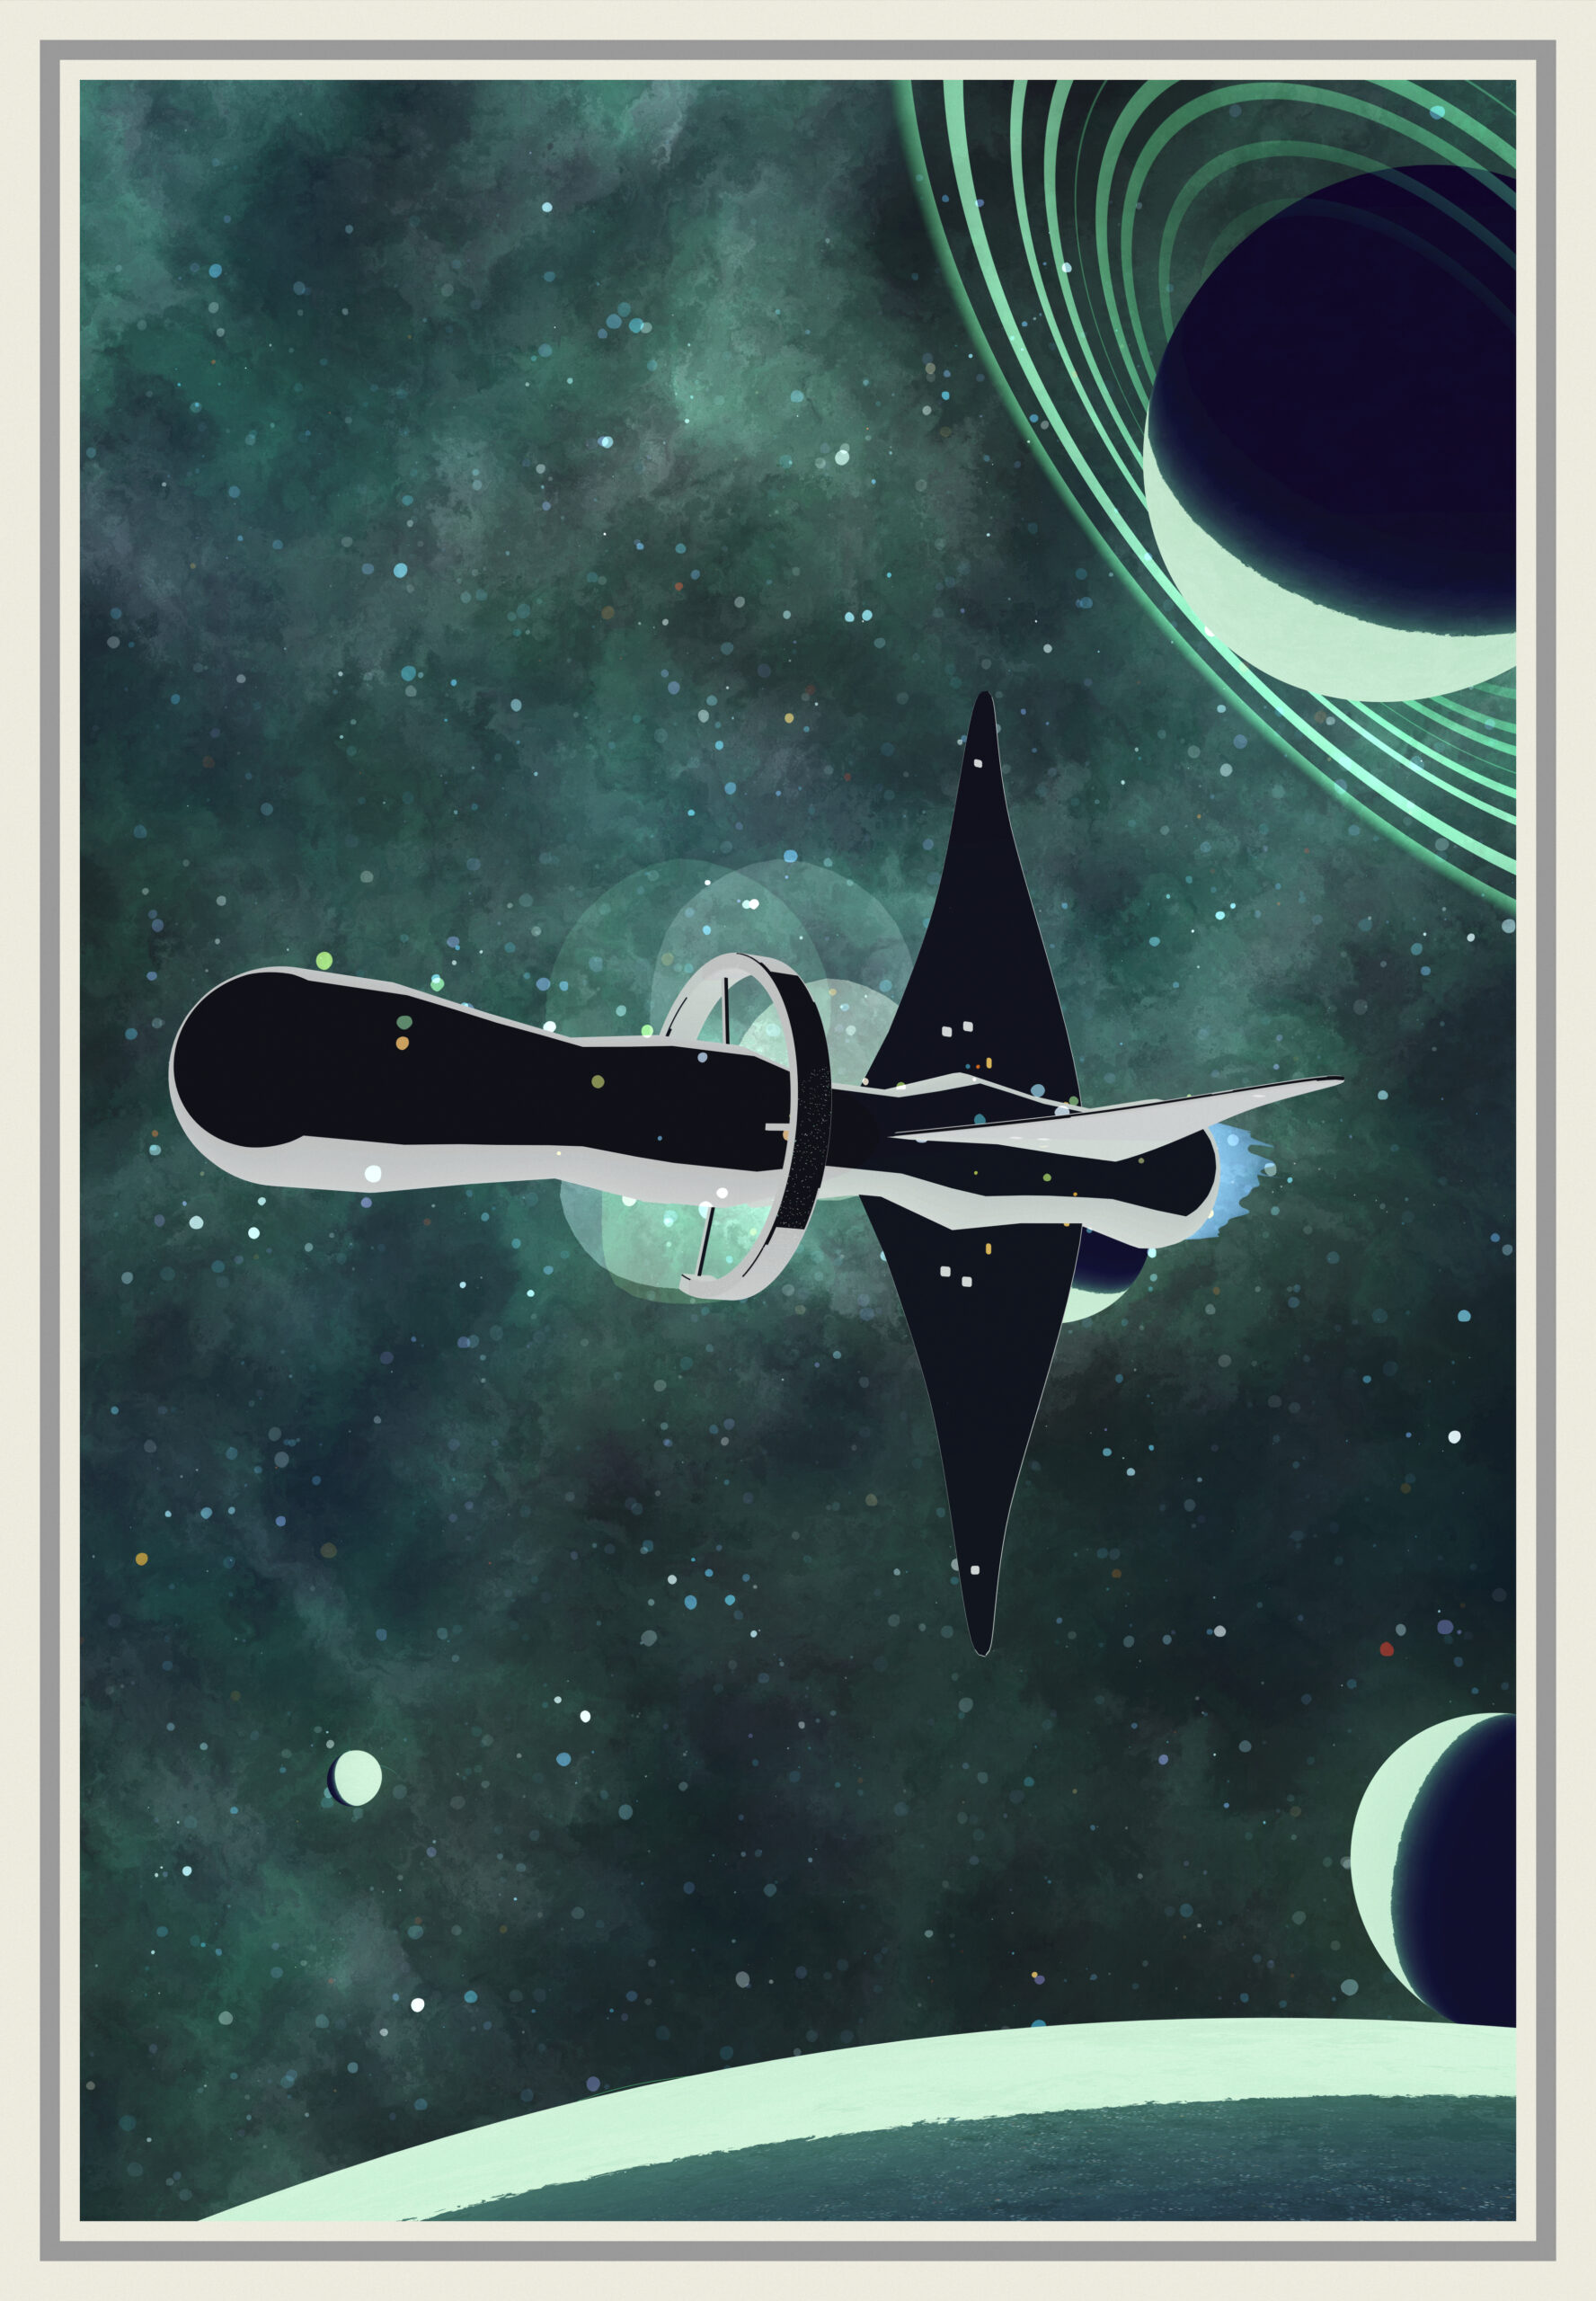
The Rocket
A cylindre deformed along its height following a perlin noise with one end ending in half a sphere, the other with some kind of thruster. Along the height, I try to place between 2 and 4 wings generated with a slightly modified version of the algorythm I used for the wings in my insect project. I also add some rings as maybe solar panels, with rays supporting them. The thruster is animated and produces some star shaped particles, often hard to see, but it’s there. The rings also rotate slowly.
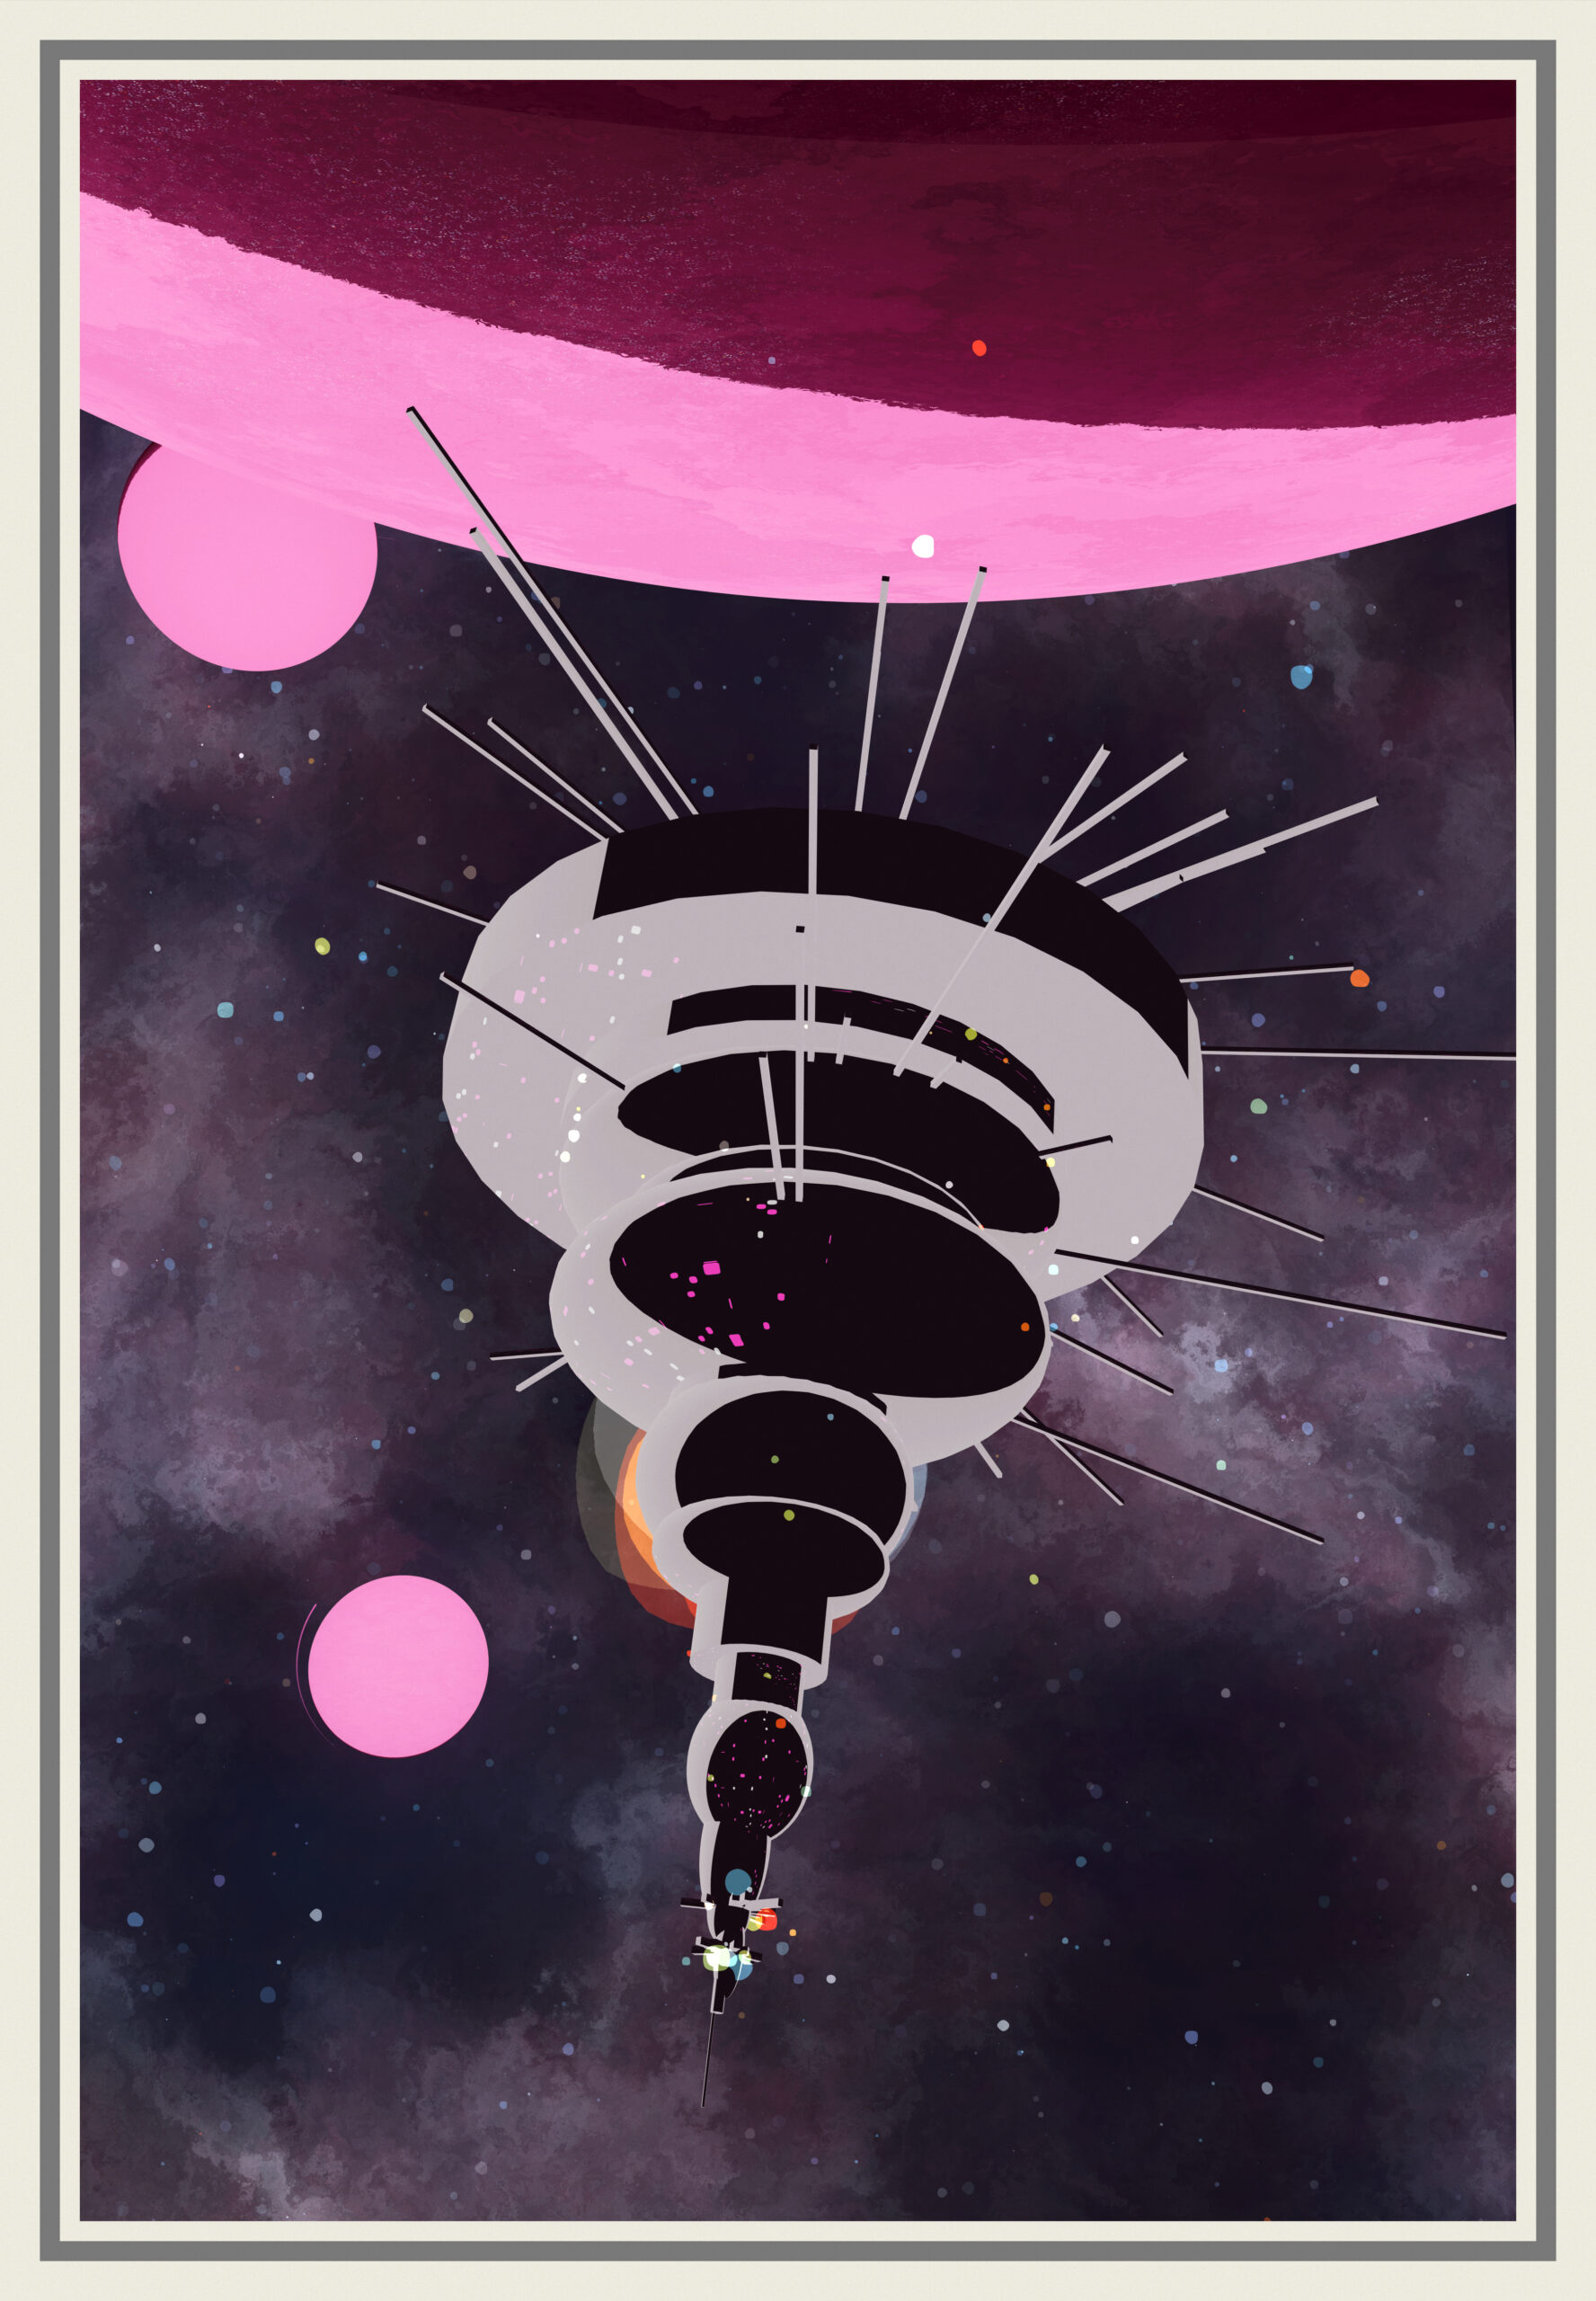
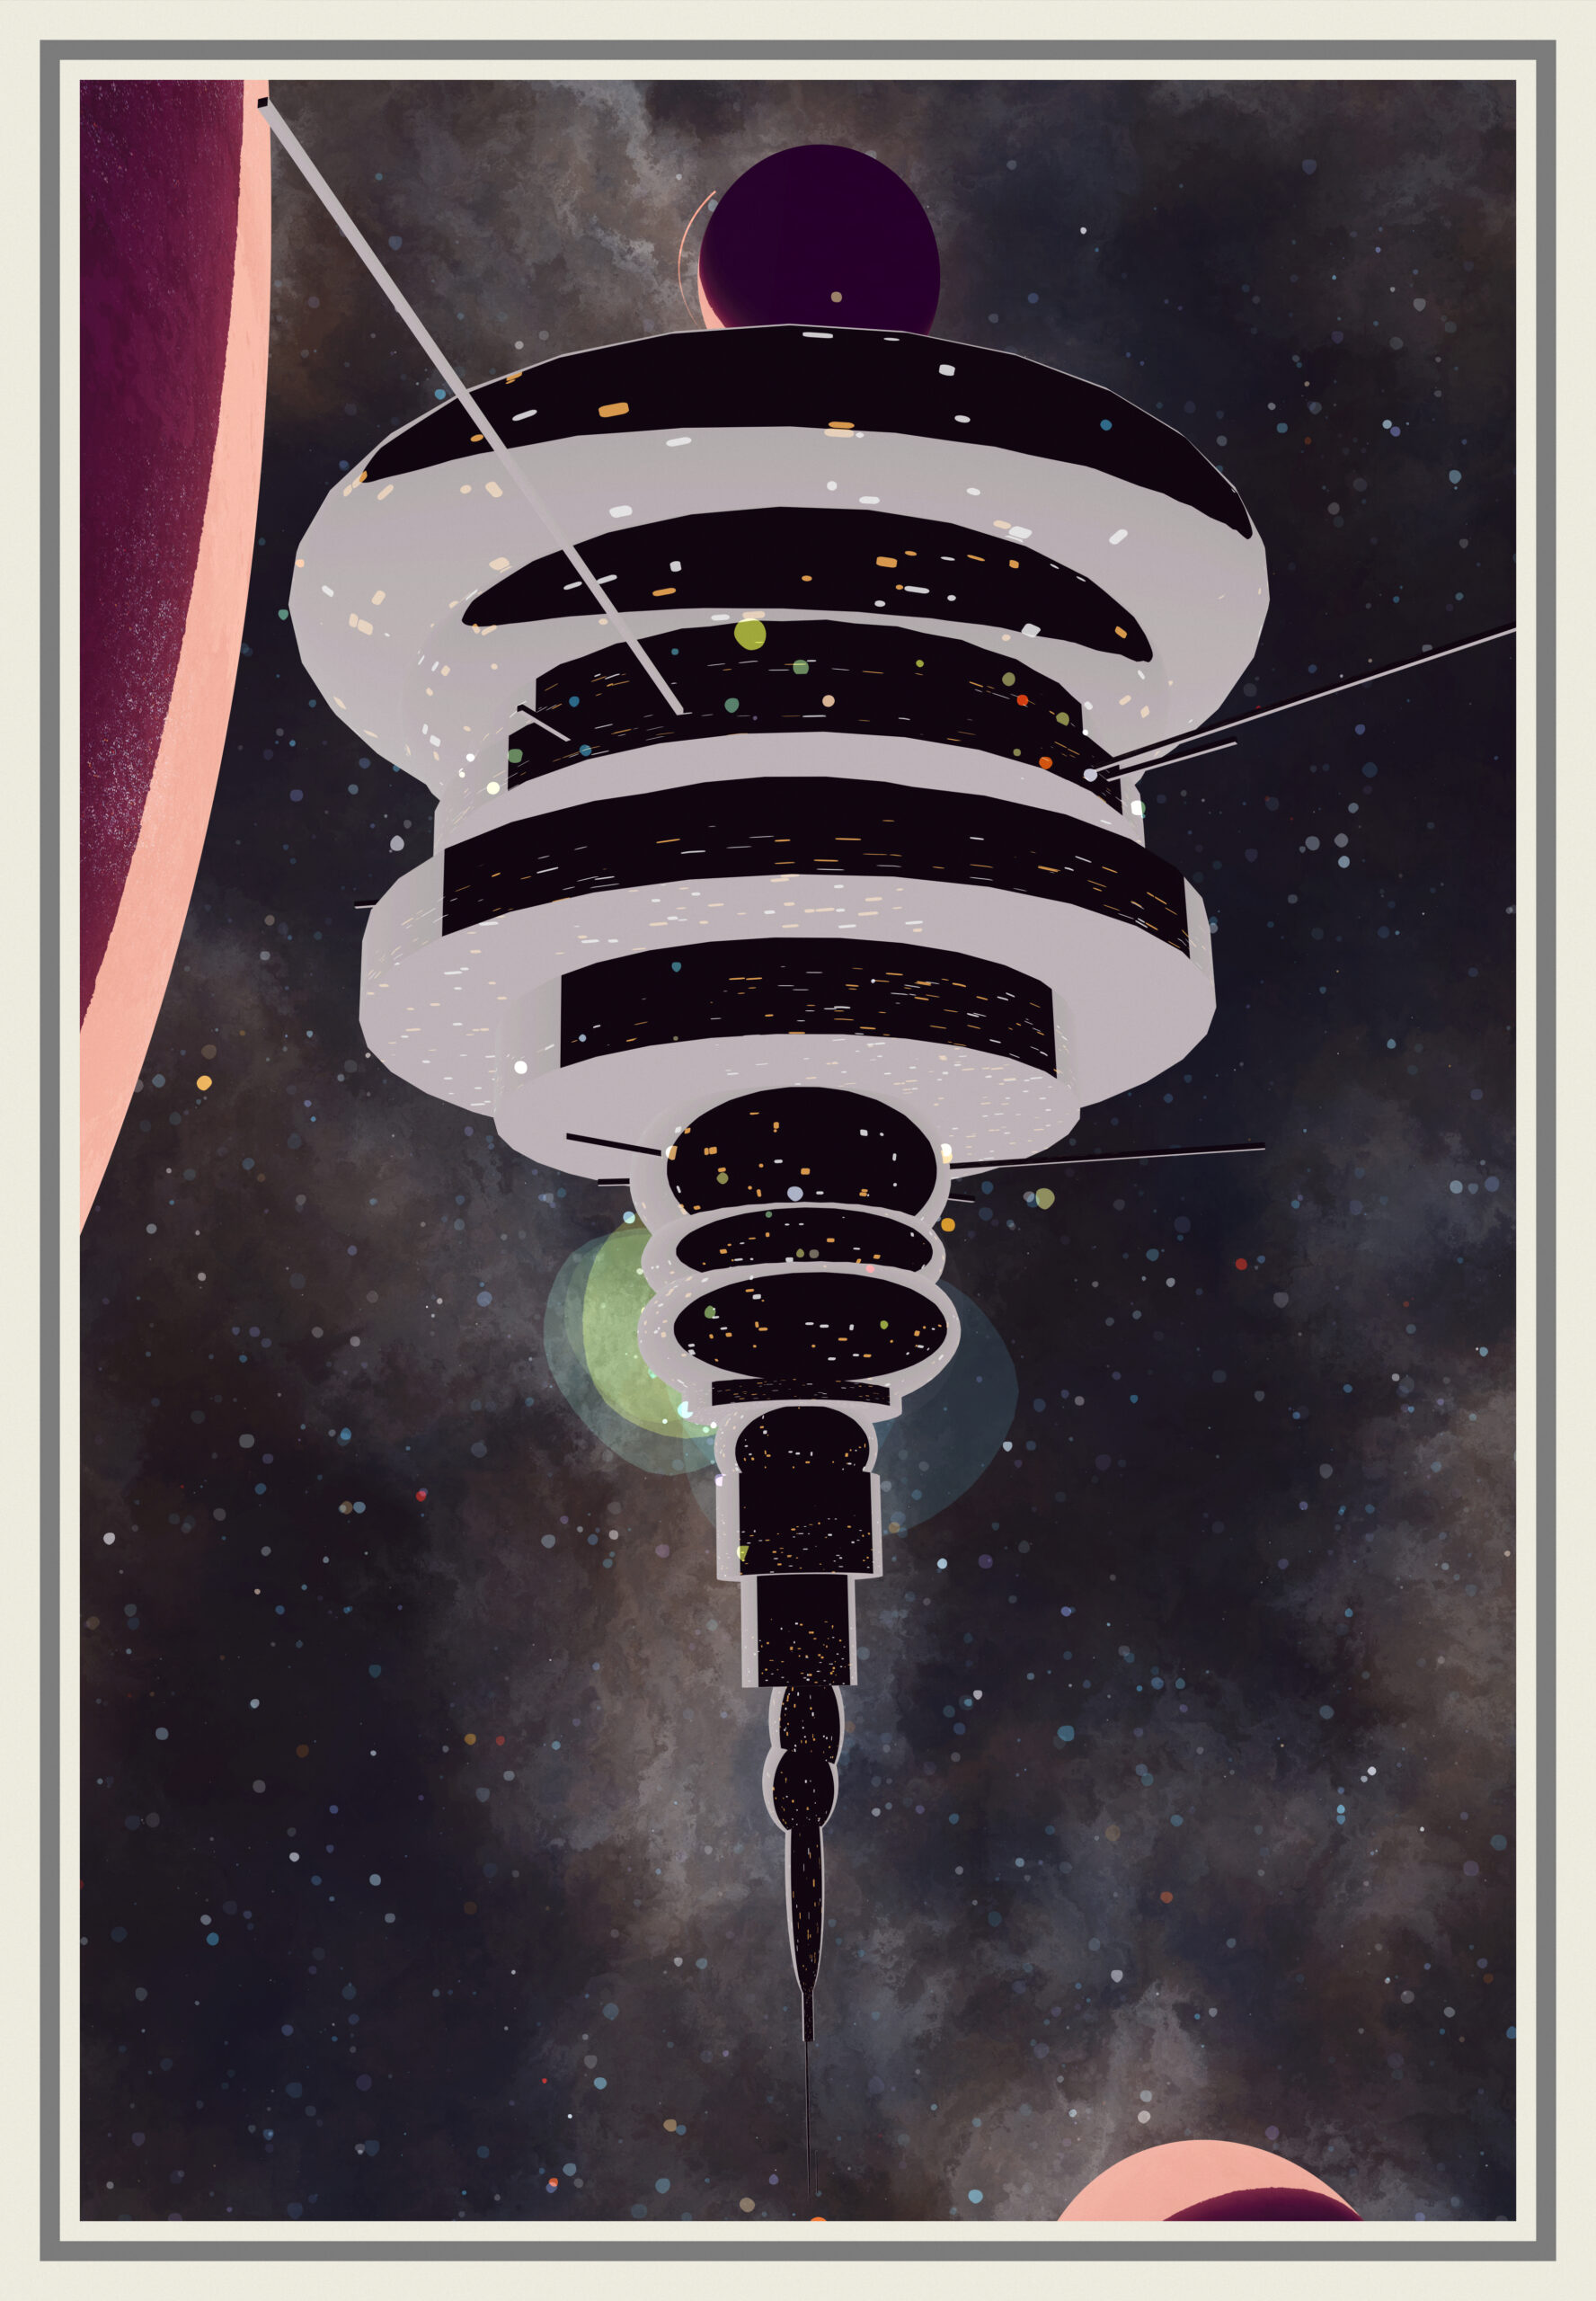
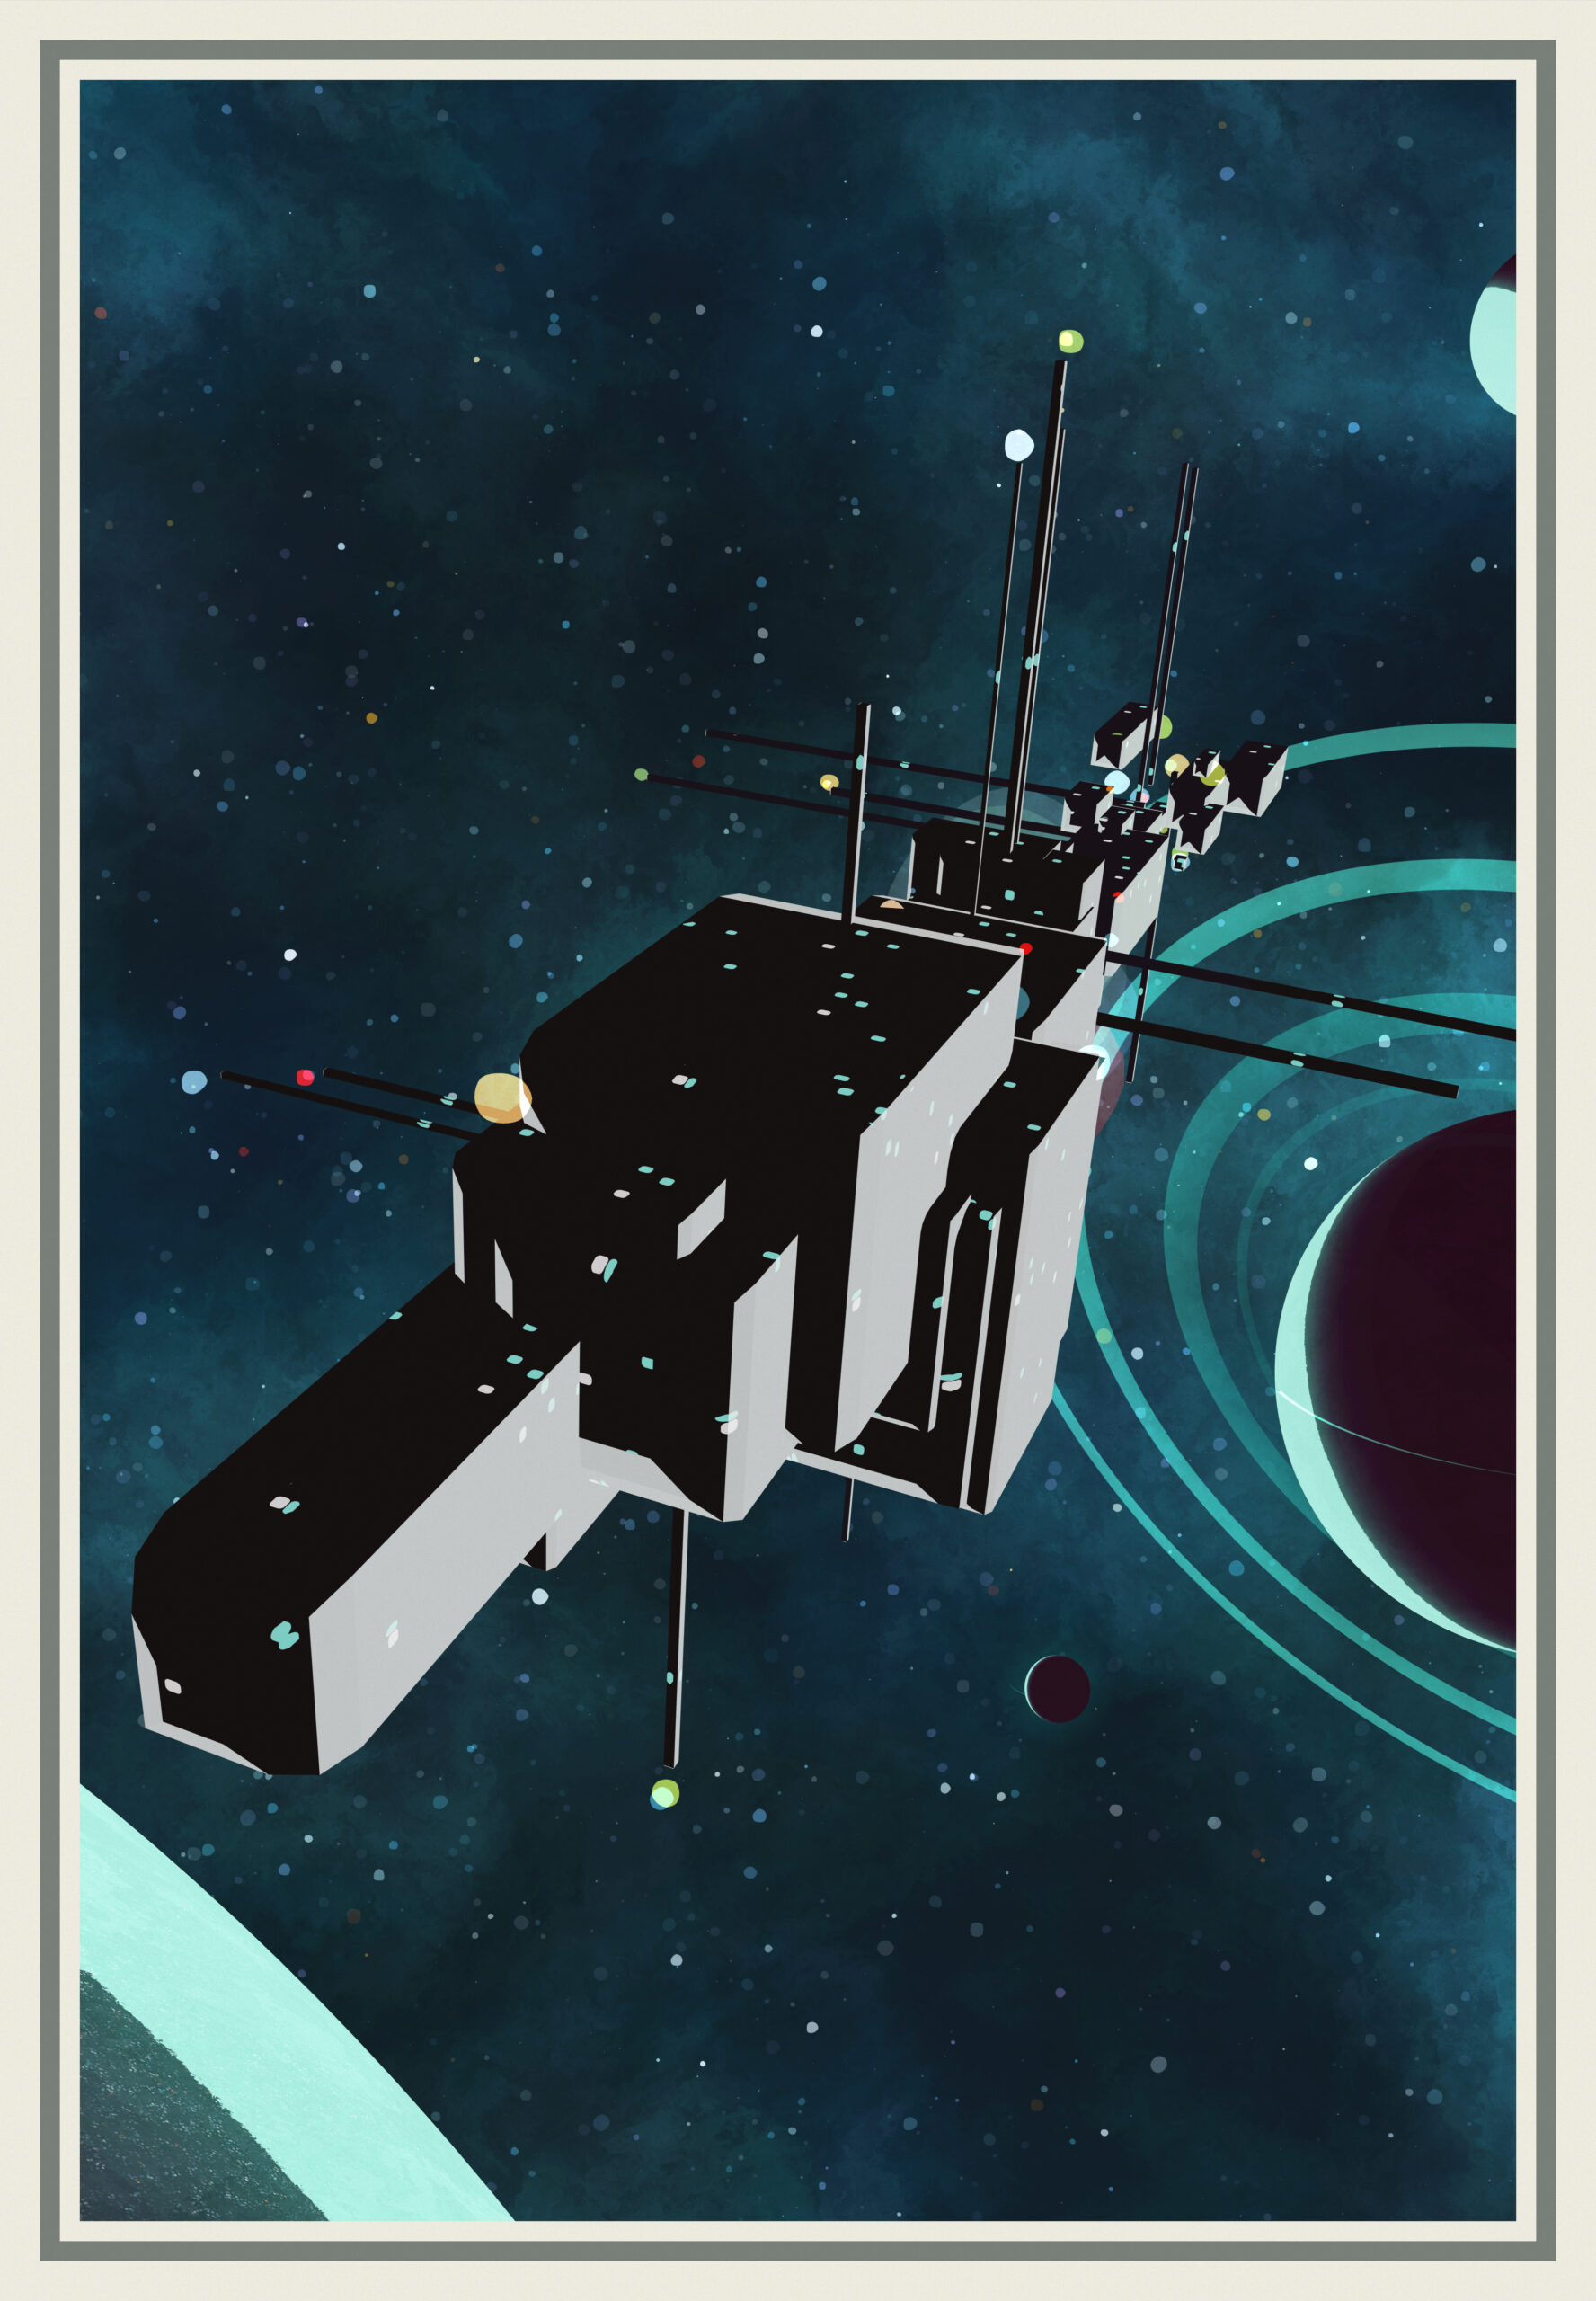
The Spire
A stack of cylinders and flattened spheres, with some long and thin boxes protuding around. The maximum size of the main trunk follows a random curve to vary from middle heavy to top heavy. Each element is slightly off center around the main axis.
The whole thing slowly rotates around this axis.
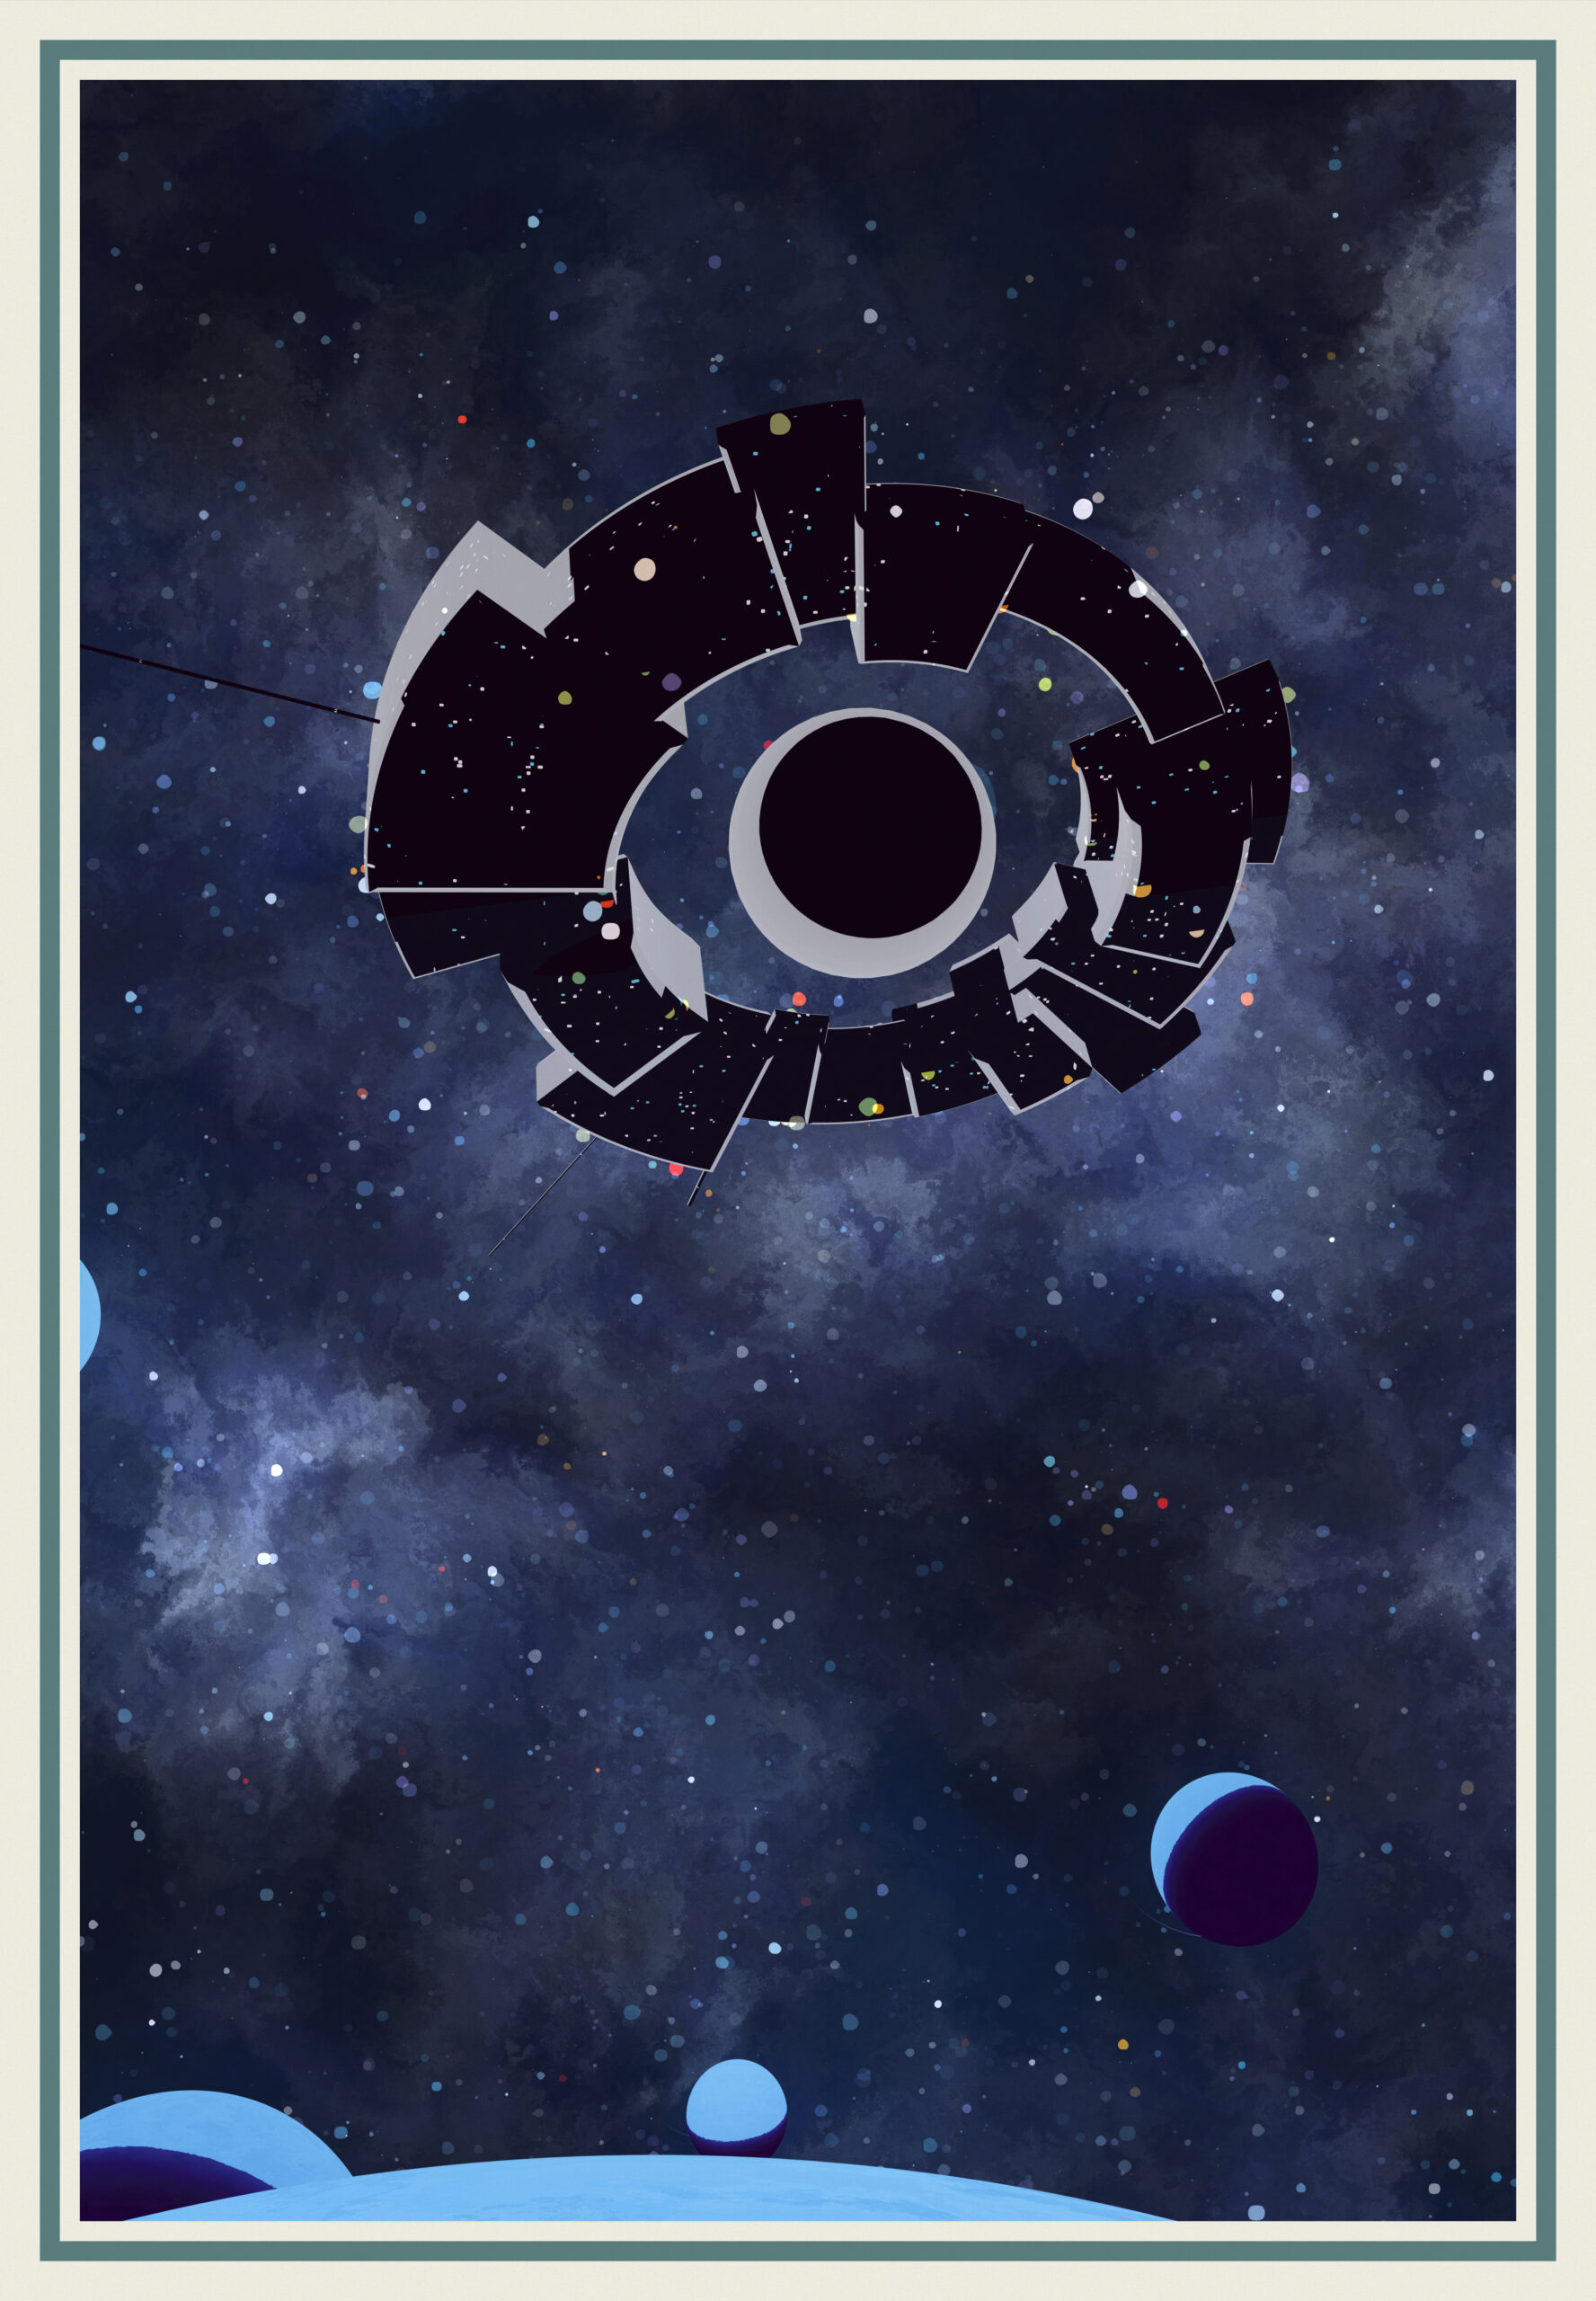
The Ring
Chamfered radially deformed boxes placed along a circle, with the same thin long boxes than the spire protuding, and a sphere floating in the middle of the structure.
Slowly rotates too.
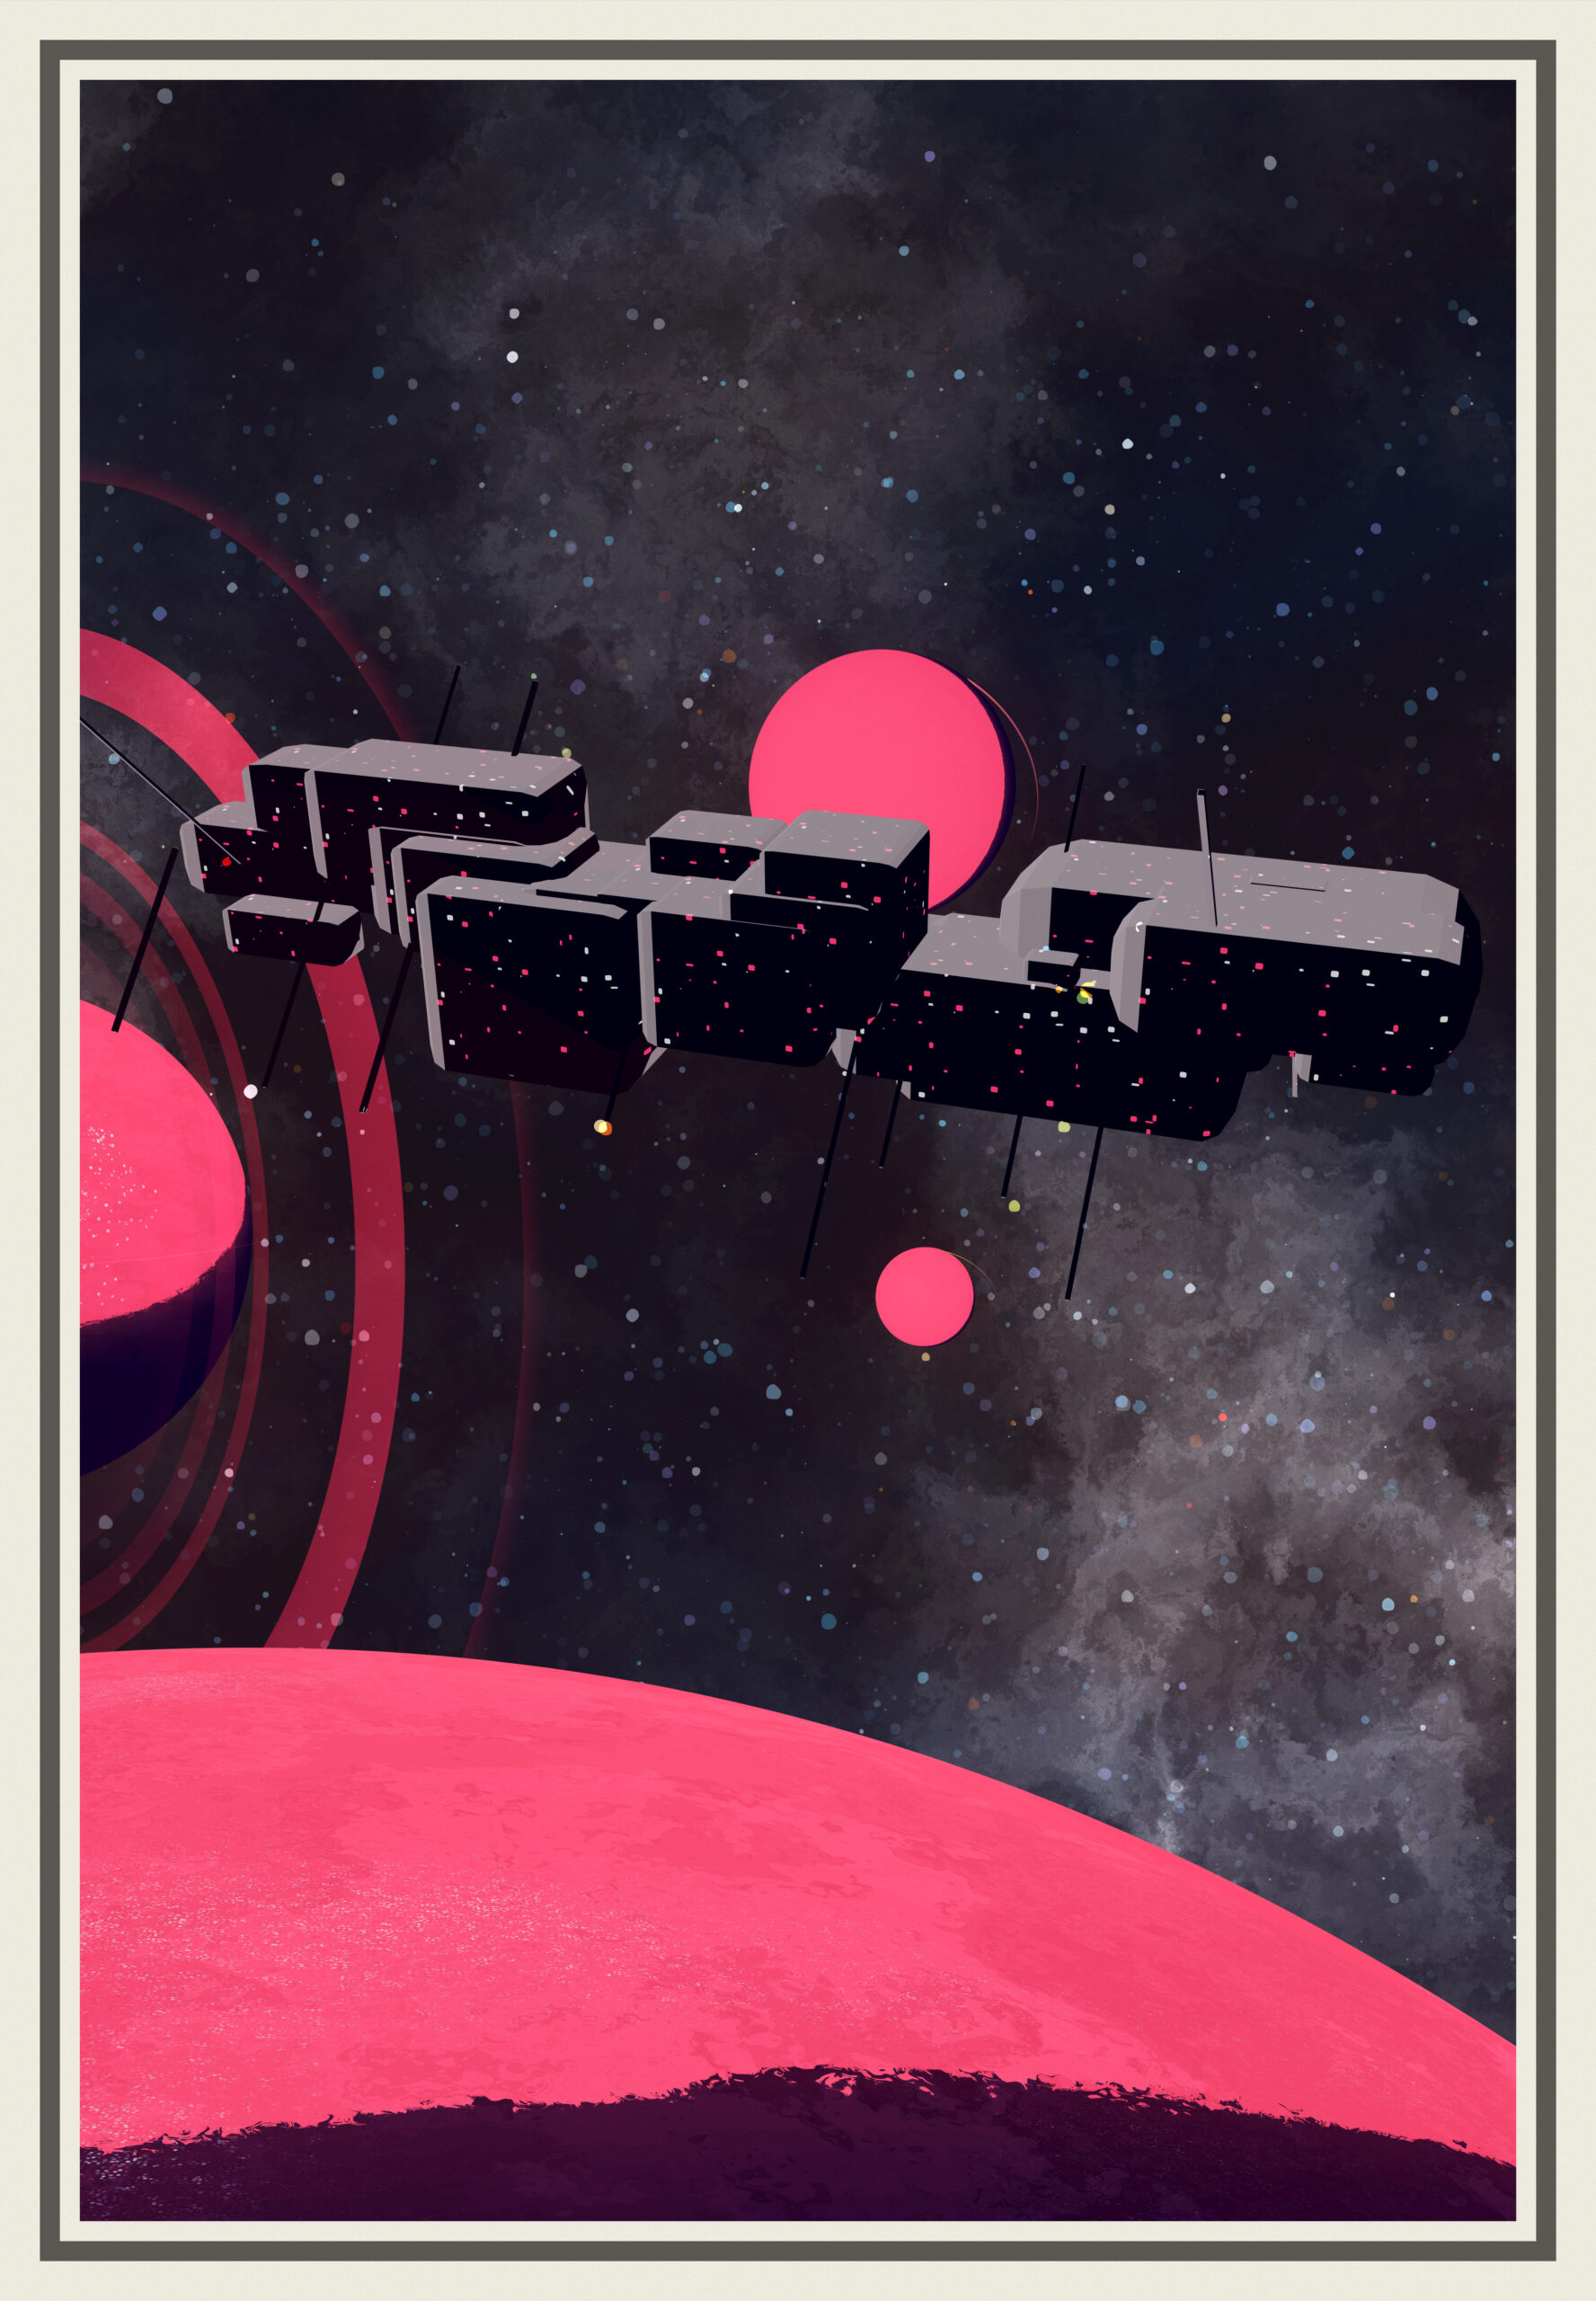
The Cruiser
Chamfered boxes again, but along a line and more chaotic sizes. The bars come back, and have limited rotation along the axis. A definitly more serious, maybe more militaristic design. Maybe the bars are guns. Or just more solar panels.
After the geometry is generated, I sprinkle some more dots taken from the stars texture to simulate lights. The dots are placed randomly near the vertices.
A fake lens flare effect is added on top of that. The shape of the flares is also generated in a texture like the shape for the stars, but at a higher resolution and a slightly more complicated potato shape.
Each type of ship has specific rules for its position/rotation ( the spire won’t be upside down for instance).
The ship is the only element of the composition where a I do some collision detection. Due to the weird scale of everything, the ship is very close to the big planet. I just push it a bit if I detect bounding box intersections.
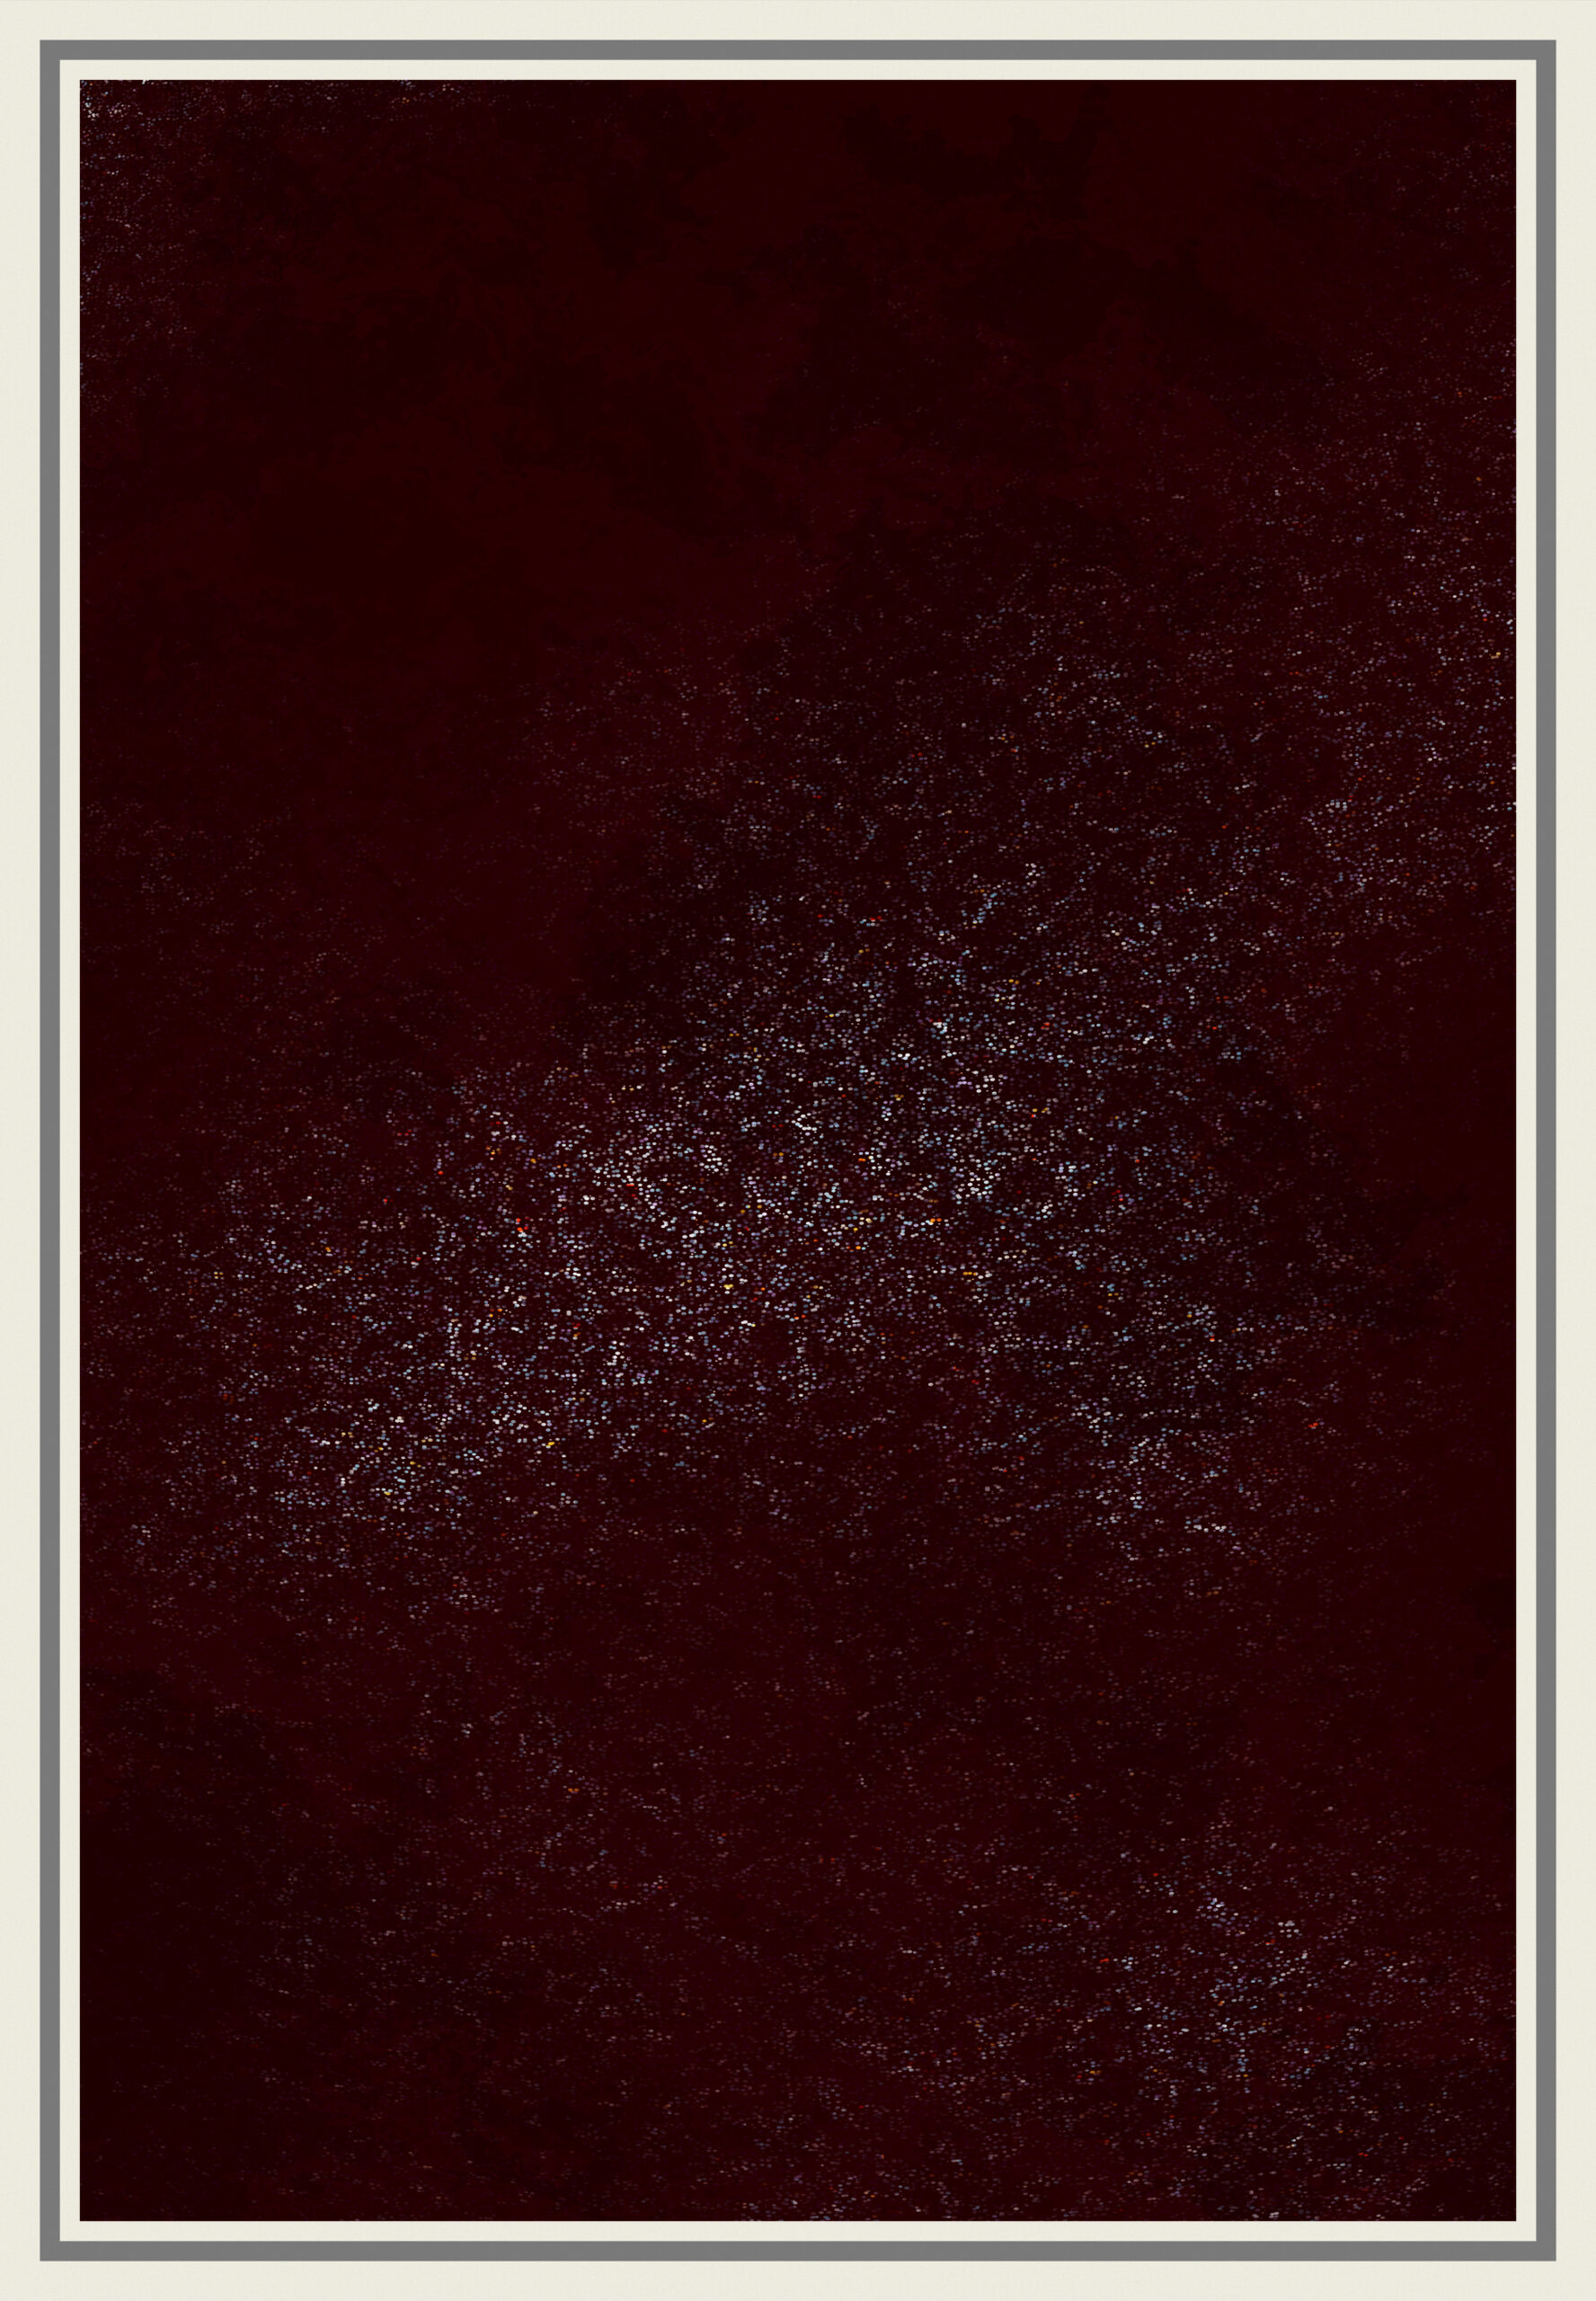
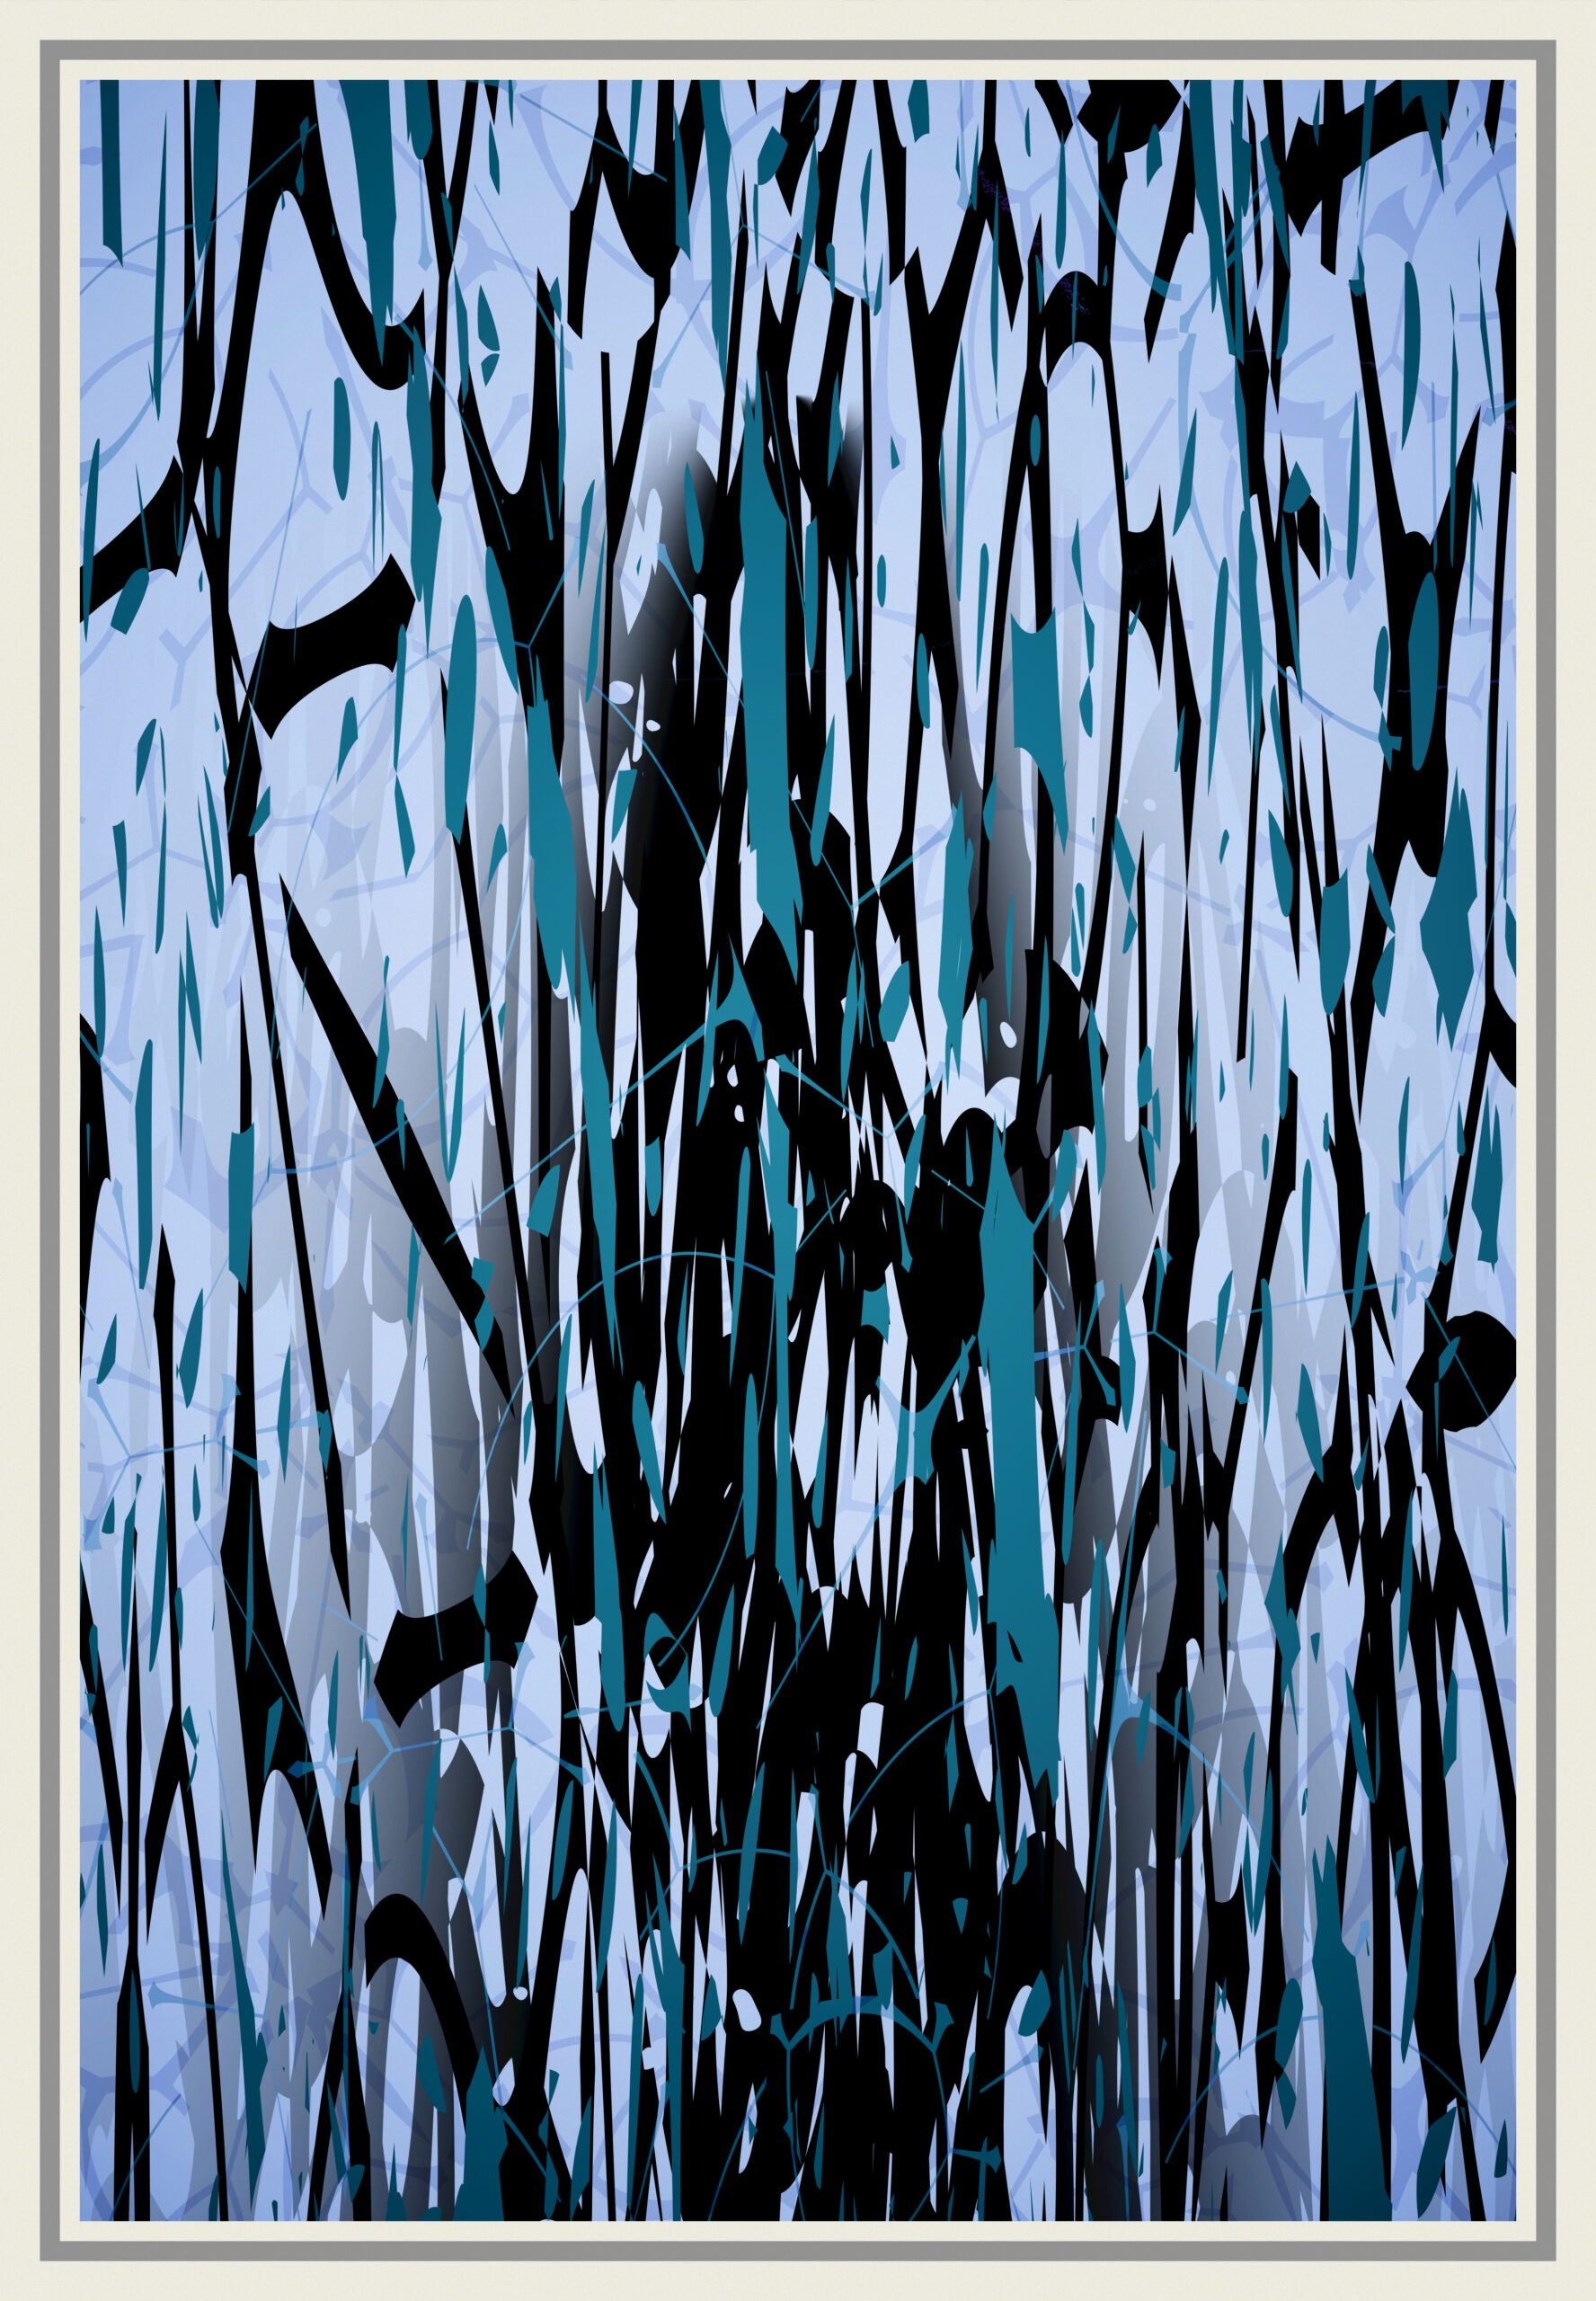
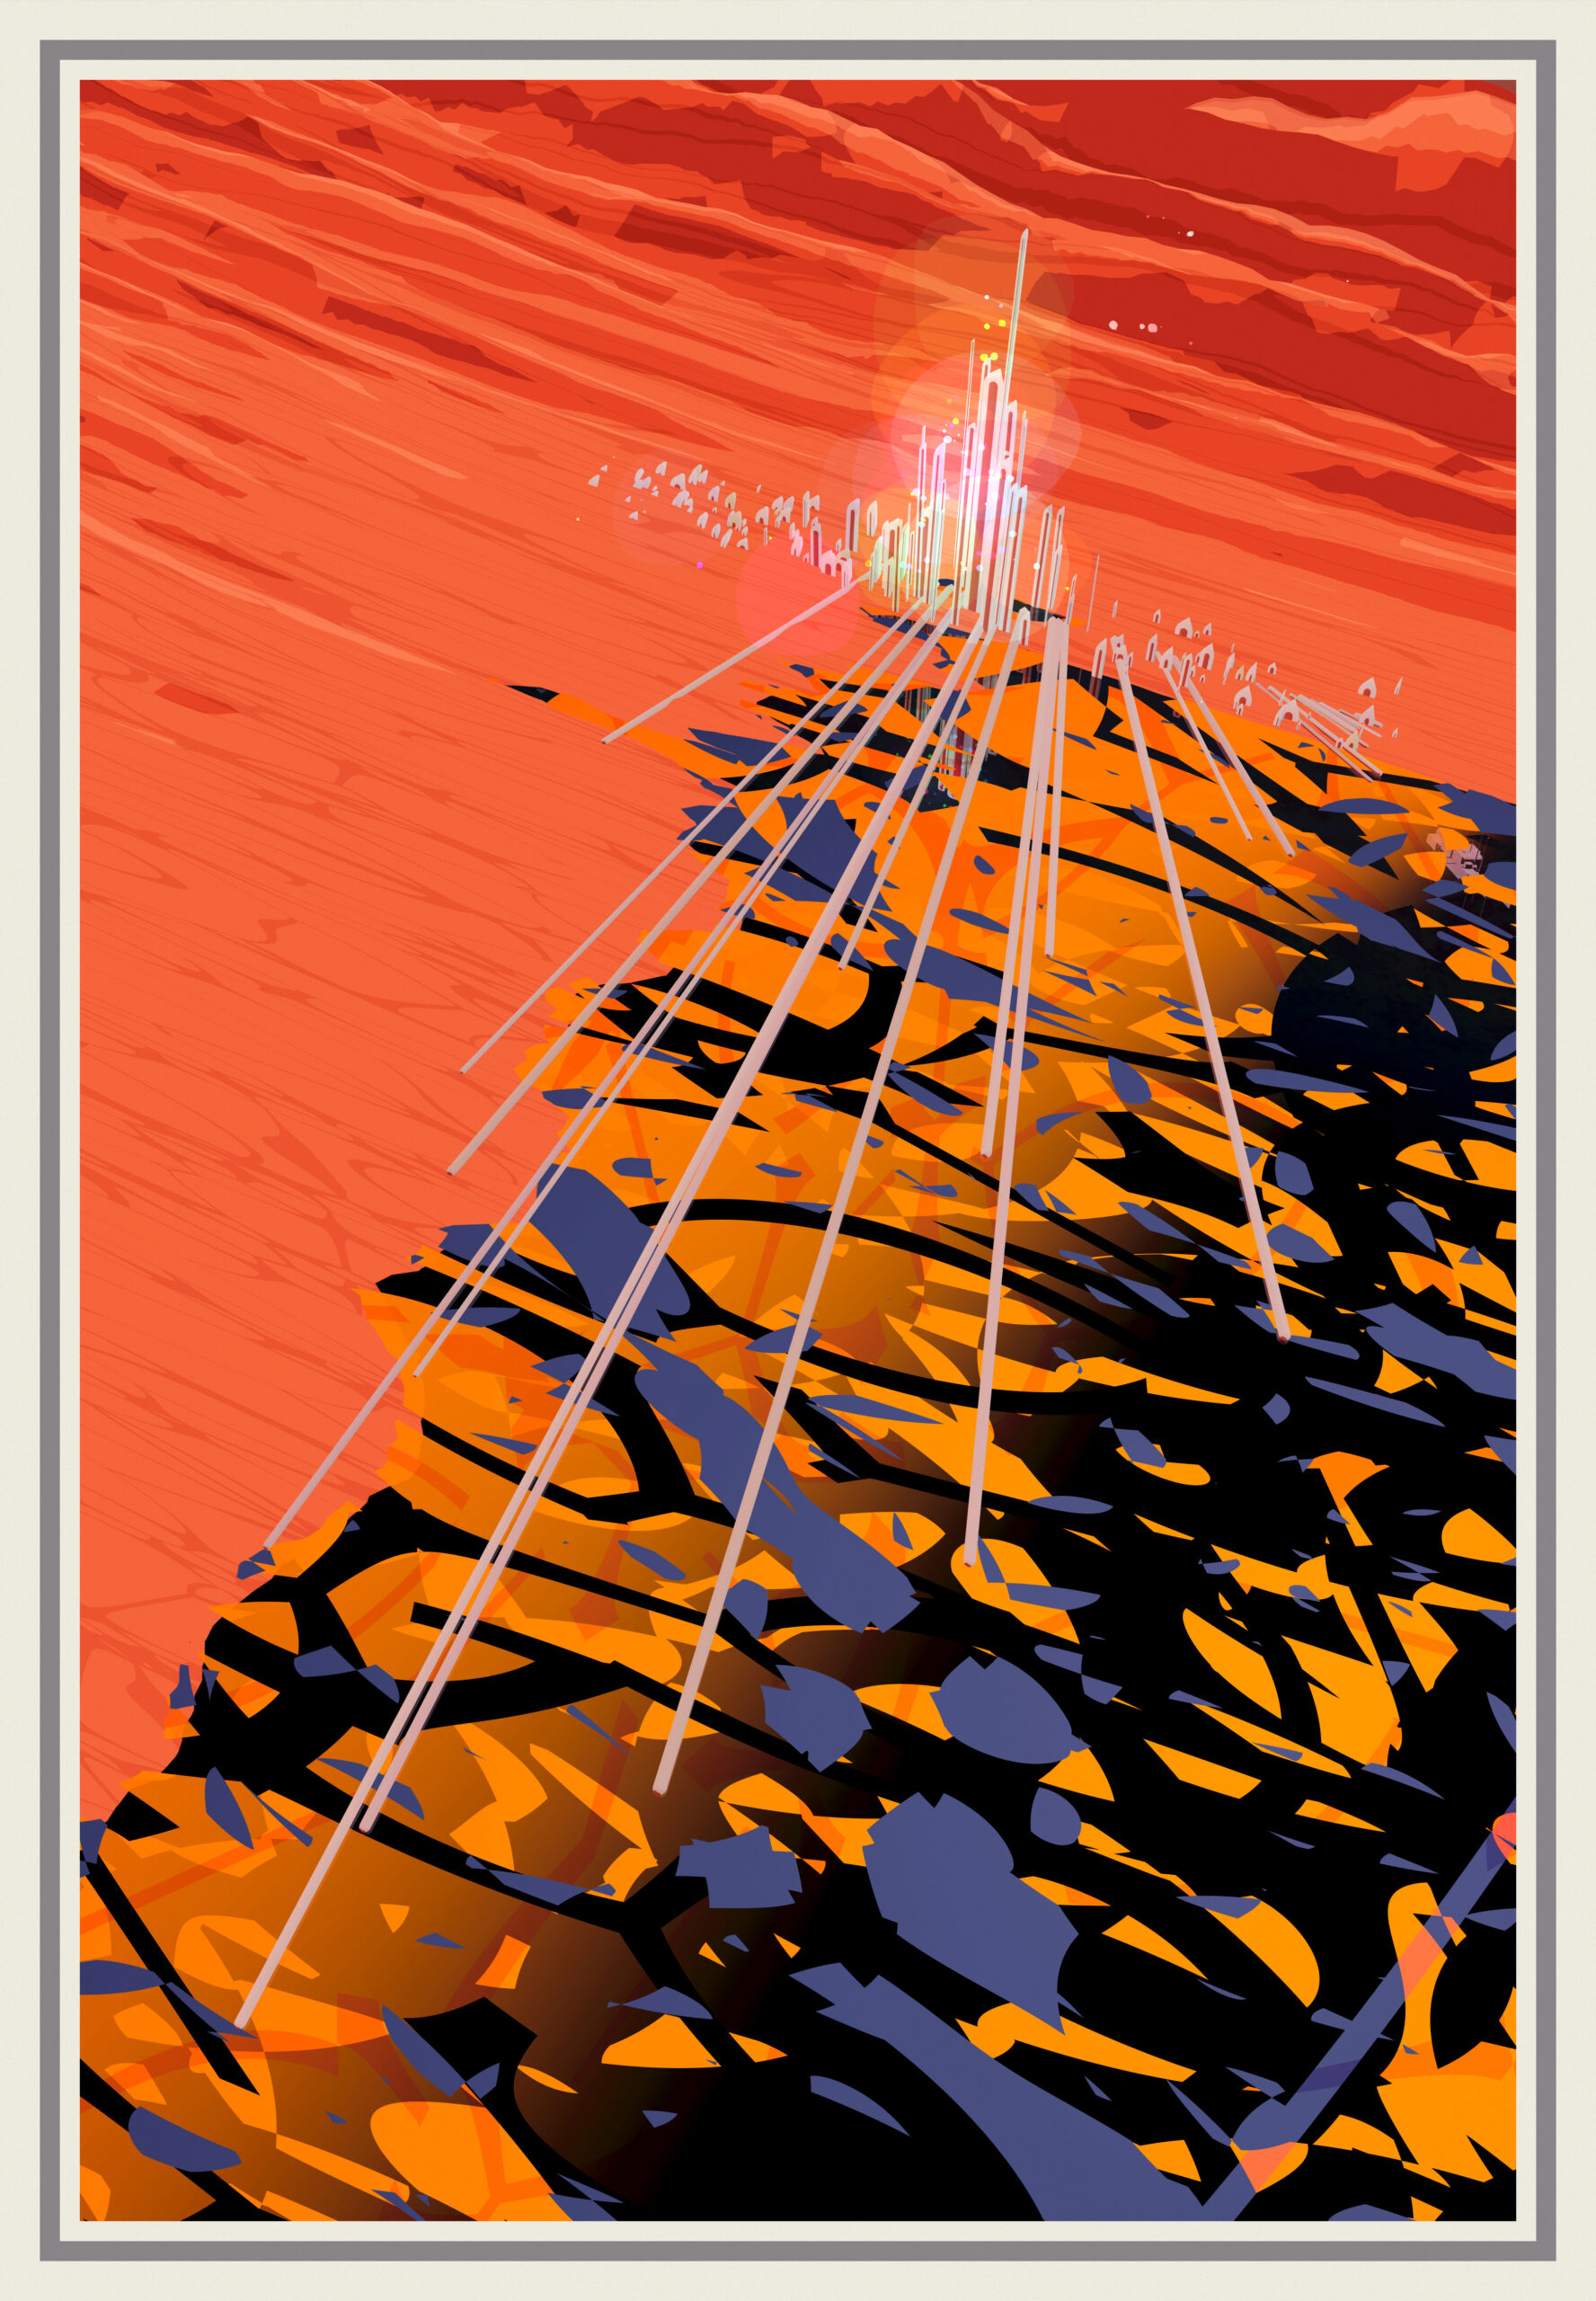
Surface
The surface starts with your standard plane mesh deformed by a noise. I heavily squish the noise, first to the “back” to create some very thin mountains to play some tricks with the cel-shading, and then gradually flattened in toward a point near the middle of the plane, to create some sort of bassin.
The noise itself is left enough freedom to create surface that go from nearly flat to abrupt cliffs. The sense of scale can vary drastically with the frequency and amplitude of the noise.
I add a vertical plane to the back to simulate an atmosphere. It consists of a gradient colored again with the main light color, mixed with a blue noise (not a blue noise, just a noise colored blue) similar to the one for the background. The atmosphere eases the transition to the upper part of the piece, add some noise there, and occasionally burn the color of what’s behind a bit.

The shader uses a 4 tone ramp, the main light color, and generates a pattern I ended up with when playing with the distance function of voronoi cells. This pattern is mainly used in the “sea” part, but here I added it initially to try to simulate roads. It doesn’t exactly do that, but I liked it anyway and it stayed.
The pattern of course varies with the seed like everything.
Left is a detailed view from the top, with the mountains part on top where the lighting produces the 4 tones, plus the pattern producing horizontal lines all over and adding more tones by interacting with the light.
More light dots are added to the moutain part. They’re particles spawned in 3d , following the geometry, and distributed by another gradient noise to create villages / outposts.

In this variant, the big spaceship is placed just behind this atmosphere
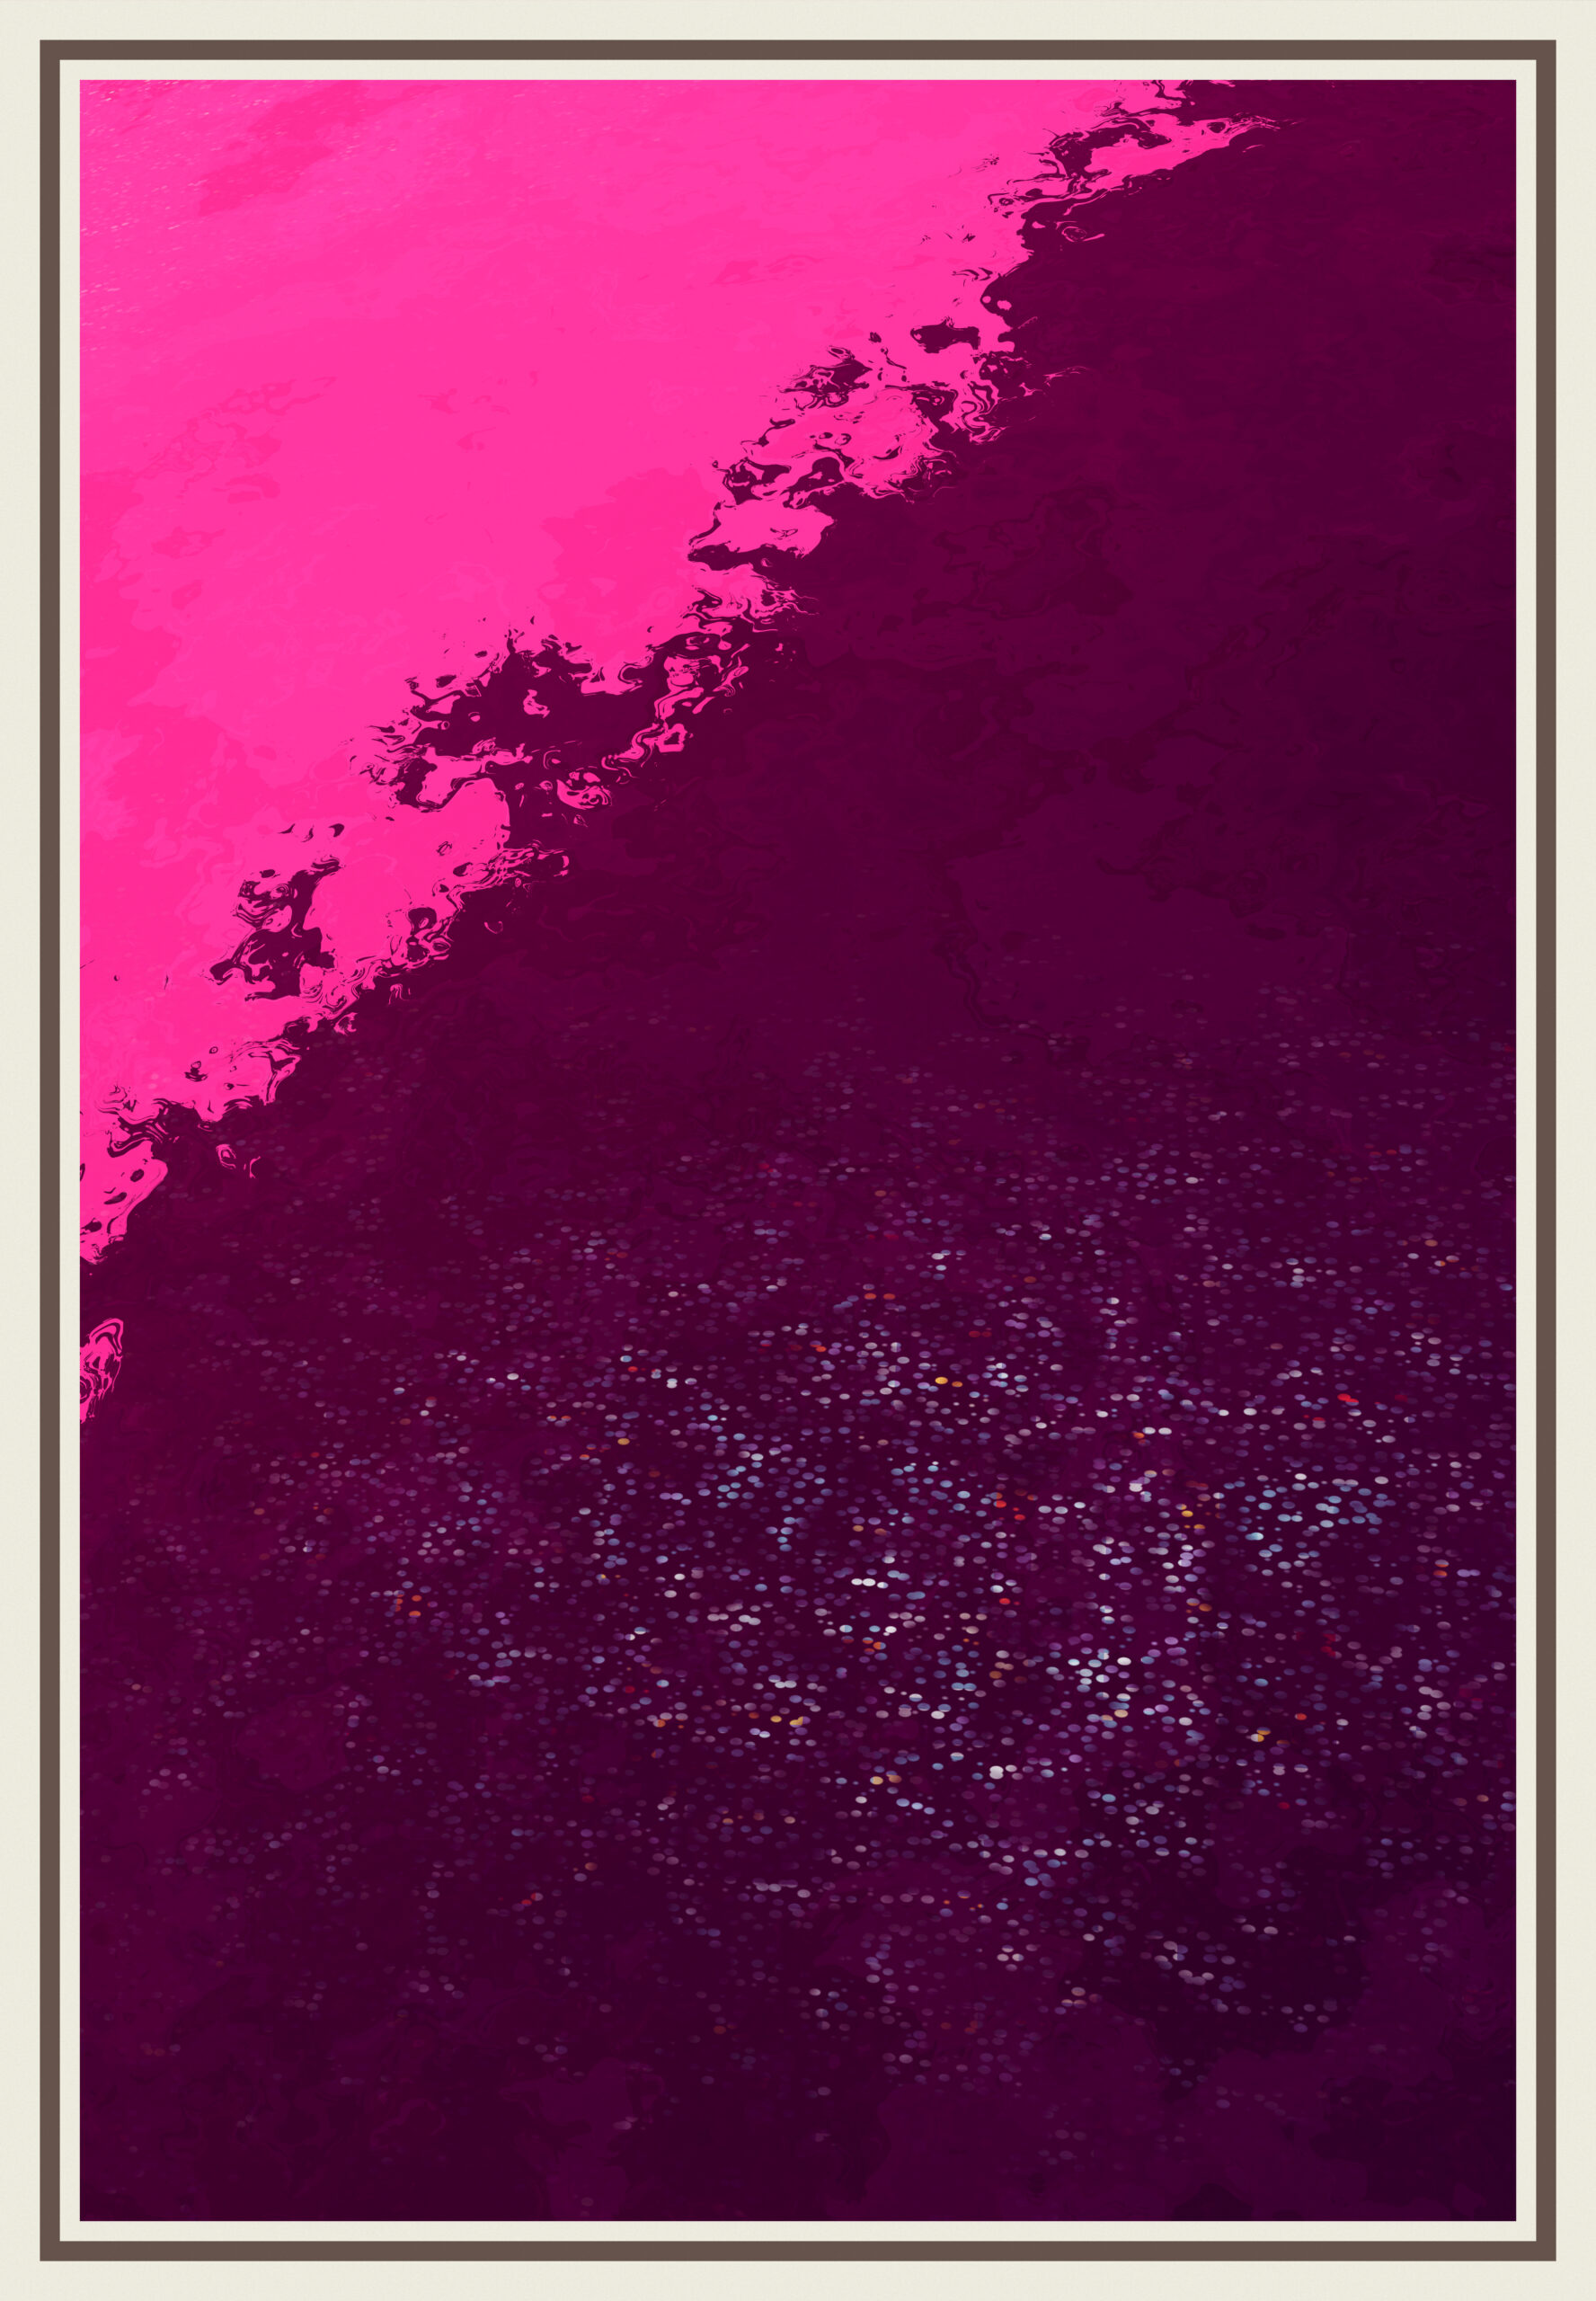
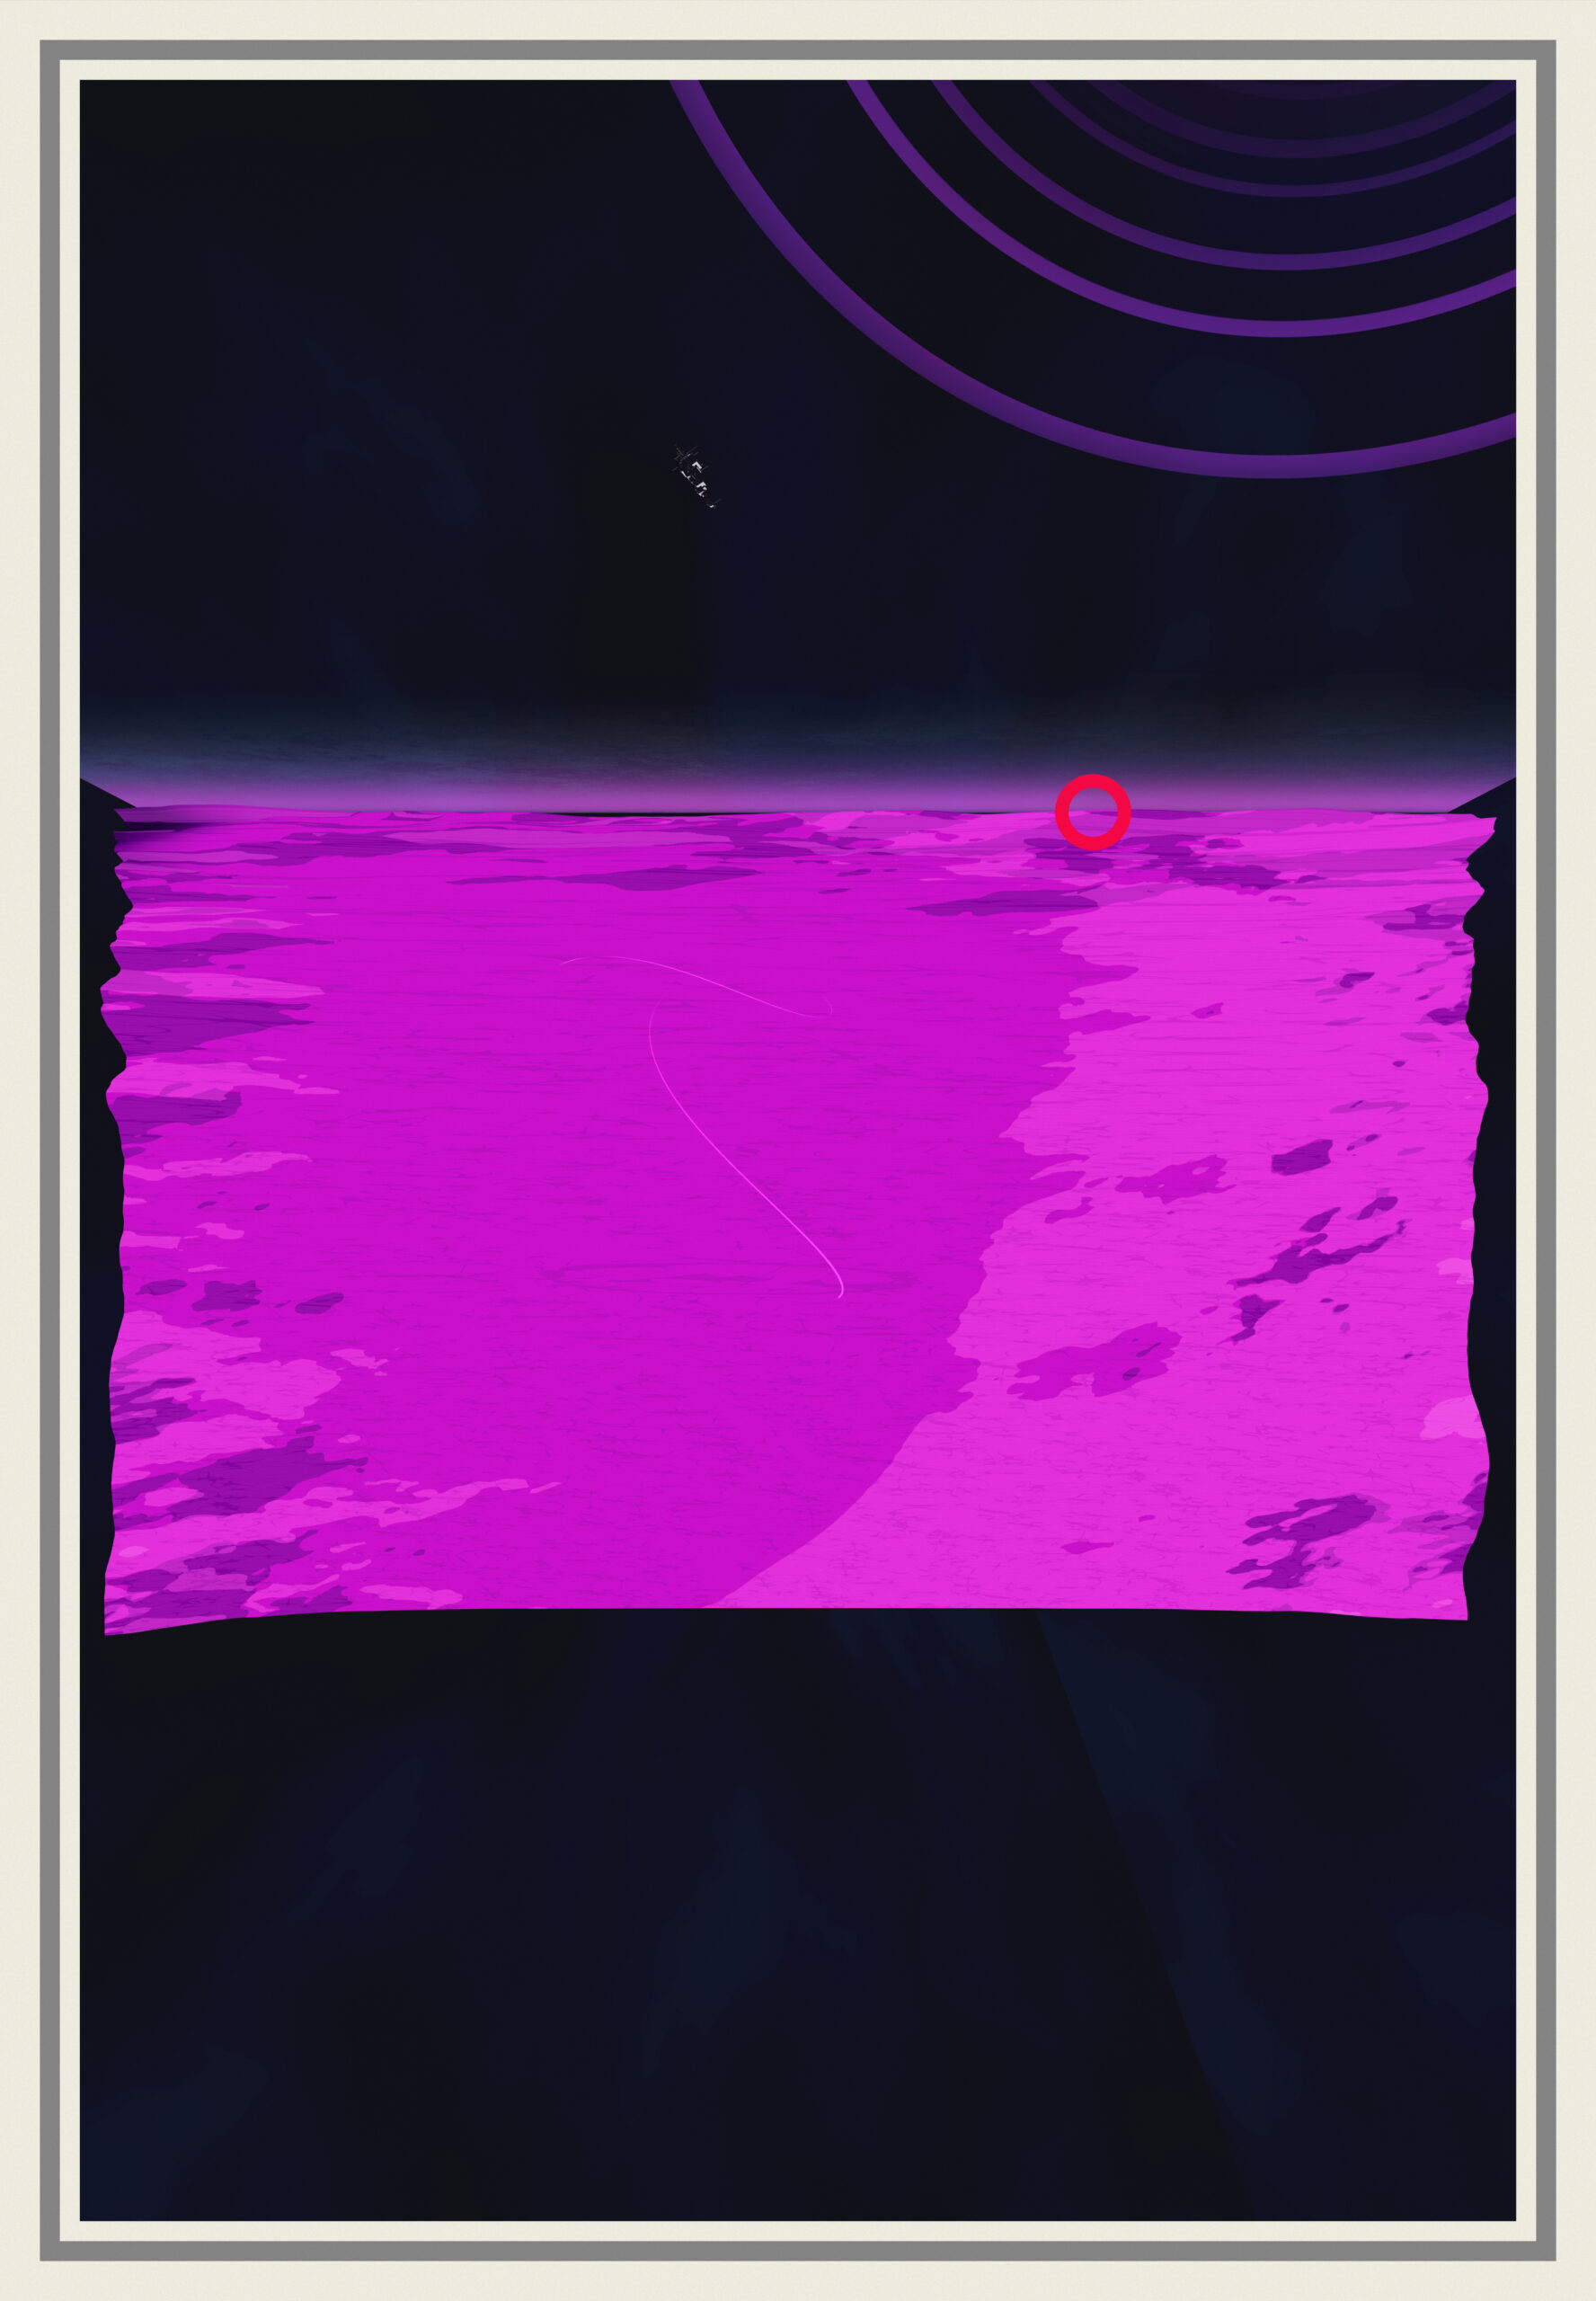
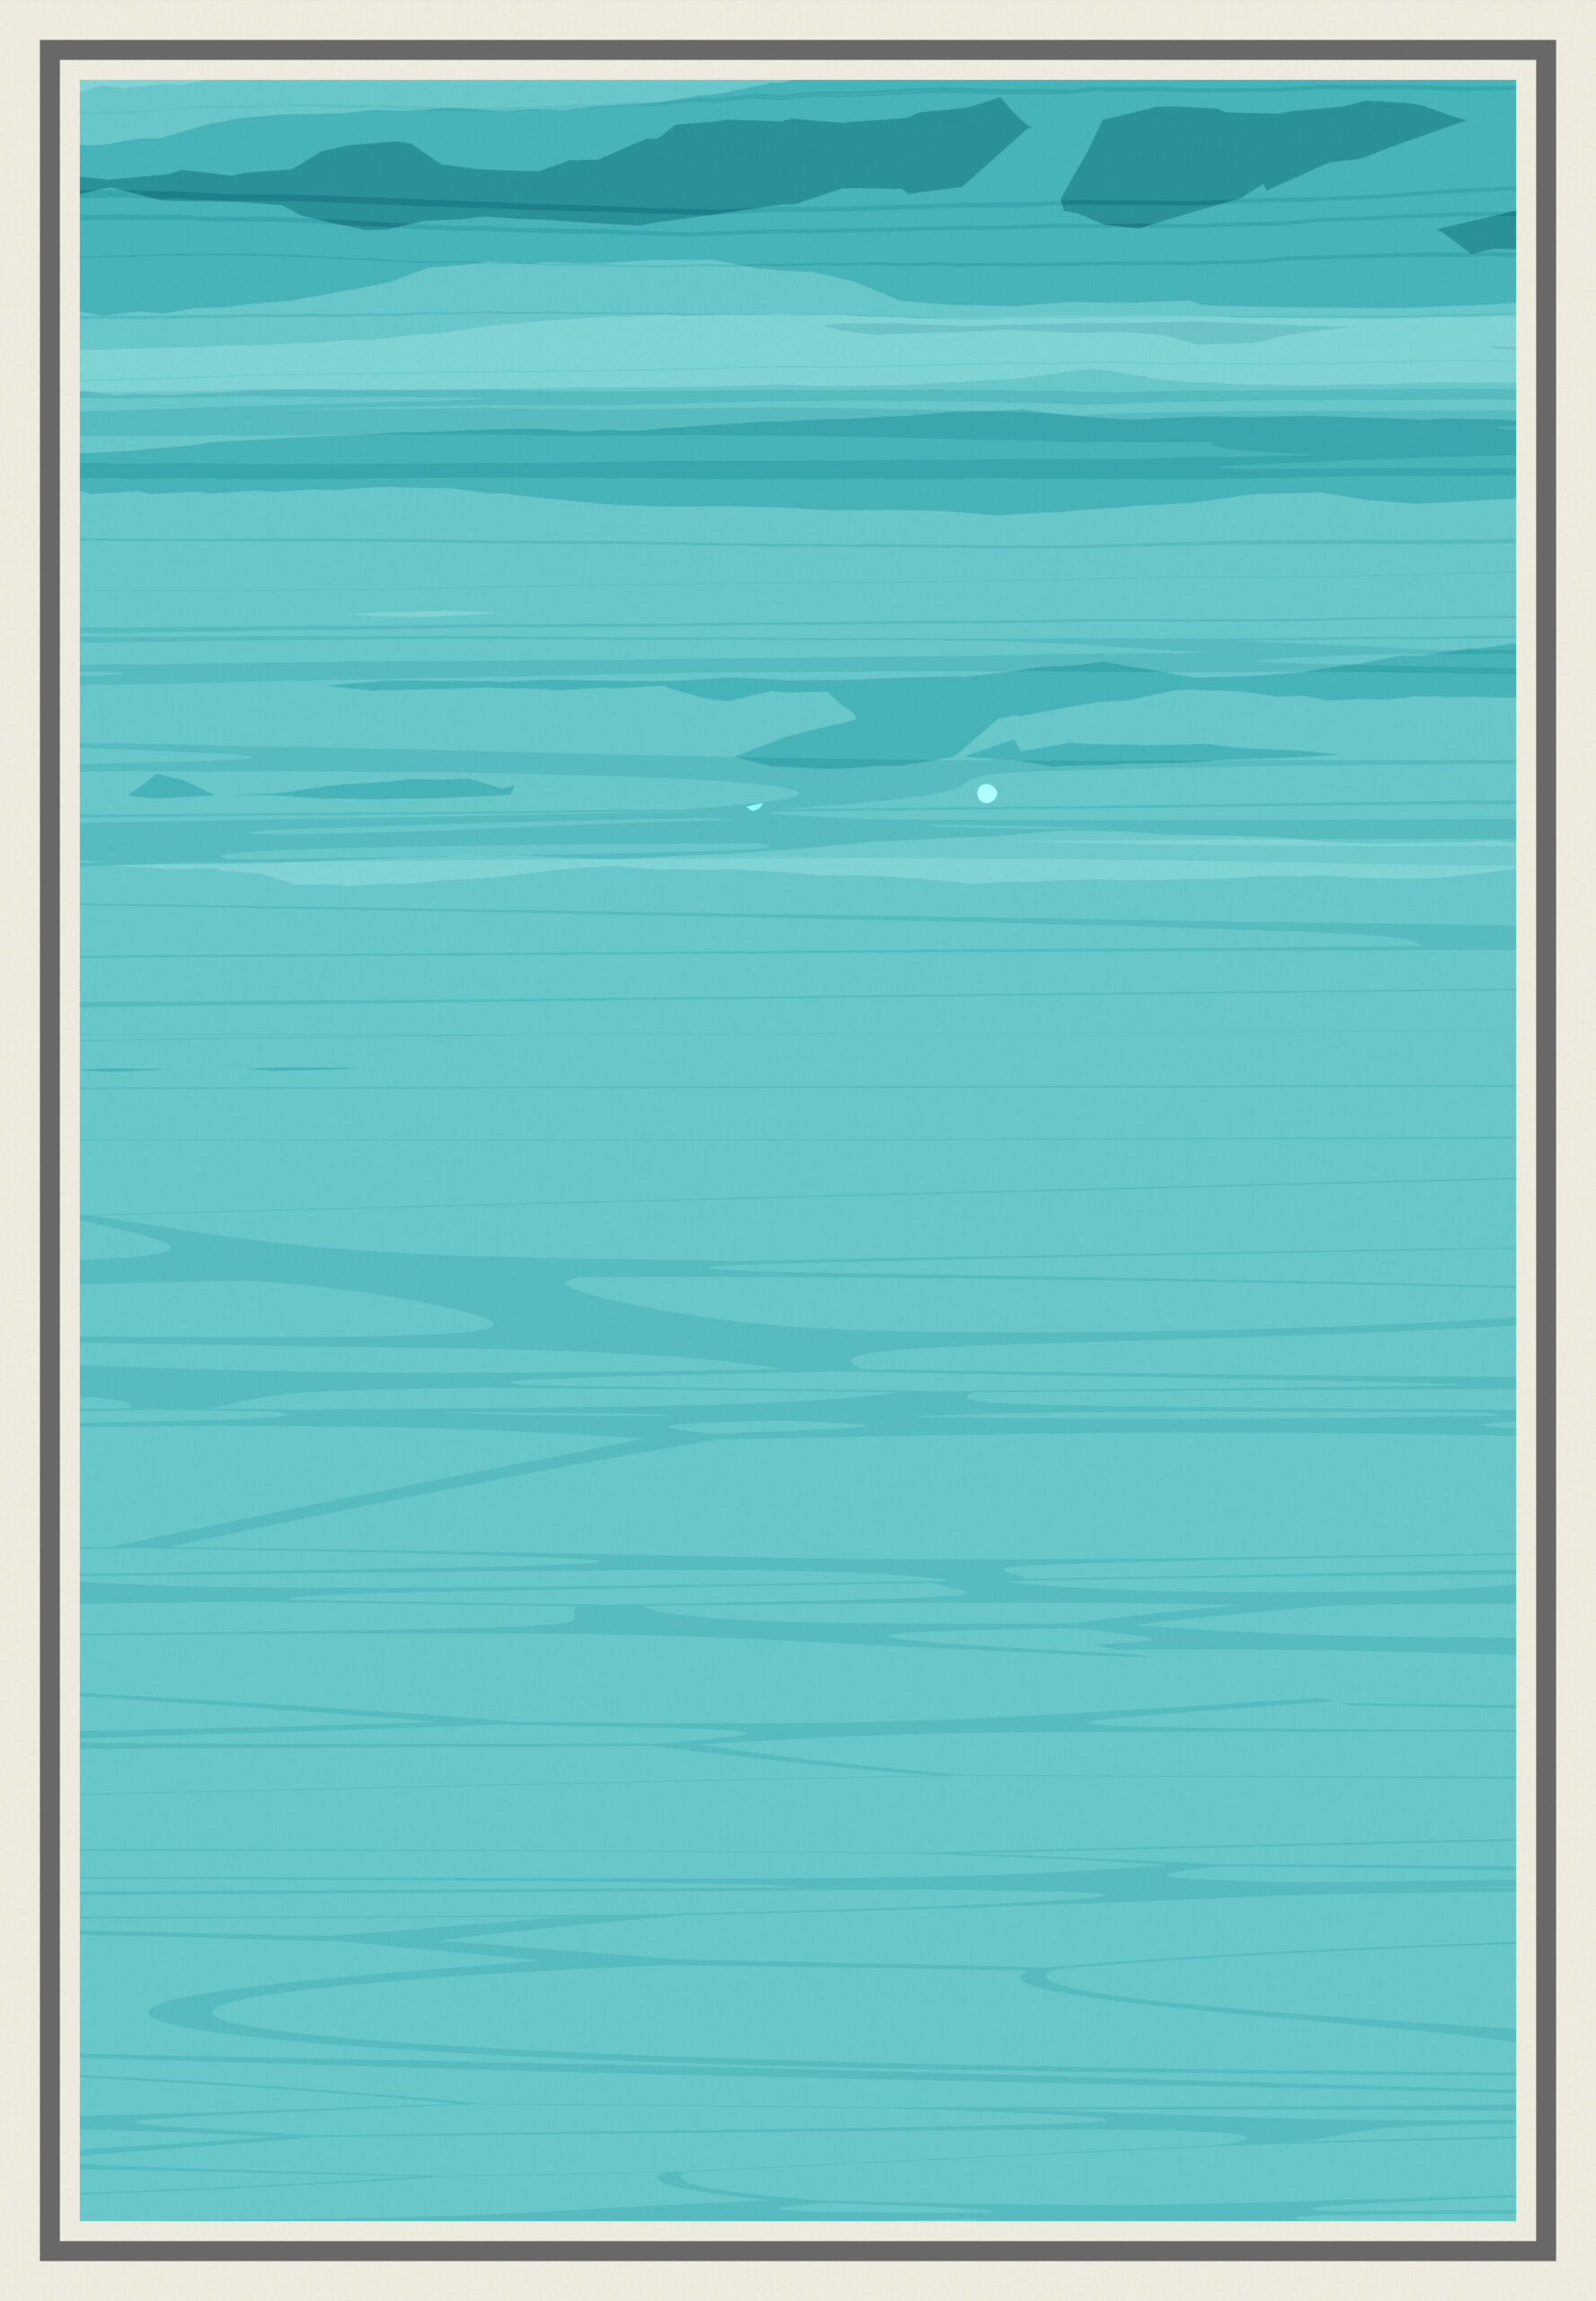
Sea
The sea is composed of two planes stacked and placed as to intersect with the relief of the surface to create the coast.
The top one display several of my weird voronoi pattern added / substracted to each other, using two colors, the main light’s color and another random color, dark, wich ranges from turquoise to purple to stay in the space background tones. Each layer is animated. Some layers of the noise are made transparent in a cone to show the second plane : the reflection plane.
The reflection plane displays realtime reflection of the rest of the scene. I apply a slight fade towards the camera, and some random distortion is added and animated.
I call this part the sea, but it could be something else. Sometimes it express itself as more icy, sometimes the pattern get weird and alien.
City
The cities are place roughly at 1/3 of the height of the frame, where the mountains and the sea meet.
There are two procedure for the cities.
The first one picks a spot on the horizontal axis and build some capsules around that spot, with taller buildings towards the center. Each capsule is slightly deformed to add to the hand drawn feel. Some sort of quays are added as long thin boxes radiating from the city. This procedure also has a chance to spawn a transluscent dome.
The other procedure is more chaotic, as it only distributes along a random noise. The capsules are also less deformed to get a different feel from the lighting, and a different sense of scale. No dome on this one, it didn’t work. The quays come back, distributed along the same noise.
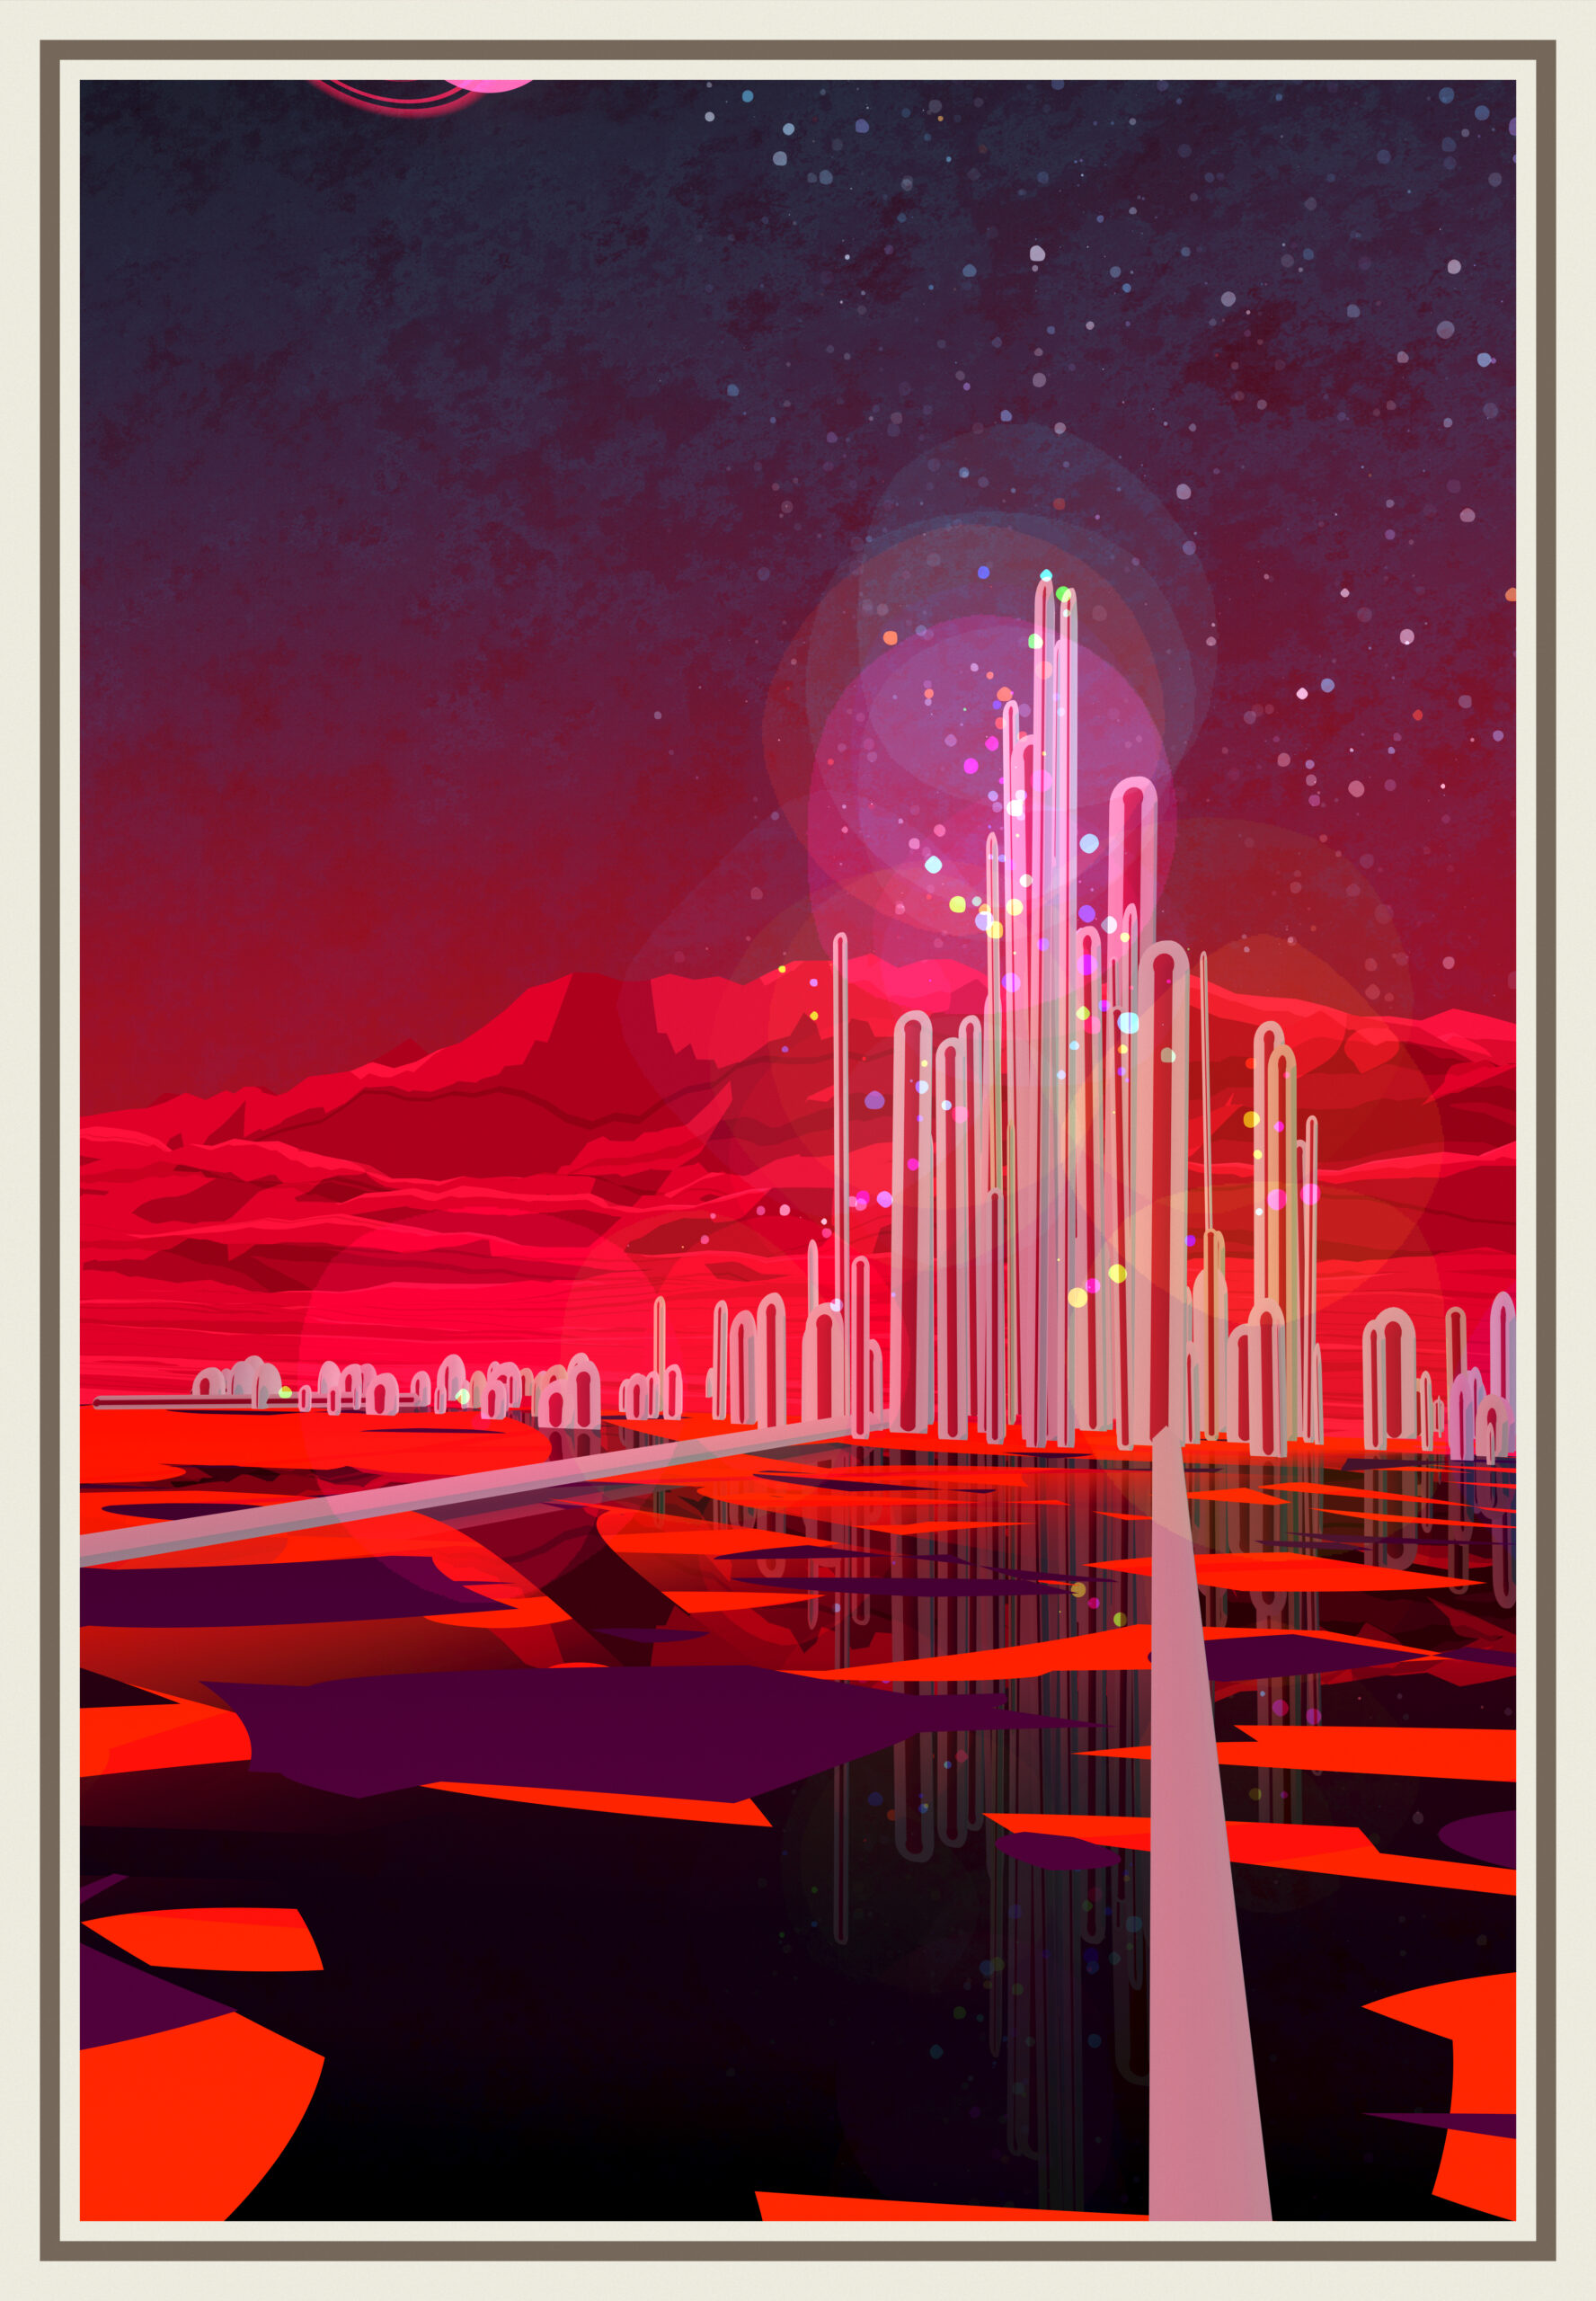
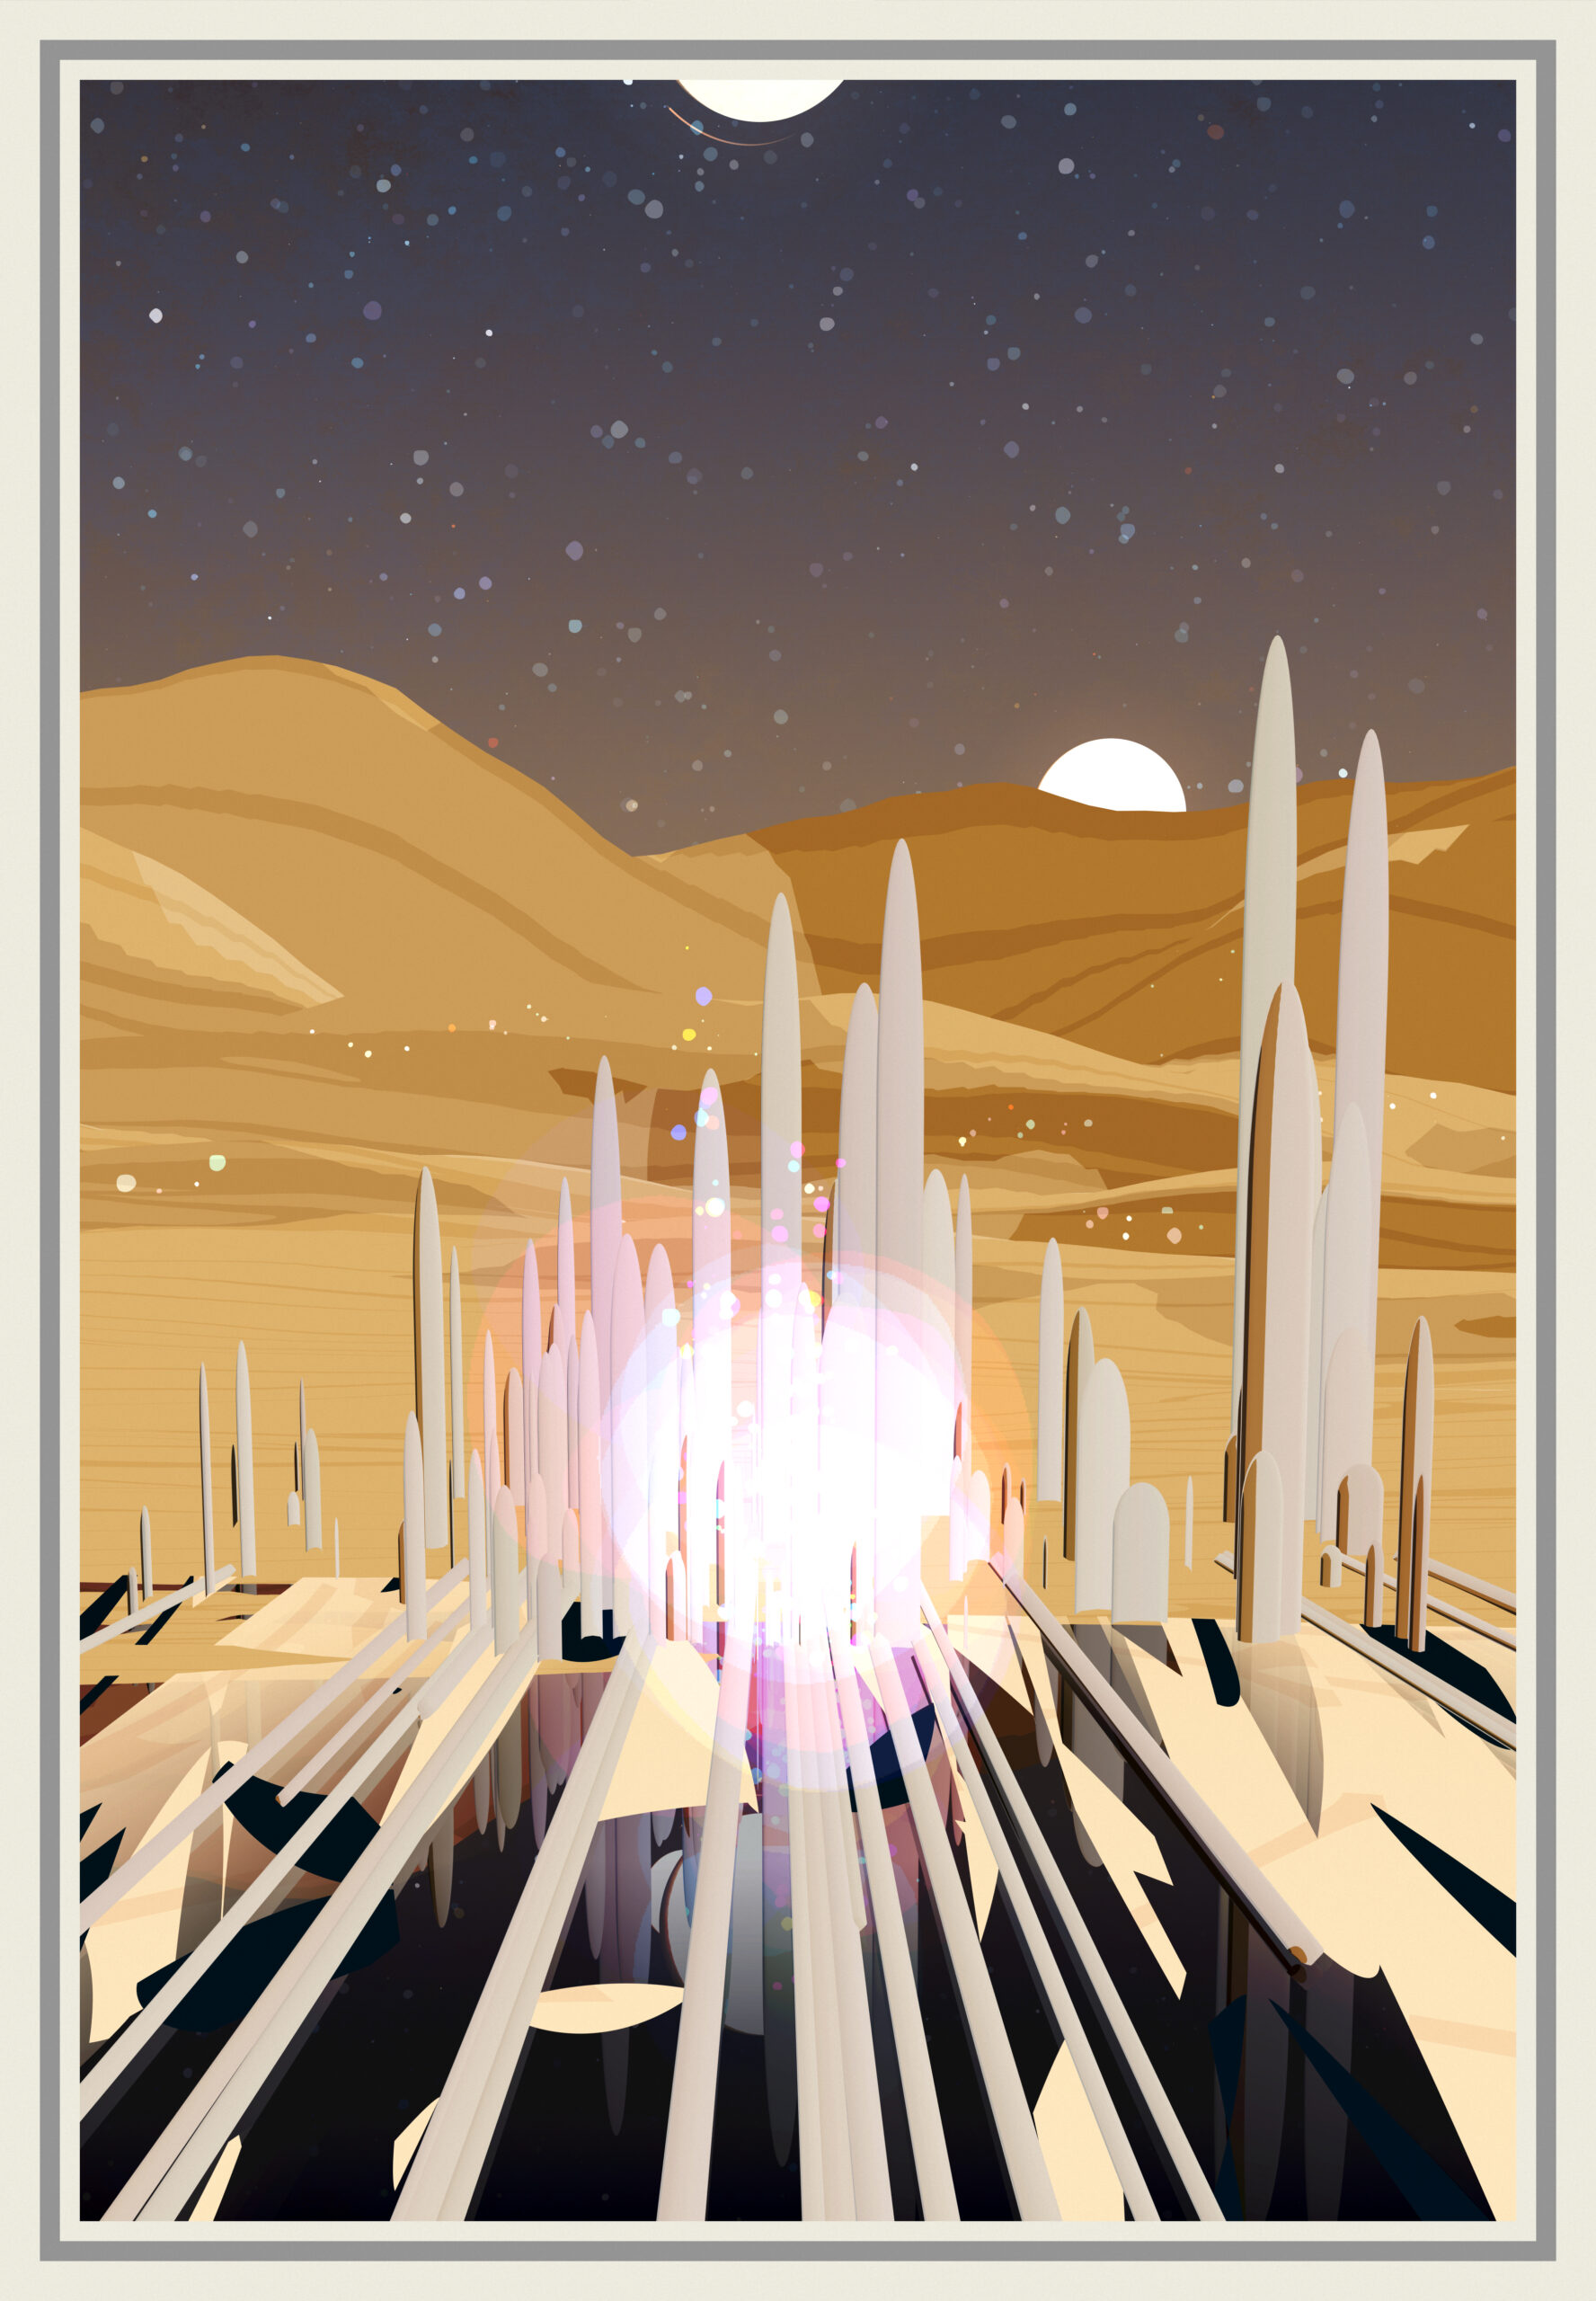
Small lights dots are again added, but this time, the possible colors cover the full hue spectrum. Finally, another set of dots taken from the flares generated previously is added to simulate lens flare.
So just as with the spaceship, using simple shapes and clear lines to evoke rather than try to be more realistic, and the grey tones to contrast.
Little Flyers
Mentioned several times previously, the little flyers are composed of two meshes : a deformed cylinder for the main body, and a triangle strip for the trail.
Although they’re very small, they all have a unique shape. The body takes the color of the main light, while the trail has the choice between that or the same color with the hue shifted 54°.
They have three animation behaviour depending on where they’re placed:
- Flying above the city in random sine patterns.
- Orbiting around the back planets in a straight line.
- Orbiting around the big planet in a sinusoidal but very straight pattern.
They’re generally used to bring more curves and color accidents.
Frame
The frame and UI are renderered in a separate scene with a separate orthographic camera.
The frame is composed of 8 quad that I animate at the beginning. Four quad take the fixed color of the background (#edebde) , and four quad for the colored border, wich takes a derivative of the main light color.
During the opening, a full canvas white plane come under the frame and diseapears for a fade from white.
UI
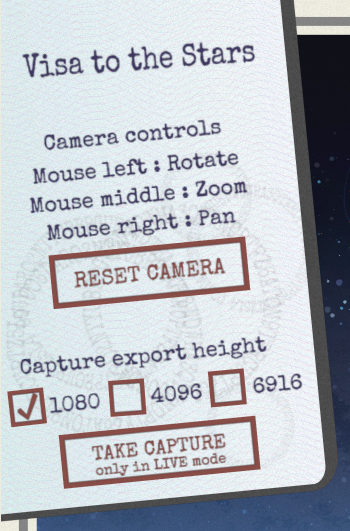
Had a bit of fun for the UI, fully in the 3D canvas this time rather than in an overlay <div>. This is not really part of the artwork (it won’t be captured at export), so i tried to quickly skeumorph something.
Still, they’re still plenty of stuff in it that depends on the seed:
- The dark border has a seeded noise on it
- The paper has 3 set of random colored sine wave
- Some stamps with the seed written in a circle are generated
The rest is fixed, only with some very slight random rotation applied here and there.
And the thing is animated and comes smoothly on top of the frame when pressing space.
Like for the insects, the piece lives in the 2d frame it appears as, but I left the control of the 3D camera in for the user to play with, because I feel a lot of the collectors can appreciate the ability to see a bit of the technical side of things, while also providing a certain liberty if people want to capture the scene from a different angle.
Post-processing
ACES Tone mapping for everything except the frame/UI. It smoothes out some over-saturation/luminance that can happen.
The scene uses by default on desktop supersampling anti-alliasing. It’s costly, but I try to display many very small details and smooth curves so it’s pretty important for the final appearance. Still, i left the option to disable it for performances reasons.
A very light filmic grain is then applied to the whole picture.
Tools
i’m still using three.js to render the scene and access webgl resources. Only the frame uses out of the box materials, everything else uses some customisation, at least some glsl injection. I use their 3d primitives and extrusion tools, but also a lot of custom geometry or deformations. The engine is high level enough to abstract many details, but also low level enough for me to allow a lot of customisation when needed.
Post-Mortem
[After the drop]
Playlist
- The IN sound from way OUT – Perrey-Kingsley, including Visa to the stars
- Wish you were here – Pink Floyd
- The dark side of the moon – Pink Floyd
- Dune OST – Hans Zimmer
History
- 05/01/2022 Fist version